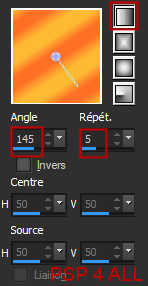
Filtres : Mehdi > Sorting Tiles FU2: Special Effects > Shiver. Plugins AB 08 > WireMeshing Unlimited Toadies > Ommadown AAA Frames > Foto Frame Material: 3 masks, deco, texts, preset Eye Candy 5 Impact Glass here. Unzip the preset. To import it in Alien SKin Eye Candy 5: Double click on the preset and it will install itsef in Settings in Alien Skin Eye Candy 5 Fonts: Book Antigua for the texts and Pixelette for the credits. Depending on the colors & tube you are going to use, feel free to change the mode and opacity of the layers. STEP 1 Open an image 900x550. Fill with white. Create a gradient with 2 colours of your tube. I used yellow #FFBA35
and Orange
#FF7027. Sunburst H&V = 145 et Repeat = 5.
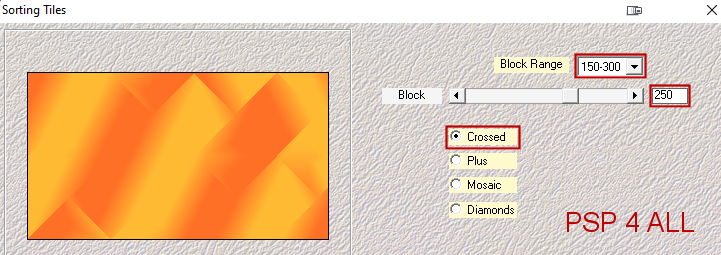
Mehdi > Sorting Tiles
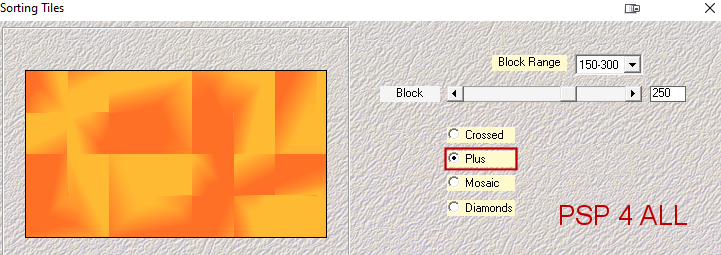
Add a layer and fill with the same gradient. Apply Mehdi > Sorting Tiles. Click on Plus
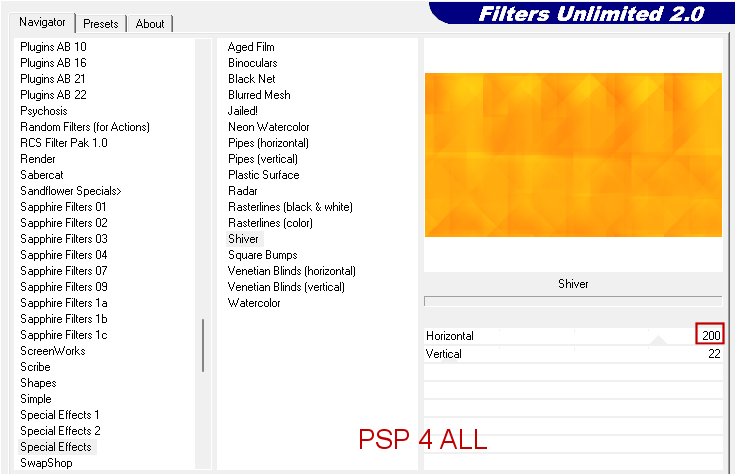
Apply FU2 > Special Effects > Shiver
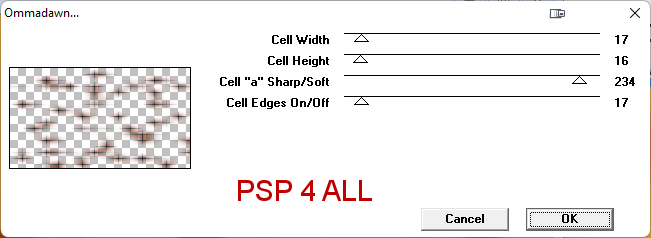
Edge Effects > Enhance More. Layers - Add a layer > Fill with #852300. Open xppic6. Mask Layer > From an image and choose xppic6. Click on OK. Layers > Merge Group. Apply Toadies > Ommadown
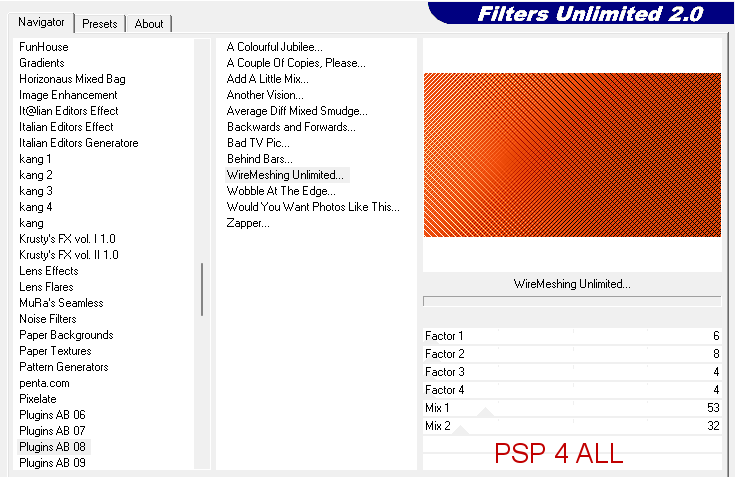
Layer opacity on 70. Add a layer and fill with #852300. Appliy FU2 > Plugins AB 08 > WireMeshing Unlimited
Blend Mode on Soft Light. Layers > Merge visible.
Layers - Add a layer > Fill with #852300.
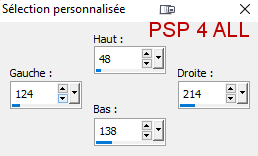
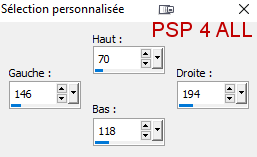
Add a layer. Fill with #FFBA34. Selections > Modify > Contract by 2 pixels. Selections > Select None. Add a layer. Selection Tool > Custom selection
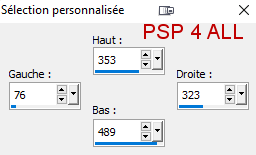
Fill with #C00000. Selections > Select None. Apply Eye Candy 5 > Impact > Glass. Add a layer. Selection Tool > Custom selection
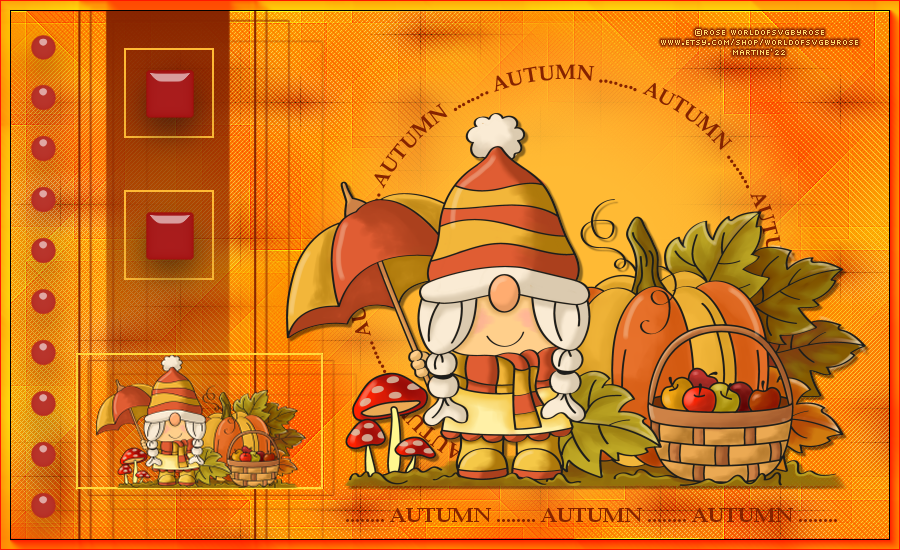
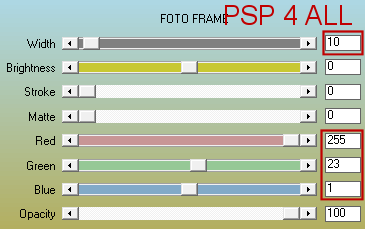
Fill with #FFBA34. Selections > Modify > Contract by 2 pixels. Selections > Select None. Add a very small copy of your tube to fill the rectangle. Open Mask 20-20. STEP 2 - Border and Credits Edit > Copy special > Copy Merged. Edit > Paste as New Image. Appliy Effets > AAA Frames > Foto Frame
Credits: with a small font like Pixelette or any other small font. Save. Martine 6 October 2022 If you have any questions, don't hesitate to contact me |