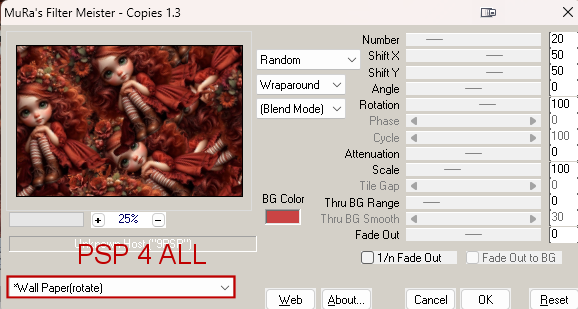
Supplies: My image - it is not empty, it has all the Alpha selections needed for the tut and masks and the WA. I have also added a slection of my tubes, flowers and scenery if you are interested. Fell free to use them but of course you don't have to. Download here. Masque: Miz_Mask_054: here. Mizteeques's site is here: Mizteeques masks. The mask is also supplied. Plugins: Mura's Meister > Copies. AP01 > Gritty Noise Cybia > Screenworks Eye Candy 4000 > Gradient Glow Font: Pixelette for the credits. ****************************** *** Depending on the colors & tube you are going to use, feel free to change the mode and opacity of the layers. My colours : #611e11 et #e6c2a3. STEP 1 1. Open image PSP 4 ALL_MF_Autumn_Alpha_mf25.pspimage and duplicate. 2. Fill with white. 3. Add a layer. Selections > Select All. 4. Edit > Paste the tube into the selection. 5. Selection > Select None. 6. Apply Mura's Meister > Copies > Wallpaper(Rotate)
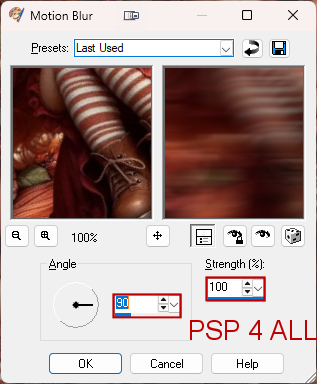
7. Adjust > Blur > Motion Blur
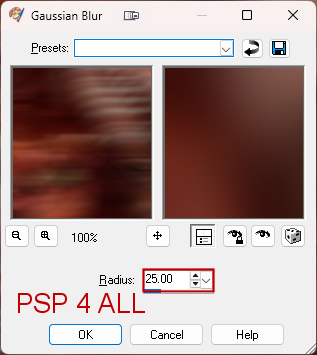
8. Adjust > Blur > Gaussian Blur.
9. Apply AP01 > Innovations > Noise - Gritty on Overlay
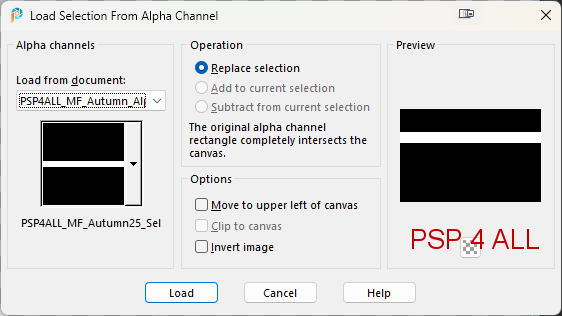
10. Add a layer and fill with black. 11. Open mask Miz_Mask_054. 12. Layers > New Mask Layer > From an image and choose Miz_Mask_054. 13. Click OK. 14. Layers > Merge group. 15. Selections > Load/ Save a selection > Load Selection From Alpha Channel. Select PSP 4 ALL_MF_Autumn25_Sel # 1. 16. Click on Load.
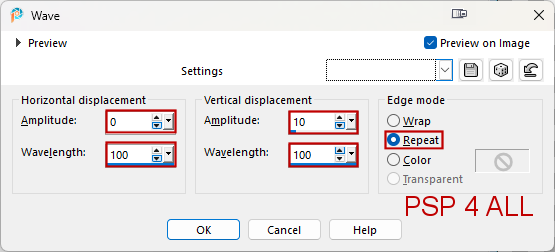
17. Add a layer and fill with #611e11. 18. Selections > Select None. 19. Apply Effets > Distortion Effects > Waves.
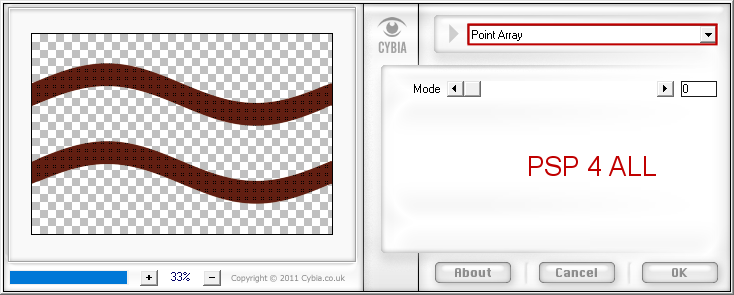
20. Duplicate. 21. Image > Mirror vertical (Flip). 22. Image > Mirror horizontal (Mirror). 23. Layers > Merge Down. 24. Apply Effects > Cybia > ScreenWorks.
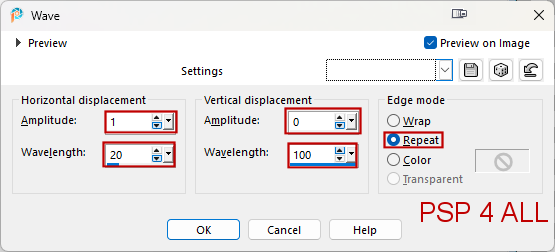
25. Selections > Load/ Save a selection > Load Selection From Alpha Channel. Select PSP 4 ALL_MF_Autumn25_Sel # 2. 26. Click on Load. 27. Add a layer and fill with #611e11. 28. Selections > Select None. 29. Apply Effects > Distortion > Waves
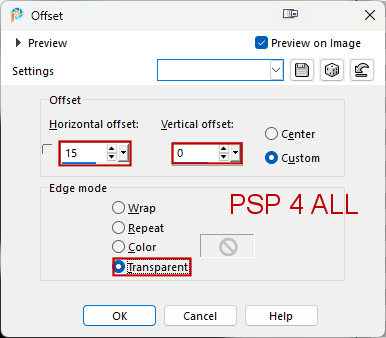
30. Duplicate. 31. On the copy, faire Effects > Image Effects > Offset
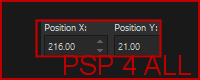
32. Right click on this layer in your Layer Palette > Properties > Blend mode on 40. 33. Duplicate this layer. 34. Properties of this layer > Blend mode on 20. 35. Merge down. 36. And again. Layers > Merge down. 37. Duplicate this merged layer. 38. Image > Free Rotate > 90° Droite. 39. Hit K on your keyboad to activate the Pick Tool  and modify Position X and Position Y.
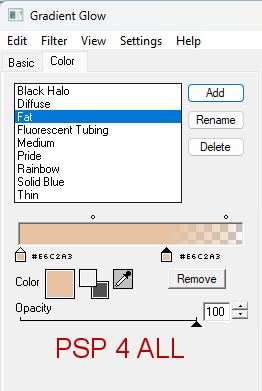
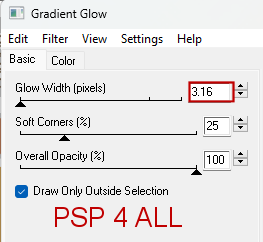
40. Hit the M key to desactivate the Pick Tool. 41. Selections > Load/ Save a selection > Load Selection From Alpha Channel. Select PSP 4 ALL_MF_Autumn25_Sel # 3. 42. Click on Load. 43. Add a layer and fill with black. 44. Selections > Select None. 45. Add the flowers at the top on the left. 346. Resize 50%. 47. Duplicate and Mirror horizontal (Mirror). 48. Layers > Merge down. 49. Duplicate and Mirror vertical (Flip). 50. Selections > Load/ Save a selection > Load Selection From Alpha Channel. Select PSP 4 ALL_MF_Autumn25_Sel # 4. 51. Click on Load. 52. Add a layer and fill with #611e11. 53. Selections > Select None. 54. Drop Shadow 10, 10, 100, 85. Colour= #000000. 55. Repeat but change the horizontal & vertical -10, -10, 100, 85. 56. Selections > Load/ Save a selection > Load Selection From Alpha Channel. Select PSP 4 ALL_MF_Autumn25_Sel # 5. 57. Click on Load. 58. Selections > Promote Selection to Layer and fill with black 59. Selections > Promote Selection to Layer and fill with black. 60. Selections > Select None. 61. Select the left frame and paste a scenery as a new layer. 61. Selections > Invert. Delete. 62. Selections > Select None. 63. Repeat for the frame on the right. I used a different imge.. 64. Selections > Load/ Save a selection > Load Selection From Alpha Channel. Select PSP 4 ALL_MF_Autumn25_Sel # 6. 65. Click on Load. 66. Add a layer et remplir de noir. 67. Selections > Select None. 68. Add your tube in the middle. 69. Add the Wordart at the bottom on the left. 70. Apply Eye Candy 4000 > Gradient Glow: Fat, size 3, Color #e6c2a3.
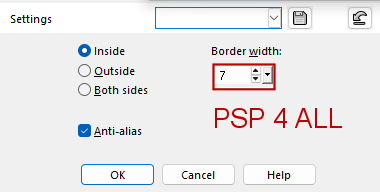
STEP 2 - Border and Credits 70. Border - Top of the pile. 71. Selections > Select All. 72. Selections > Modify > Select Selection Borders
73. Fill with black. 74. Selections > Select None. 75. Credits: with a font like Pixelette or any other small pixel font. Martine 17 September 2025 If you have any questions, don't hesitate to contact me
|