You can do pretty much what you like with your result: create signatures with name added, extras or stats, websets. Give all the credits that are required and for the tut to: Martine (link to http://chezmartine.com) for PSP 4 ALL (link to http://psp4all.com).
 Scrapkit: Back 2 School by Angelaz Creationz - Download here. Mask: Mask WSL 254 by Weescotslass Creation - Link in the menu, on the right. Plugins: Eye Candy 4000 > Gradient Glow. Police: TinkerToy for the text and Pixelette for the credits. You can download my E-Book which will let you work without being connected. STEP 1 : Mask Open an image 750x600. Fill with black. Add a layer and fill with #D60000. Open Mask WSL 254 and apply. Masks > New > From image - OK. Then Masks > Delete. In PSP 8 and above, it's under Layers > New Mask Layer > From Image. OK then Delete. STEP 2: Elements and Tube Drop Shadow: I used
and for the tube
and for thetext
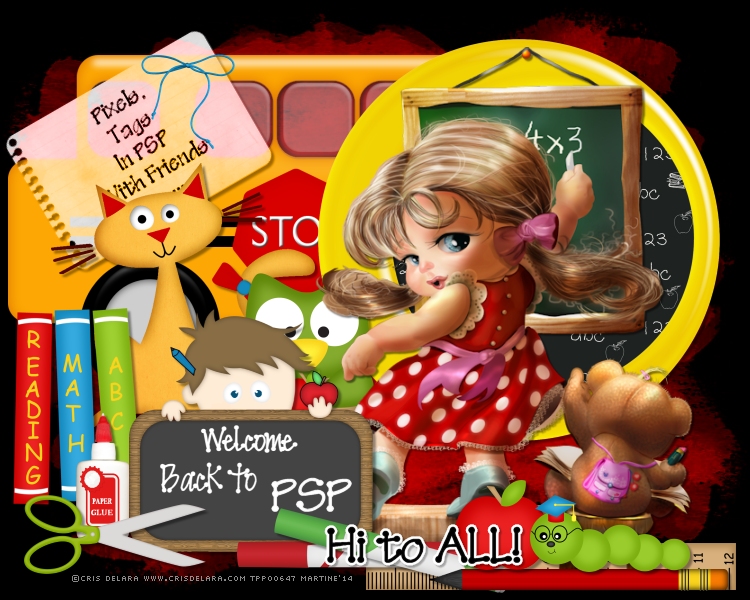
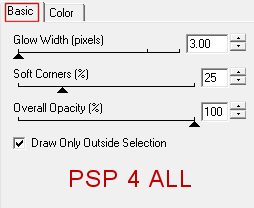
Element 21 - Selection around the word STOP then copy paste as a new image. Selections > Select None. Image > Miror. Click on the word STOP thenEdit > Copy et paste the word back on the bus. Resize to 45%. Place the bus on your image, towards the top. Frame 9 - At 25%. Place on the right. With the magic wand, click inside the frame and then Selections > Modify > Increase by 6 pixels. Add a layer. Then take the fill tool and fill the selection with paper8 at 30%. Selections > Invert. Click on Delete. Selections > Select None. Element 12 - At 15%. Top and on the left. Add the text of your choice or like me Pixels, Tags, In PSP with Friends. Use the TinkerToy font in black. Rotate left 30°. Set this layer on Luminance. Element 33 - At 10%. Place the bow in the corner, at the top and on the right. Element 46 - At 15%. Place on the left. Element 28 - At 18%. Element 14 - At 28%. Place the books on the left. Element 25 - At 8%. Bottom and on the left. Element 6 - At 50%. Bottom. With the magic wand, select around the word scchool, then fill the selection with #444444. Selections > Select None. Write PSP instead. Element 18 - At 12%. Bottom and on the left. Element 22 - At 20%. Bottom, in the middle. Rotate 90° to the left. Element 24 - At 20%. Rotate 75° to the left. Element 7 - At 45%. Image > Mirror. Element 16 - At 10%. Place the apple on the righjt. Element 29 - At 10%. On the right. STEP 3: Your Text and Credits Text of your choice, using the TinkerToy font. Then apply and Eye Candy > Gradient Glow.
Credits with the Pixelette font or any other small pixel font. File > Save. Martine 11 September 2014 If you have any questions, don't hesitate to contact me |