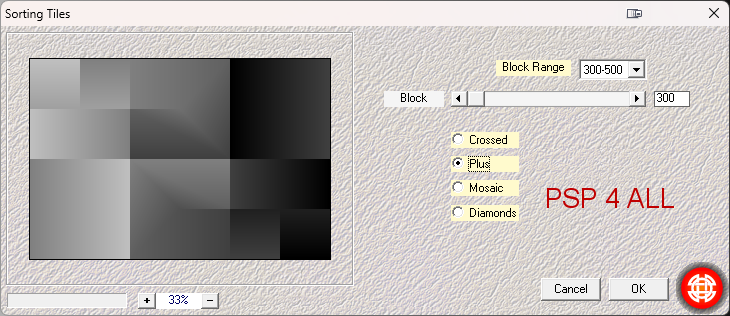
Matériel: My selections, Deco, Texts & the Eye Candy 5 Impact preset. Download here. Filtres: Mehdi > Sorting Tiles FU2 > &<Background Designers IV > @Refractor FU2 > &<Background Designer sf10 FU2 > &<Background Designer sf10 II> > Slice N Dice AAA Frames > Foto Frame penta.com > Dots VM Experimental > TeeWee It@lian Editor Effects > Effeto Fantasma Selections & Eye Candy Preset: Place the selections in the Selections folder of your PSP. To import my preset into Alien SKin Eye Candy 5 : Impact - Double-click on the preset and it will install directly in the Settings folder of Alien Skin Eye Candy 5. Fonts: Pixelette for the credits. ****************************** *** Depending on the colors & tube you are going to use, feel free to change the mode and opacity of the layers. STEP 1 - Background 1.Open an image 900x600. Fill with white. 2. Add a layer and fill with a linear gradient black and white, angle on 90° and Repeat on 0. 3. Apply Mehdi > Sorting Tiles.
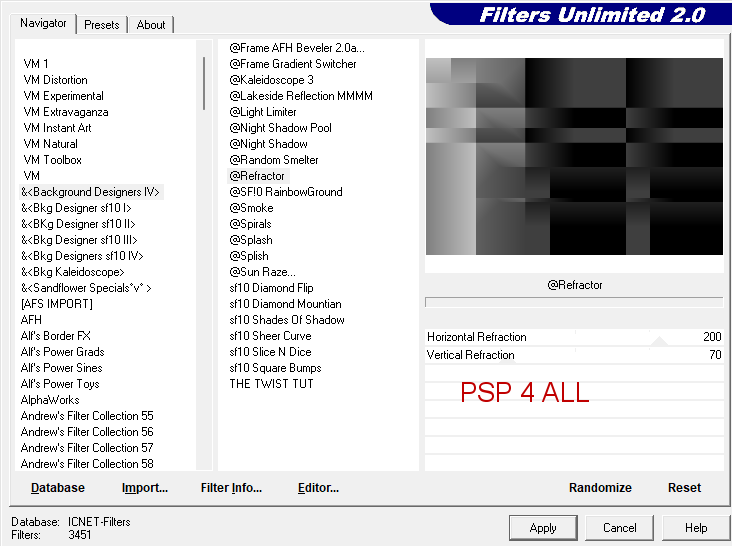
4. Apply FU2 > &<Background Designers IV> > @Refractor
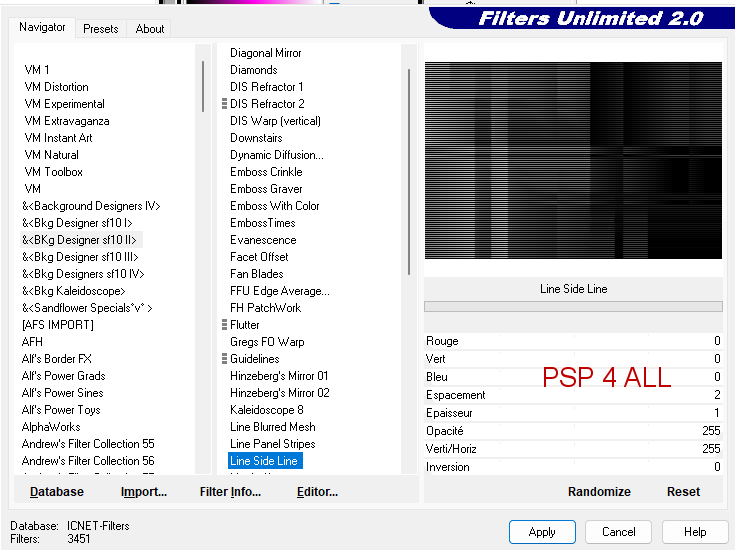
5. Duplicate. 6. Set the original on Luminance (Legacy) and the copy on Screen. 7. Effects > Edge effects > Enhance on both layers. 8. Layers > Merge > Merge visible all 3 layers. 9. Apply FU2 > &<Background Designer sf10 II> > Line Side Line.
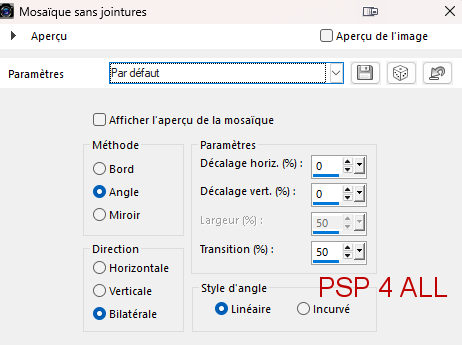
10. Apply Effects > Image effects> Seamless tiling
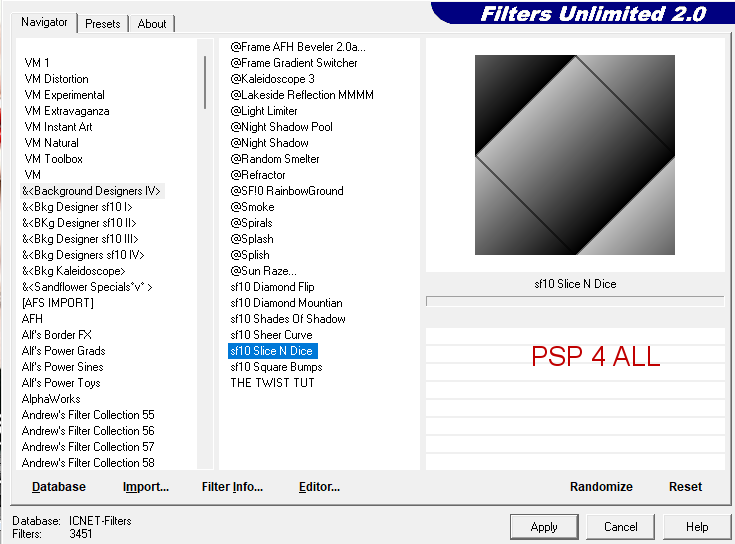
11. Add a layer and fill with whitelanc. Set this layer on Soft Light. 12. Layers > Merge visible. STEP 2 -Small frames and middle bar 13. Open an image 200x200px. 14. Fill with black. Modify > Contract 1 pixel. Delete. 15. Fill with the black and white gradient. 16. Selections > Select None. 17.Apply FU2 > &<Background Designer sf10 II> > Slice N Dice
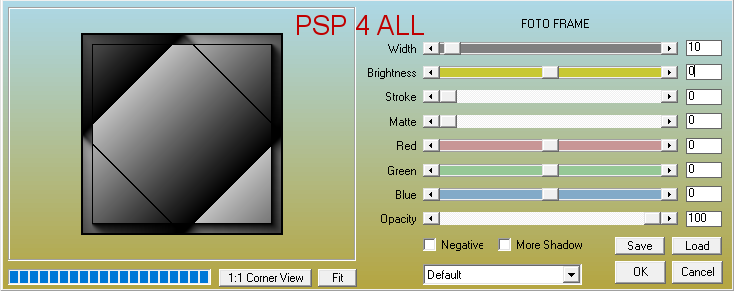
18. Appliy Effects > AAA Frames > Foto Frame.
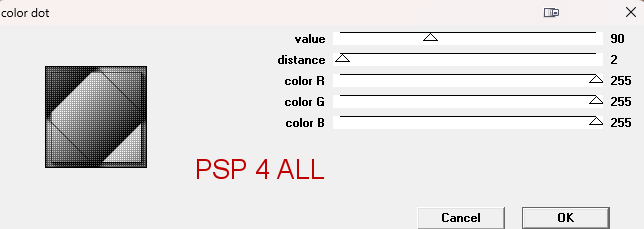
19. Then penta.com > Dots.
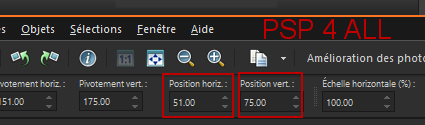
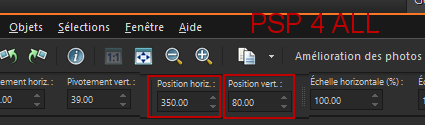
20. Paste this new image on your work, on the left. 21. On your keyboard, hit the K key to activate the Pick tool  and modify Position X and Position Y.
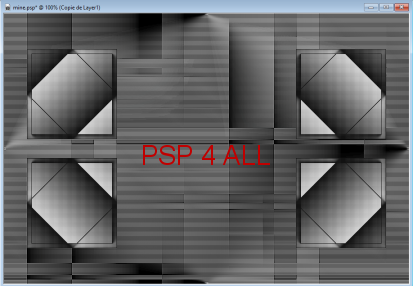
22. Press the M key to disable the Pick tool. 23. Duplicate > Mirror horizontal. 24. Layers > Merge Down. 25. Duplicate > Mirror vertical. 26. Layers > Merge Down. 27. You should see thisi
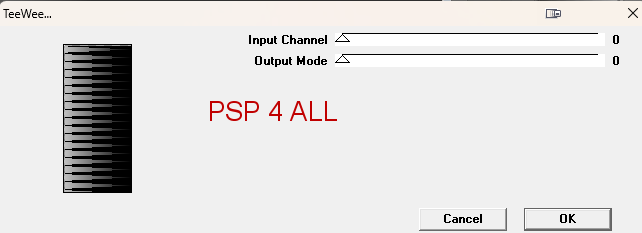
28. Layers > Merge Down. 29. Add a layer. 30. Selections > Load/ Save selection > Load Selection from disk 31. Choose my selection PSP4ALL_MF_BnW_Sel1_mf25.PsPSelection. 32. Fill with black. 33. Selections > Modify > Contract 1 pixel > Delete. 34. Fill with the Black and white gradient. 35. Selections > Select None. 36. Apply VM Experimental > TeeWee.
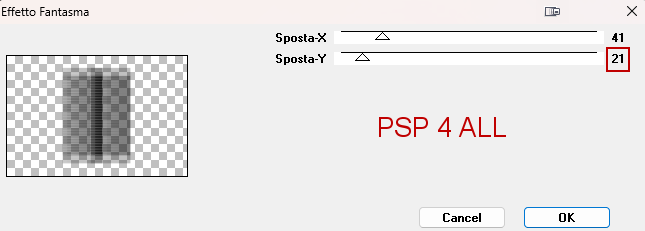
37. Palette Materials: Background and Fill property -> black. 38. Apply It@lian Editors > Effetto Fantasma.
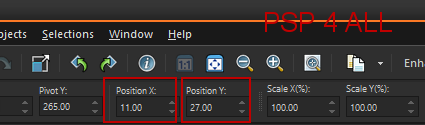
39. Edge Effects > Enhance More. 40. New image 200x50px. 41. Repeat 14 to 20 included. 42. Hit the K key to activate the Pick tool
43. Press the M key to disable the Pick tool. 44. Duplicate and Image > Mirror horizontal. 45. Add a layer. 46. Selections > Load/ Save selection > Load Selection from disk 47. Choose selection PSP4ALL_MF_BnW_Sel2_mf25.PsPSelection. 48. Fill with the black and white gradient. 49. Apply Eye Candy 5 Impact > Glass - Select my preset PSP4ALL_MF_BnW_mf25. 50. Selections > Select None. STEP 3 - Decos, Tube and Texts 51. Copy Paste Déco1 as a new layer. 52. With the Pick tool - hit the K Key, modify lmodify Position X and Position Y.
53. Press the M key to disable the Pick tool. 54. Add the tube in the middle. Drop Shadow of your choice. 55. Add the texts at the top on the right and at the bottom in the middle. STEP 4 - Borders and Credits 56. Borders: Image > Add border symetric 2 pixels - color black. 57. Image > Add border symetric 2 pixels - color white. 58. Image > Add border symetric 2 pixels - color black. 59. Image > Add border symetric 30 pixels - couleur white. 60. Image > Add border symetrice 2 pixels - color black. 61. Image > > Add border symetric 15 pixels - couleur white. 62. Image > > Add border symetric 15 pixels - color black. 63. Credits: with a font like Pixelette or any other small pixel font. Martine 20 February 2025 If you have any questions, don't hesitate to contact me
|