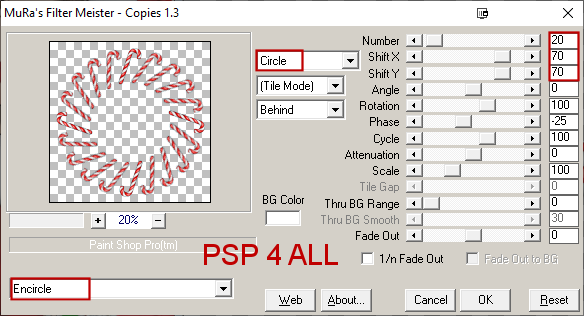
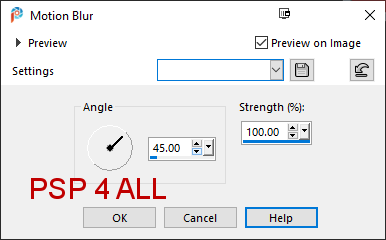
STEP 1 Open an image white. Copy paste this paper Miz_CR_paper 3 as a new layer. Layers > New Mask Layer > From Image and choose WSL_Mask368 . Click on OK. Layers > Merge Group. Copy paste Miz_CR_paper 10 as a new layer. Layers > New Mask Layer > From Image and choose WSL_Mask368 . Click on OK. Layers > Merge Group. Set this layer on Color(Legacy). Element 29 - 35%. Objects > Align > Center on Canvas. Apply Mura's Meister > Copies > Encircle
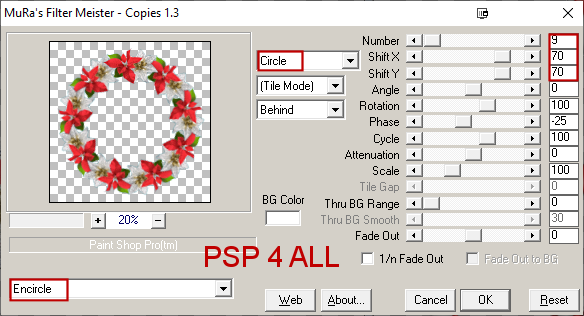
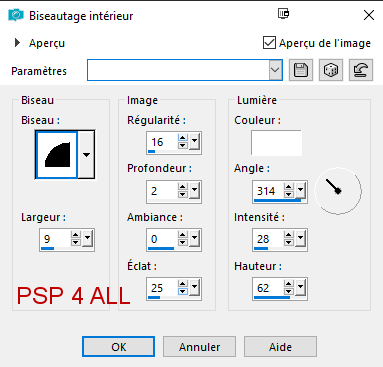
We will fill this wreath with Miz_Christmas_paper (9) - 85%. I used the Lasso tool and started in the middle of a flower. Then I drew the circle passing through the middle of all the flowers. Copy paste the paper as a new layer. Selections > Invert and Delete. Move the paper layer under the wreath. STEP 2 - Elements and Tube Add the tree Miz_Christmas_el (24) on the right on top of the paper Miz_Christmas_paper (9). Miz_CR_element12 - 38%. Miz_CR_element6. Miz_CR_element29 - 45%. Duplicate these 4 elements a few times and add them right above the 2 masks. Miz_CR_element17 - 30%. Miz_CR_element24 - 12%. Miz_CR_element25 - 20%. Miz_CR_element31 - 20%. ---------- Miz_Christmas_el (1) - 55%. Miz_Christmas_el (18) - 40%. Miz_Christmas_el (6) - 35%. ---------- Add the tube in the middle. Small circular frame, top right. Draw a cirle in red, 5 pixels wide. Diameter around 210 pixels. Click inside the circle with the magic wand. Selections > Modify > Agrandir 3 pixels. Add a layer and fill with white. Move this layer under the frame. Keep selected. Resize the tube so it's a bit smaller and copy paste as a new layer. Selections > Invert > Delete. Add Miz_CR_element33 - 25% at the borrom of the frame. ETAPE 3 - Les décos et le Texte Le texte : Le mien ou celui de votre choix, en rouge. Appliquer un Gradient Glow Fat, blanc, 3.12. Puis un biseautage intérieur
et une ombre portée en rouge - 1, 1, 100, 1. STEP 5 - Credits Credits: with a small pixel font like Pixelette or any other small font. STEP 6 - Forum sig if you want
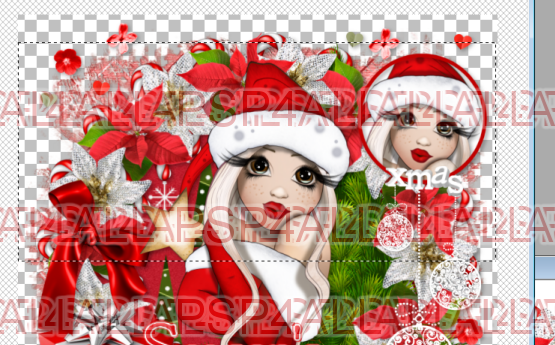
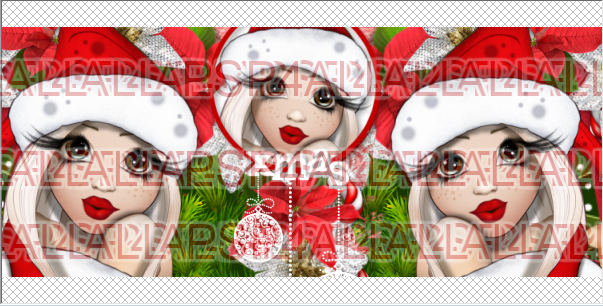
Close the white background, the credits layer and the text layer. Merge visible the other layers. Select a rectangle like this - you want to see the 2 heads.
Image > Crop to selection.
Move the bottom layer towards the left.
Open the top layer. Add a layer and fill with white. Selections > Modify > Contract 2 pixels. Delete. Fill with red and contract 5 pixels. Delete. Fill with white and contracter 2 pixels. Delete. Add back the Credits layer. Martine 2 December 2020 If you have any questions, don't hesitate to contact me |