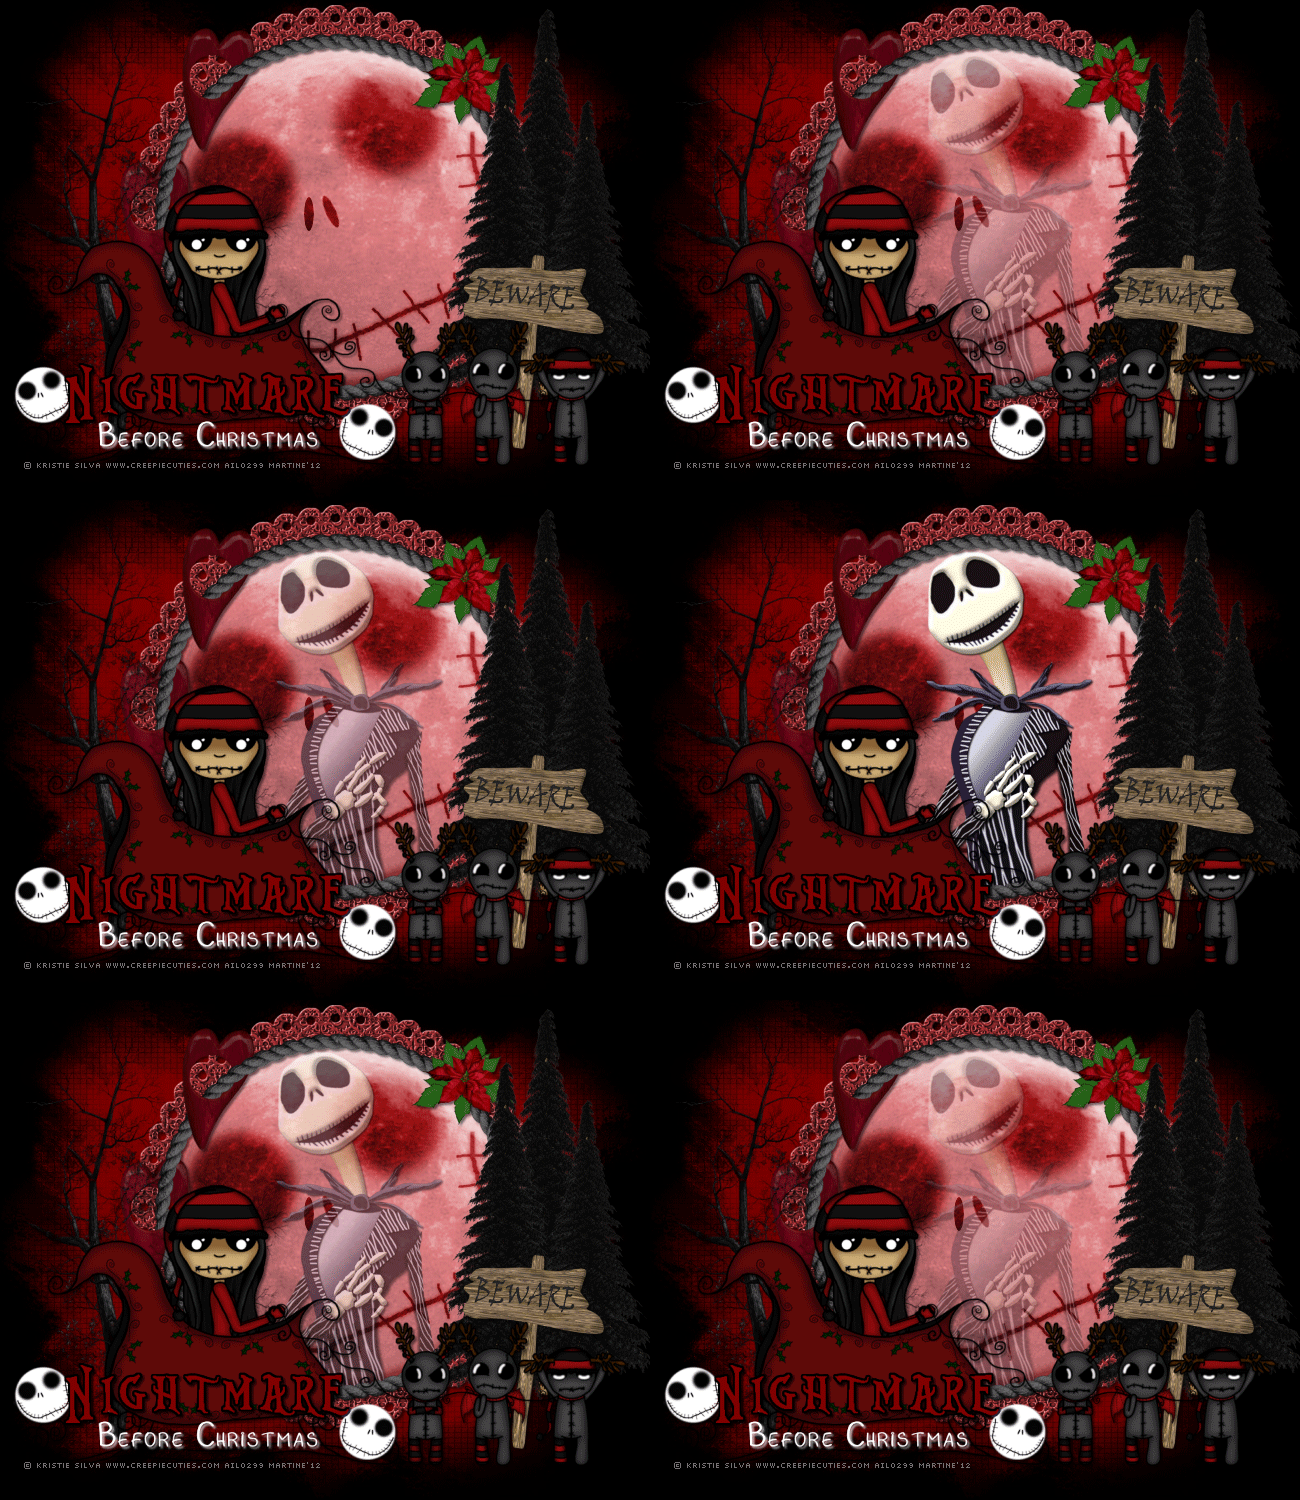
You can do pretty much what you like with your result: create signatures with name added, extras or stats, websets. Give all the credits that are required and for the tut to: Martine (http://chezmartine.com) for PSP 4 ALL (http://psp4all.com).

Mask: Vix_BigMask018 in Big Masks 2 by Vix to download here . Scrapkits: GI-Nightmare Before Christmas by Creative Crazy Scraps & GI12-2011 Nightmare before Christmas by Design by Ellanoir. Download here and here. Fonts: Pixelette for the credits. STEP 1: Mask Open a new transparent image 650x500 in PSP. Fill with black. Add a layer and fill with #800000. Open Vix_BigMask018 and apply. Masks > New > From image - OK. Then Masks > Delete. In PSP 8 and above, it's under Layers > New Mask Layer > From Image. OK then Delete. STEP 2: Elements and tube Once each element is resized, sharpen if necessary: Adjust > Sharpen > Unsharp Mask
Then add a drop shadow: I used
GI-Nightmare Before Christmas element12 - resize to 40% and place in the middle. GI-Nightmare Before Christmas element3 - 70% and place in the frame. Colorize with the Hue at 254 and Saturation at 132. Then click on Layers > Properties > General > Blend mode and select Soft Light. GI-Nightmare Before Christmas element7 - place above element3. Close the element12 layer. Merge visible all the other layers: black background, Mask layer, element3 and element7 layers. Name Bottom layer. GI12-2011 Nightmare before Christmas e1- 25%. Above the layer you have named Bottom. (under the frame). Duplicate to have 3 copies in all. Copy 1: Set the opacity of this copy at 30%. Copy 2: Opacity at 60%. Copy 3: Opacity at 100%. GI-Nightmare Before Christmas element5 - 25%. Place above the frame and on the right. GI-Nightmare Before Christmas element2 - 40%. GI-Nightmare Before Christmas element2 - 35%. On the left of the above tree. GI-Nightmare Before Christmas element2 - 30%. On the right. GI-Nightmare Before Christmas element10 - 40%. On the right. GI-Nightmare Before Christmas element16 - 75%. On the left above the frame. Add your tube. GI-Nightmare Before Christmas element14 - 70%. I changed the colour of the word Nightmare to a deeper red #800000. STEP 3: Credits with a small pixel font like Pixelette. Close the merged layer Bottom layer, the layers e1 Copy 1, Copy 2
and Copy 3. Click on View Animation to check that you are happy with the speed. |

