** Template: SpawnsFSTemplate176 by Dave aka Spawn at Spawns Forum Set Templates. Download here or here. ** Masks: Lithium Flower Creations - ForumSetMask33_Wiremesh_LF : Masks 31 to 35. Download here. ** Plugins: Mura's Meister > Copies Two Moon > PaperFold Xero > Clarity ** Font: Pixelette for the credits. Veltron for the text. ** My colours:
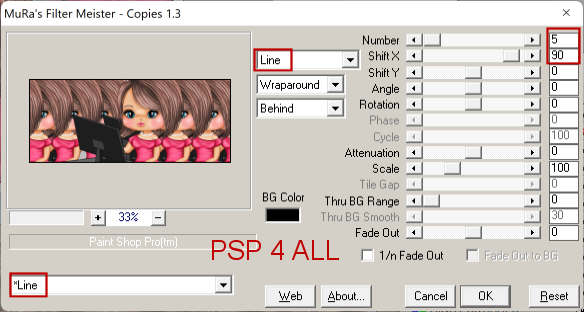
STEP 1 - BACKGROUND Open the template. Shift+D to duplicate. Close the layer Credits. BACKGROUND - Fill with white#FFFFFF. Add the tube. Click on BACKGROUND. Selections > Select All. Image > Crop to Selection. Click on the Tube layer. Apply Mura's Meister > Copies
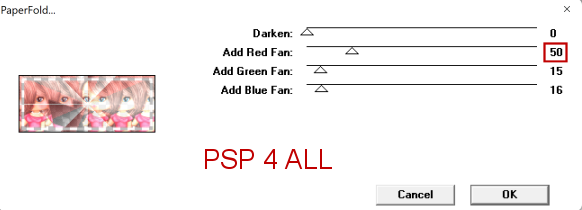
Open ForumSetMask33_FLowers_LF. Layers > New Mask Layer > From Image. Select the mask. OK. Layers > Merge Group. Blend Mode on Multiply and opacity on 50. Apply Two Moon > PaperFold
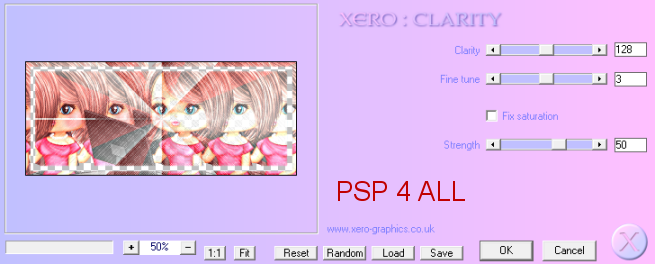
Effets > Xero > Clarity. Configuration par défaut.
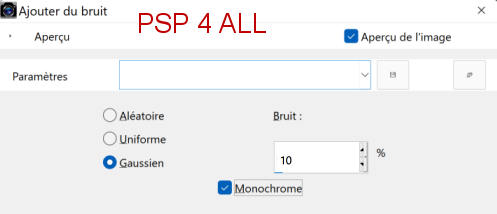
ETAPE 2 - La template LEFT SQUARES - Add a layer and fill with black. RIGHT SQUARES - Add a layer and fill with black. LEFT BIG BG - Add a layer and fill with pink #FD6C98. LEFT BIG FRAME - Add a layer and fill with turquoise #78E9EF. Adjust > Add noise
RIGHT BIG BG - Add a layer and fill with pink #FD6C98. RIGHT BIG FRAME - Add a layer and fill with turquoise #78E9EF. Add the same noise. LEFT SMALL BG - Add a layer and fill with turquoise #78E9EF. LEFT SMALL FRAME - Add a layer and fill with pink #FD6C98. Add the same noise. RIGHT SMALL BG - Add a layer and fill with turquoise #78E9EF RIGHT SMALL FRAMES - Add a layer and fill with pink #FD6C98. Add the same noise. Add the tube. Drop Shadow: 2, 2, 50,5. BORDER - fill with pink #FD6C98.
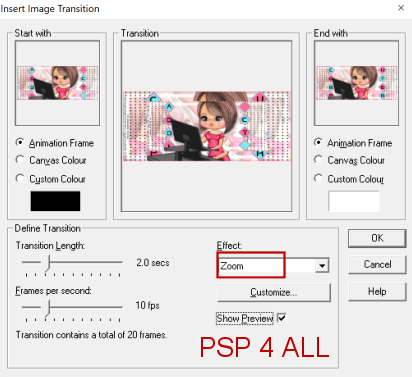
STEP 4 - Animation Close the Addict layer. Edit > Copie special > Copy Merged. Open Animation Shop. Edit > Paste As New Animation. Back to PSP. Close the Computer layer. 0pen the layer Addict. Edition > Copy Special > Copy Merged. In AS: Edit > Paste After Current Frame. Maj.+ D or Window > Duplicate: Animation 1 and Animation 2. Animation 1: Click on the 1st frame. Edition > Select All. Click on Effects > Insert Image Transition. Select Zoom
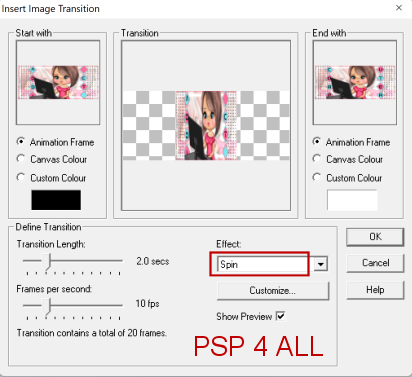
Animation 2: Edition > Select All. Animation > Reverse Frames. The 2nd frame = Addict is now the 1st Frame. Click on the 1st frame. Edit > Select All. Click on Effects > Insert Image Transition. Select Spin.
Click on the 1st frame of this animation (Animation 2) Edit > Copy and then back to Animation 1. Click on the last frame. Edition > Paste After Current Frame. Right Click on the 1st frame and Frame Properties > Change the Display Time. The smaller the number, the faster the animation. I entered 200 to slow it down. Click on frame 22 and do the same: speed on 200. Martine 19 May 2022 If you have any questions, don't hesitate to contact me |