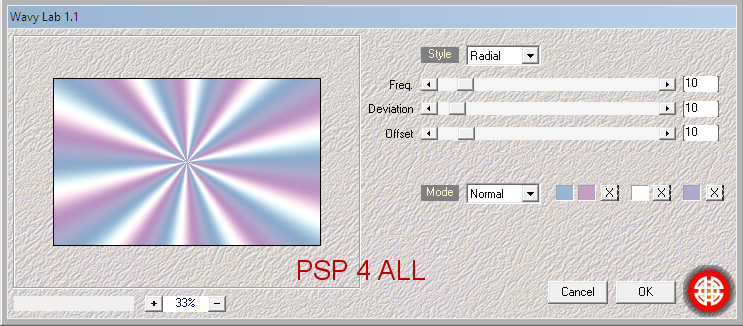
STEP 1 - Le fond Open an image couleur #FFFFFF, 800x500. Foreground = #c49dc7 and Background = #96b6d4. Apply Mehdi Wavy Lab 1.1. Add #FFFFFF for the 3rd colour
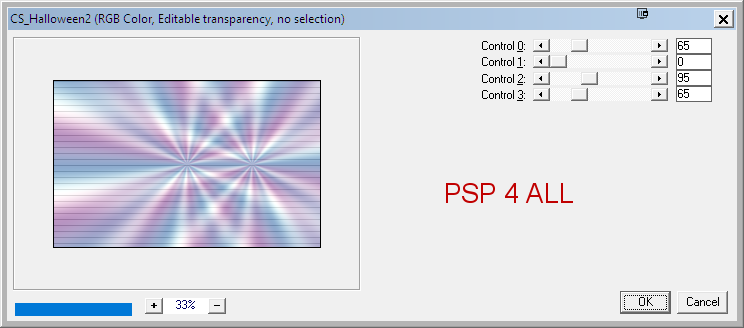
Carolaine & Sensibility > Halloween2
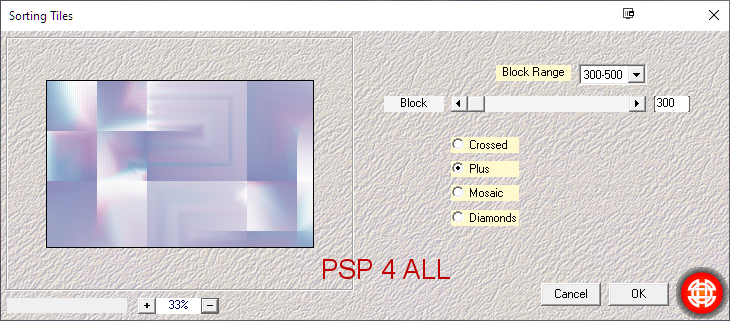
Mehdi > Sorting Tiles par défaut
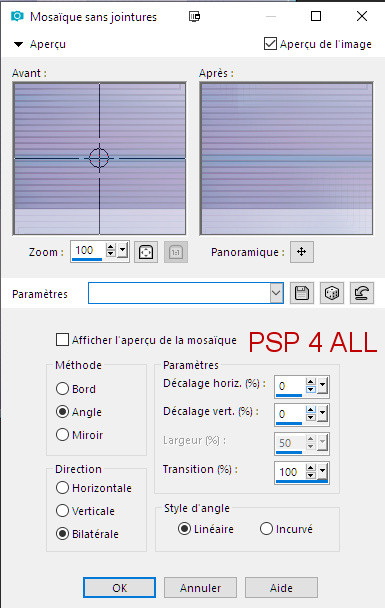
Effets > Effets d'Image > Mosaďque sans jointures.
Adjust > Sharpness > Sharpen More. Visual Manipulation > Transmission
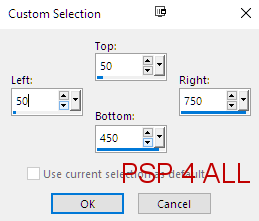
STEP 2 - Mask et le cercle Rename Background 1. Duplicate. Layers > New Mask Layer > From Image and choose MaskCA10. Click on OK. Layers > Merge Group. Selections > Select None. Edit > Copy - Will remain in the Windows clipboard. Selection Tool > Custom Selection
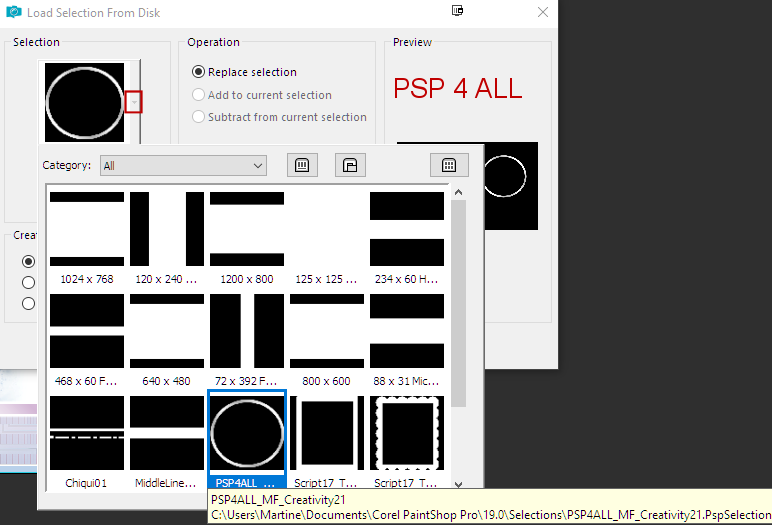
Add a layer. Fill with white. Add a layer. Edit > Paste into selection. Duplicate. Layers > Merge Down. Layers > Merge Down. Rename Background 2.
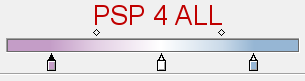
Fill with a gradient. I used my 2 colours #c49dc7 et #96b6d4 and added white.
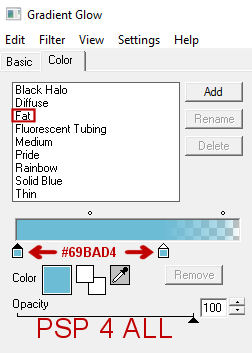
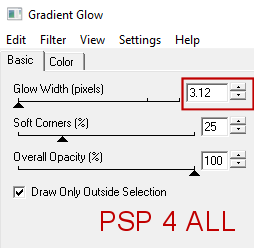
Apply Eye Candy 4000 > Gradient Glow - Fat
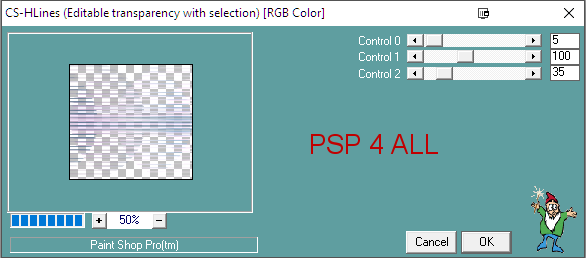
Selections > Select None. STEP 3 - Tube, cercle and Borders Tube: Add your tube on the left. Cercle: Select the inside of the circle. Selections > Modify > Increase 8 pixels. Add a layer and fill with the same gradient - Angle 45 and Repeat on 1. Blur > Gaussian Blur 20.00 Apply Carolaine & Sensibility > CS-HLines.
Duplicate the tube and place so that the head is in the circle. Selections > Invert > Delete. Selections Check that the 3 layers are in this order: 1. border of the circle at the top 2. tube in the middle - Apply Drop Shadow= 10, 10, 75, 25 in blue #97b7d5. 3. gradient background. Merge these 3 layers. Merge down. On the tube on the left, add a Drop Shadow= 10, 10, 75, 25 colour #D5BAD7. Borders: Click on Background 2. Selections > Select All. Selections > Float. Selections > Defloat. Add a layer and fill with the gradient. Selections > Modify > Contract 10 pixels. Delete. Apply the same Gradient Glow. Selections > Select None. Delete the layer with the mask above it. Selections > Select All. Add a layer and fill in white. Selections > Modify > Contract 2 pixels. Delete. Fill with the gradient. Selections > Modify > Contract 10 pixels. Delete. Selections > Select None. STEP 4 - Wordart and Credits Wordart: The one I used Creativity or one of your choice. I split the wordart in 4 layers and arrange on my tag. See my tag. Apply Eye Candy 4000 > Gradient Glow - same configuration as before on You can't use up Creativity. and duplicated The more you use, the more you have. Credits: with a small pixel font like Pixelette or one of your choice. Martine 9 June 2021 If you have any questions, don't hesitate to contact me |