You can do pretty much what you like with your result: create signatures with name added, extras or stats, websets. Give all the credits that are required.
 Scrapkit: Scrappin Your Heart Out Blogtrain: Fresh As A Daisy. Download these 3 kits: AnnieCDigitals - Lady D G Scrap - Digiscrap Angelhaze. Mask: RD_Masks747 by Rachel of Rachel Designs. Download here. Font: Pixelette for the credits. I used this Drop Shadow H 2, V 3, O 50, B 4. You can download my E-Book which will let you work without being connected. STEP 1 Open an image 680x528. Fill with white. Selections > Select All. Selections > Float. Selections > Defloat. Choose paper AnnieC Fresh as a Daisy paper5 and copy paste as a new layer. Selections > Select None. Open mask RD_Masks747. I cut off some of the black areas around the mask so the mask would fill my working image better.
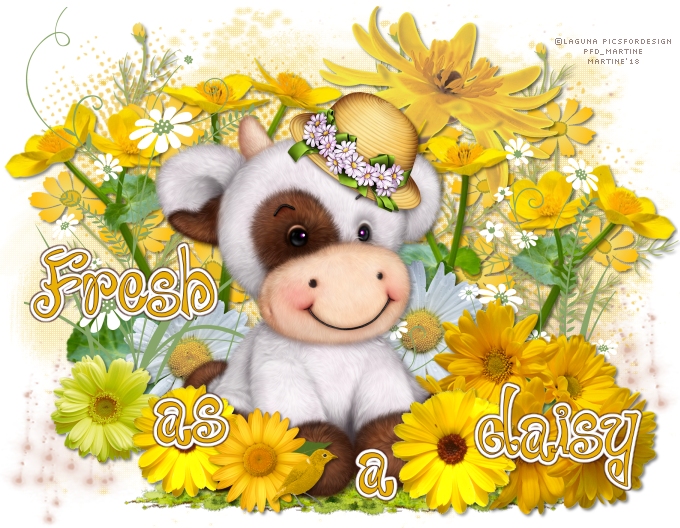
For this result:
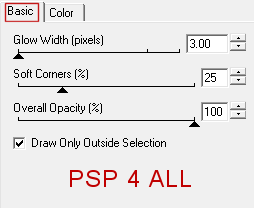
Layers > New Mask Layer > From Image and choose RD_Masks756. Click on OK. Layers > Merge Group. Set the opacity at 36. STEP 2 - Add these elements DA-FreshAsADaisy-element (022) - bottom. DA-FreshAsADaisy-embellishment (01) - Bottom right. Colorize. Adjust > Hue and Saturation > Colorize with the Hue at 12 and Saturation at 105. Duplicate. Image > Mirror. Place the copy at the bottom, on the left. Selections > Sélect All. Add a layer and copy paste ACD grunge splatterctions in the selection. Selections > Select None. ACD yellow daisies - 35%. LDGS_SYHOBT_Apr18_El02 - 20%. On the right. DA-FreshAsADaisy-element (019) - 75%. On the left. Duplicate. On the right. LDGS_SYHOBT_Apr18_El03 - 7%. On the right. Duplicate. On the left. ACD daisies - 35%. In the middle. DA-FreshAsADaisy-element (020) - 60%. Bottom, right. Ajouter le tube. DA-FreshAsADaisy-element (03) - 28%. On the right. DA-FreshAsADaisy-element (011) - 25%. On the left.. DA-FreshAsADaisy-element (03) - 25%. On the left. DA-FreshAsADaisy-element (04) - 28%. On the left. DA-FreshAsADaisy-element (016) - 15%. Bottom. STEP 3 - Wordart DA-FreshAsADaisy-wordart (01) - 60%. Split the 3 words and place them on different layers. Select the a of as and place it on another layer. Apply Eye Candy 4000 > Gradient Glow on the 4 words.
Click on the Fresh layer. Selections > Select All. Selections > Float. Selections > Defloat. Selections > Modify > Expand > Expand by 1 pixel. Add a layer and fill with #3D150F. Selections > Select None. Slide this layer under the text. Layers > Merge down. Repeat pfor the 3 other words: As a Daisy. STEP 4 Credits: with a font like Pixelette or any other small pixel font. Save your work. Martine 4 July 2019 If you have any questions, don't hesitate to contact me |