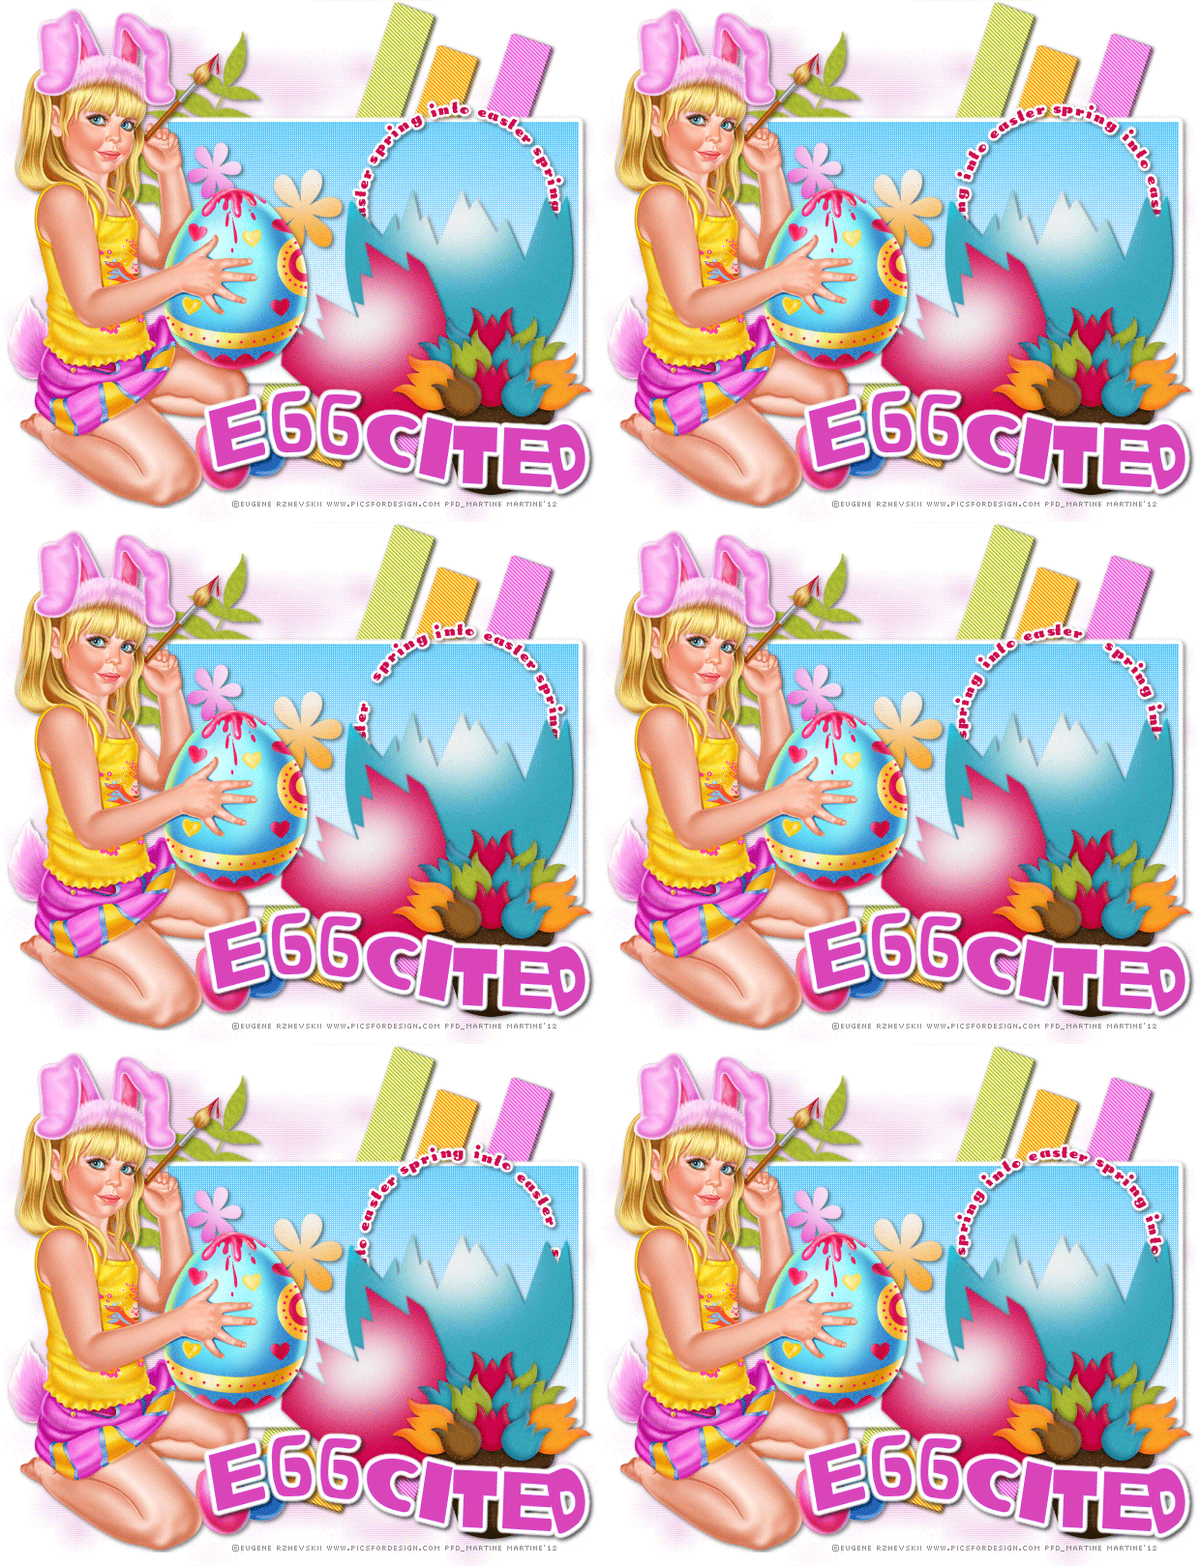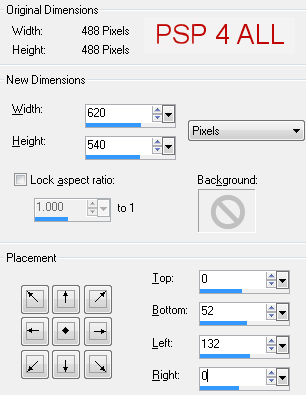
Template: Enjoy life by Crys at Creative Scraps. Direct Link here. Scrapkit: Bunny Hop by Crystal on her blog Crystal's Designs. Direct link here. Mask: 401 by Insatiable Dreams - Direct link Masks 11 here. Plugins: VanDerLee - Unplugged-X; penta.com - color dot et jeans; Eye Candy 4000 - Gradient Glow. Fonts: Oogabooga Irregular, Long Ears MF and Pixelette. You can download my E-Book which will let you work without being connected. STEP 1 - Mask Open the template and duplicate. Close the original. Resize to 75% Then change the size - Click on Image > Taille du support
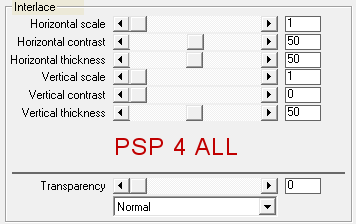
Click on Raster 1 and fill with white. Close the credits layer at the top Raster 9 and the layers Raster 5 and Raster 6. Mask: Add a layer and fill with FAA2EA or the colour of your choice. Open mask 401 and apply. Masks > New > From image - OK. Then Masks > Delete. In PSP 8 and above, it's under Layers > New Mask Layer > From Image. OK then Delete. Apply VanDerLee > UnPlugged-X > Interlace
I then lowered the opacity of this layer to 70. STEP 2 - Template layers Drop shadow: I used
Raster 4: Selections > Select all > Selections > Float > Selections > Defloat. Add a layer and fill with #BCC65C or the colour of your choice. Apply penta.com > jeans
Selections > Select none. Then apply the drop shadow. Delete the original layer. Copy of Raster 4: Repeat what has been done for Raster 4 but change the colour. I used #F06F20. Copy (2) of Raster 4: Again repeat what was done for Raster 4 but change the colour. I used #E565D2. Raster 7: Copy paste paper 7 as a new layer. Selections > Invert. Click on the Delete key of your keyboard. Selections > Select none. Then apply the drop shadow. Delete the original layer. I moved this layer a bit towards the top and to the right after adding my tube. Raster 3: Add a layer and fill with a sky blue gradient #5FC2FB and #FFFFFF or using the colours of your choice. Apply penta.com > color dot
Selections > Select none. Then apply the drop shadow. Delete the original layer. Raster 8 - Copy of Raster 8 et Copy (2) of Raster 8: Copy paste one of the eggs as a new layer. Change the colour if needed. Selections > Invert. Then apply the drop shadow. Delete the original layer. Raster 2: Selections > Select all > Selections > Float > Selections > Defloat. Copy paste one of the eggs as a new layer. Change the colour if needed. Selections > Invert. Click on the Delete key of your keyboard. Selections > Select none Duplicate this layer and move the copy above Raster 3, the rectangular layer filled with the gradient. Name Egg without shadow. Back to the other layer and apply the drop shadow. Delete the original layer Promoted Selection: Repeat the steps used for Raster 2 but first rotate your chosen egg - left and 45°. Do not duplicate this layer. STEP 3 - Tube Add your tube. And apply the drop shadow. STEP 4 - Text My text: Eggcited. Draw a wavy line using the pen tool, width 6 and colour #000000 in the foreground. No colour in the background.
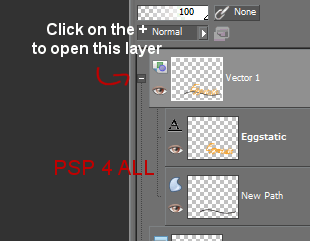
Then click on the Text tool: Oogabooga Irregular font, colour #D945B8, vector with anti-alias. Place your mouse on the wavy line and to the left until you see an A in a semi-circle OK. Your text should now be and follow the wavy line. On your layer palette, click on the small + on the left of the Vector 1 layer to open it
The layer opens.Close the New Path layer at the bottom. Click on the layer Vector 1 and then go to Layers > Merge > Merge down. Apply Eye Candy 4000 > Gradient Glow
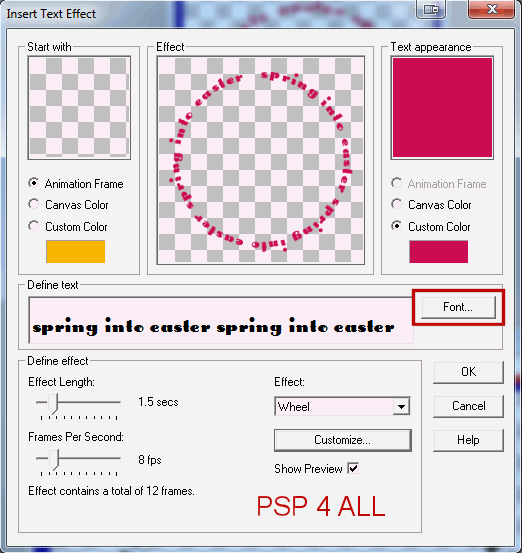
Apply the drop shadow. STEP 5 - Credits With a small pixel font like STEP 6 - Merging Close the bottom layer, the white one Raster 1 and all the other layers that are above the layer Egg without shadow. Merge visible all the other layers and name Image 1. Close Image 1 and open all the layers above it. Merge visible and name Image 2. STEP 7 - Animation Shop: Animated text Open a new image 250x250. Click on Insert Text Effect. The Insert Text Effect window opens. On the left, under Start with, select Animation Frame. On the right, under Text appearance, click on Custom Color and choose your colour. Then click on Font
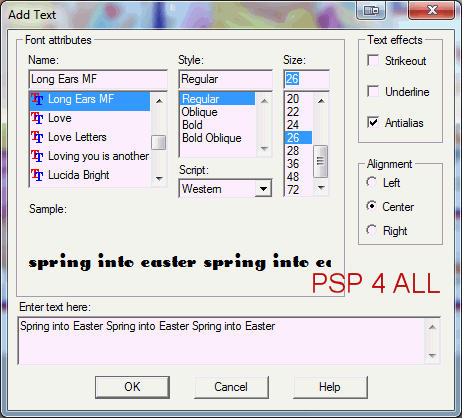
Choose your font and add your text. I wrote Spring into Easter 3 times.
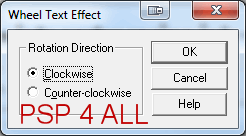
Click on OK then on the Insert Text Effect window, click on Customize. I selected clockwise.
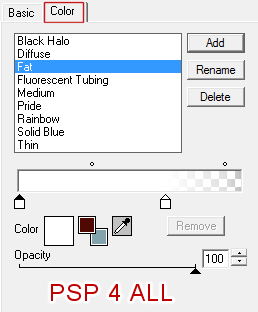
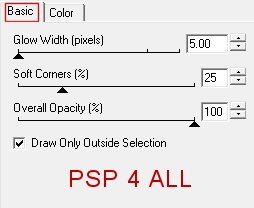
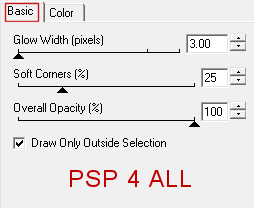
OK. Insert Text Effect window, look on the left and check Define effect. Choose Wheel and ensure that effect length is 1.5 secs and Frames Per Seconde at 8 fps. Effect contains a total of 12 frames. Click on OK. The new animation has 13 frames. Delete the first one which is empty. Edit > Select All. Then File > Export Frames > To Paint Shop Pro. In Paint Shop Pro, close all the layers except the layer at the bottom. Apply Eye Candy > Gradient Glow but under Bacis, change the 5.00 to 3.00
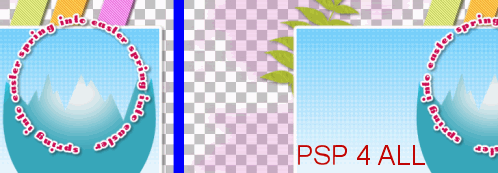
Apply the drop shadow. Close this layer and open the second layer. Apply the Gradient Glow and drop shadow. Repet these steps for all the layers. Open all the layers and either right click and choose Update Back to animation Shop or save and open in Animation Shop. ETAPE 8 - Animation Shop: Finishing the tag The wheel animation is open. Open also Image 1 and Image2. Make 12 frames of Image 1 and 12 frames of Image 2 as there are 12 frames in the wheel animation. Click on the first frame of the wheel animation. Edit > Select All > Edit > Copy. Click on the first frame of Image 1 and then click on Edit > Select All > Edit > Paste and slide the wheel animation and place in the egg.
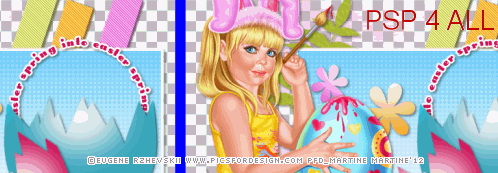
Undo if you are not happy with your result. Now click on the first frame of Image 2. Click on Edit > Selectionner All > Edit > Copy then click back on Image 1 which now has the text on it and click on Edit > Paste and slide your Image 2 animation onto it. Ensure that the egg is on top of the other one so the bottom part of the text is covered.
I changed the speed of my animation and set it at 20 for all the frames. It's up to you. Edit > Select All. Save as a gif. Martine 22 March 2012 If you have any questions, don't hesitate to contact me |
