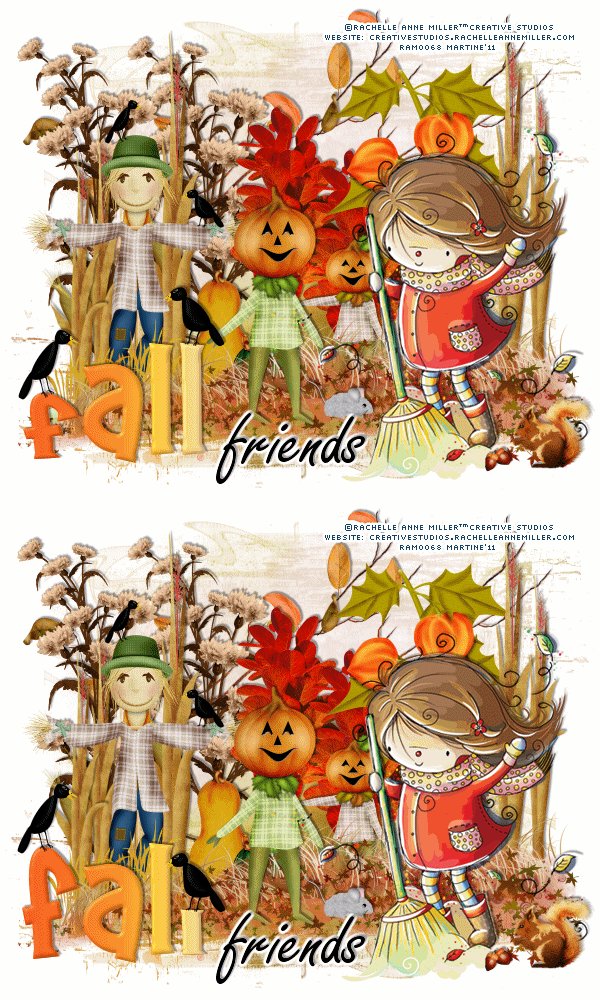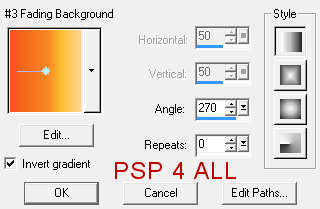
Scrapkit: Harvest Time by Weefaerie ŕ The Wee Faerie Ring. Plugins: Eye Candy 4000. Font: Poornut - Freestyle Script - Pixelette. You can download my E-Book which will let you work without being connected. STEP 1 - Background and Mask Open an image 600x500 and fill with white. Pick one of the papers. I used Paper20. Resize at 17% and copy paste as a new layer. Open Mask WSL221 and apply. Masks > New > From image - OK. Then Masks > Delete. In PSP 8 and above, it's under Layers > New Mask Layer > From Image. OK then Delete. STEP 2 - Elements Add a drop shadow on the elements, tube and text
Branch - Image > Resize 17%. Image > Rotate right 90°. Add drop
shadow. Place a bit past the middle.
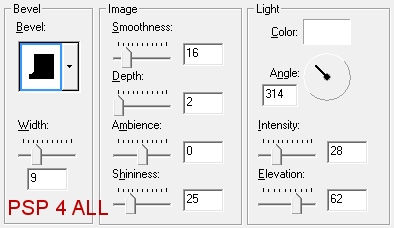
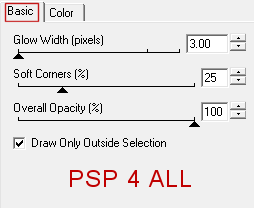
Then applied an Inner Bevel - Effects > 3D Effects > Inner Bevel
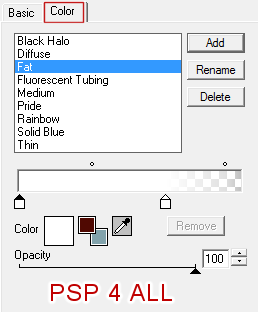
Apply the same drop shadow. Friends: In black. Size 30 (60 in PSP 7). Apply Eye Candy 4000 > Gradient Glow
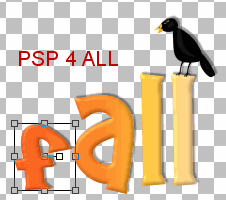
Then the same drop shadow. STEP 4 - Credits With a small pixel font like Pixelette. STEP 5 - Animation 1. In PSP Open a new image 400x400 and paste the Fall text as a new layer. Duplicate. close the copy. Activate the first layer, add one of the crows - resize to 13% and add on the L. Add a drop shadow on the crow. Merge visible these two layers then close. Open the second Fall text layer, add the other crow as a new layer, again resize it to 13% and add on the F. This time click on Image > Mirror. Add the same drop shadow. Merge visible. Close the second layer with the crow on the F. Click on the first layer and open. With the Freehand selection tool (Lasso tool)- point to point - select around the F. Then copy paste the selected F as a new layer, position it exactly on top of the other one. Delete the original F on the first layer. Click on the F layer then on the Raster Deform tool (Key stroke D - In PSP 7, the Deformation tool) and flatten the F
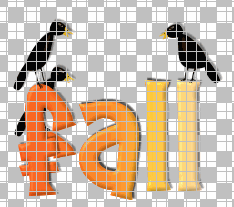
Then with the Move tool, place the same crow that is on the F. To make sure the 2 crows are aligned, use the grid and open the second Fall layer you closed earlier. You should see this
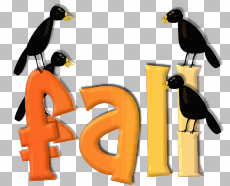
Now close the second layer and merge visible the 3 layers (the 'All' layer without the F and with the crow on the L, The F layer and the crow layer). Open the second layer at the top with the crow on the F. We will flatten the L. Repeat what you did for the F: Duplicate the L - Flatten the L - Add the second crow - Check the alignment - Merge visible. You should now have 2 layers.
Save these 2 layers as PSP file. Click on your main image with all the elements. Close the Fall layer. Then merge visible all the layers. 2. In Animation Shop Copy paste your merged image in AS. Open your saved Fall animation. Click on the Animation. Edit > Select All. Edit > Copy. Click on your merged image. Edit > Duplicate
Selected (you need two frames as your animation has 2 frames). |
