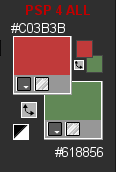
STEP 1 My colours
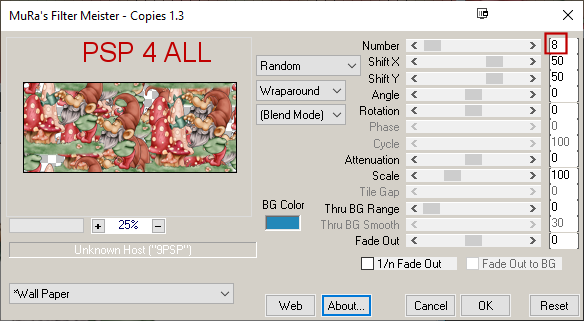
Open an image white 851x315. Add your tube. Apply Mura's Meister > Copies > Wallpaper
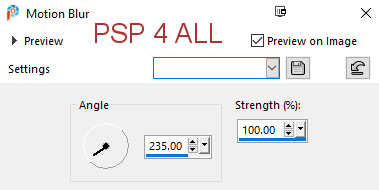
I put 8 for number because I wanted to have a few holes in which the white background layer was showing. Layers > Merge > Merge Visible. Adjust > Blur > Motion Blur
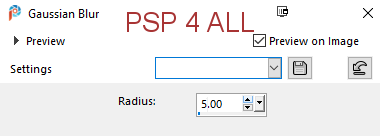
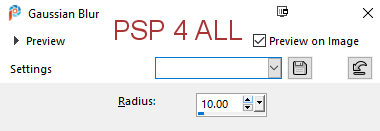
Adjust > Blur > Gaussian Blur
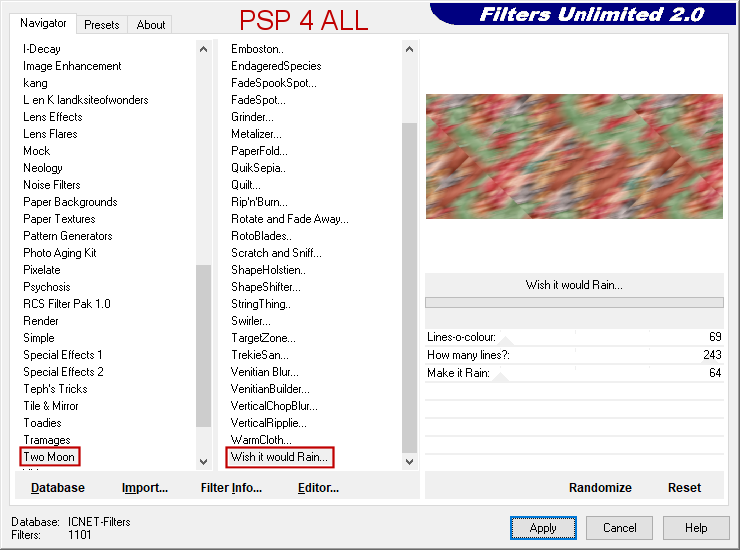
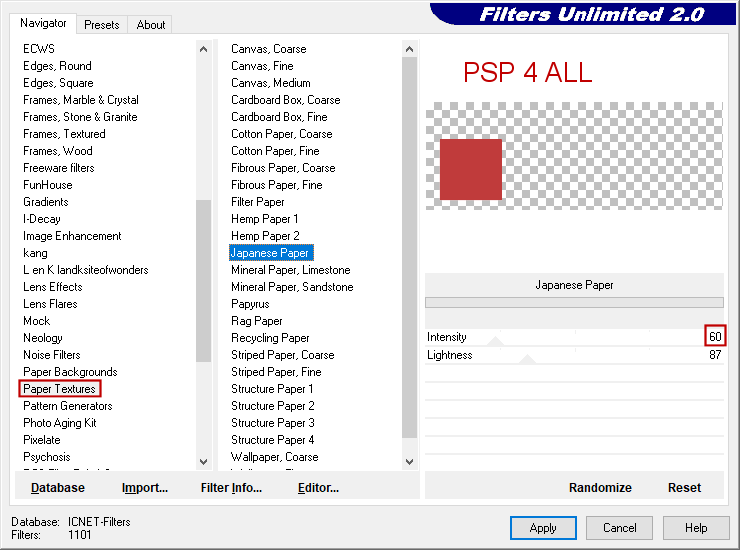
Duplicate. Back to origial layer. Apply Filters Unlimited > Two Moon > Wish it would Rain
Click on the copy. Image > Resize 90%. Adjust > Blur > Gaussian Blur
Apply Carolaine and Sensibility > CS-LDots
STEP 2 - Tube and Borders Add the tube in the middle. Duplicate. On the original layer - Adjust > Blur > Gaussian Blur
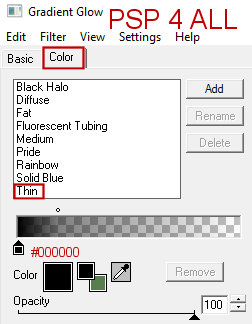
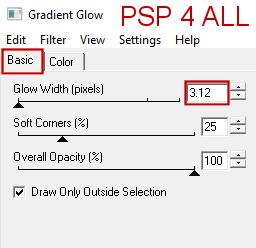
Duplicate. (You should have 3 tube layers). Back to the top layer. Add a layer and fill with green #618856. Selections > Select All > Modify > Contract 1 pixel. Click on Delete. Add a layer and fill with red #C03B3B. Selections > Select All > Modify > Contract 6 pixels. Click on Delete. Add a layer and fill with green #618856. Selections > Select All > Modify > Contract 5 pixels. Click on Delete. Selections > Select None. Apply Eye Candy 4000 > Gradient Glow > Thin on the 2 inner borders: the green and red borders inside.
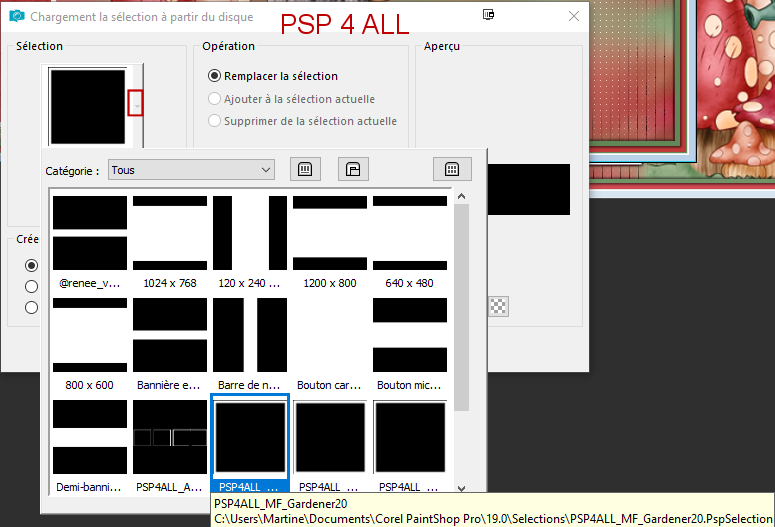
STEP 3 - Two small frames Add a layer. Selections > Load/Save Selection > Load Selection From disk. Choose PSP4ALL_MF_Gardener20
Fill the selection with white.
Place a small copy of your tube in the frame. Set this layer on Luminance (legacy)or a blend mode that suits your tube and colours better. Duplicate the frame. Resize the original to 92%. Place right in the middle of the other frame. Appliy the same Gradient Glow. Repeat for the frame on the right. Load the second selection PSP4ALL_MF_Gardener20_2. I changed the colour of the background and used green #618856. STEP 4 - Embellishments and Text Embellishments: Click on Selections > Load/Save Selection > Load Selection From disk. Choose selection PSP4ALL_MF_Gardener20_3. Fill with white. Selections > Select None. Apply the same Gradient Glow, Thin, in black. Click on Selections > Load/Save Selection > Load Selection From disk. Choose selection PSP4ALL_MF_Gardener20_4. Fill with white. Selections > Select None. Apply the same Gradient Glow, Thin, in black. Move this layer and place under the 3 layers Tube. Text: Add a layer. Layers > Arrange > Bring to Top. With the font Fling LET, add my text or yours, in white #FFFFFF. Duplicate. On the original, apply the same Gradient Glow, Thin, in black. STEP 5 - Credits Credits: with a small pixel font like Pixelette or any other small font. Martine 28 May 2020 If you have any questions, don't hesitate to contact me |