|
 |
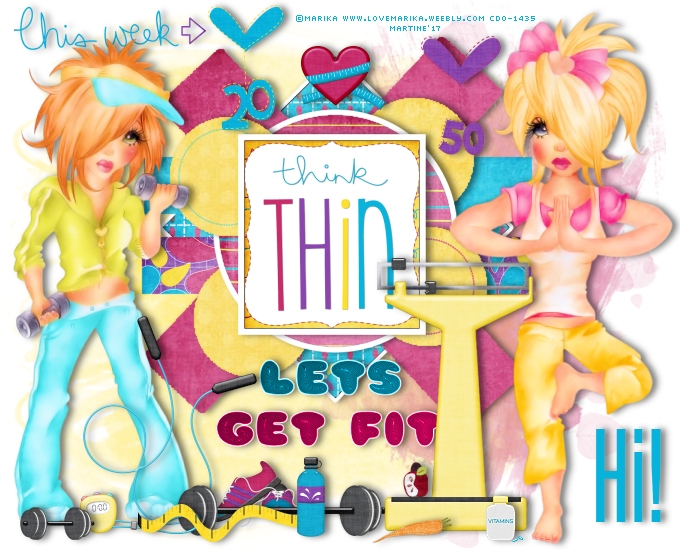
~*~ Let's Get Fit ~*~
(Version française
ICI)
|
|
|
 |
|
You can do pretty much what you like with your result: create signatures with
name added, extras or stats, websets. Give all the credits that are required and
for the tut to:
Martine (link to
http://chezmartine.com) for PSP 4 ALL (link to
http://psp4all.com).
This pointing hand is here to help you.
You can drag and drop it and use it as a marker to help with following the
tutorial.
Martine
 |

Tubes of your choice, free or not, but credit for them
must be added to your tag. I used a tube ©Sherri Baldy -
www.mybestiesshop.com.
Don't forget your license! It must be legible on your tag.
Scrapkit: "Get Fit", FTU kit
by Chassity on her blog
Polka Dots Scraps.
Download
here.
Third from the top.
Template: "Exercise template" by
Linda NM on the blog
Graphic Groupies. Download
here.
Fonts: Steelfish Regular for the text and Pixelette for the credits.
You can download my E-Book which will let you work without being connected.

STEP 1 : Template
|
V = 0 |
O = 50 |
|
H = 5 |
B = 10 |
Open the template. Duplicate and close the original. Resize to
60%. The template is now 420x420. Click on Image > Canvas Size and increase the
size left and right, top and bottom to end up with 680x550.
|
 |
Delete Raster 9, Raster 7 and Raster 5.
Add a layer. Click on Layers >
Arrange > Send to Bottom. Fill with white.
Copy paste
PDS_GF- print1. Place on the left, towards the bottom. Set the opacity at 47%.
Duplicate and place the copy on the left but towards the top.
Copy paste
PDS_GF- print3 and place on the right.
Fill all the layers without the white border with a paper:
Click on the layer - Selections > Select All. Selections >
Float. Selections > Static. Add a layer. Then with the fill tool, click on
Materials > Pattern and select he paper. Then Selections > Selec None. Add the
drop shadow.
For the layers with the white border, click on the dark colour and fill.
Vector 1 - Select
the black colour and fill with paper
PDS_GF- paper2.
Raster 3 - with paper
PDS_GF- paper10.
Copy of Raster 3 - with paper
PDS_GF- paper4.
Raster2, Copy(2) of Raster 2, Copy of Raster 2 et Copy of raster 2 - with
paper
PDS_GF- paper9.
Raster 1 - Select the grey colour and fill with paper PDS_GF- paper5.
Raster 6 - Fill with colour: #08B3DB.
Copy of Raster 6 - Fill with colour: #DD7087.
Raster 4 - Select the black colour and fill with paper
PDS_GF- paper3.
PDS_GF- wathin - Click on the layer with the paper
PDS_GF- paper3 then Sslections > Select All. Selections >
Float. Selections > Static and add PDS_GF- wathin in the selection.
Selections > Select None.
Raster 8 - Lets. Select and colorise. Adjust > Hue and Saturation. > Colorise
(#08B3DB).
Hue at 135 and Saturation at 237.
Get Fit. Colorise (#F40067) with Hue at 237 and Saturation at 255.
STEP 2: Elements and Tube.
PDS_GF- wathisweek - Top left.
Add les 2 tubes, on the right and left.
PDS_GF- jumprope - 35%. Bottom left.
PDS_GF- shoes - 20%. Bottom left.
PDS_GF- barbell2 - 35%. Bottom left.
PDS_GF- barbell1 -
25%. Bottom left.
PDS_GF- scale - 55%. Bottom right.
PDS_GF- foodapple -
12%. On the scales.
PDS_GF- foodcarrot - 20%. In front of the scales.
PDS_GF- vitamins - 10%. In front of the scales.
PDS_GF- tapemeasure - 30%. Left.
PDS_GF- waterbottle - 20%. Left.
PDS_GF- lost20 - 25%. Top left.
PDS_GF- lost50 - 25%. Top right.
PDS_GF- heart - 17%. Top middle.
STEP 3 : Credits and Text
Credits: with the Pixelette font or any other small pixel
font.
Text: of your choice or mine Hi with the font
Steelfish Regular using #08B3DB.
Save your work.
Martine
3 May 2017
If you have any questions, don't hesitate to contact me
.
|