You can do pretty much what you like with your result: create signatures with name added, extras or stats, websets. Give all the credits that are required and for the tut to: Martine (link to http://chezmartine.com) for PSP 4 ALL (link to http://psp4all.com).
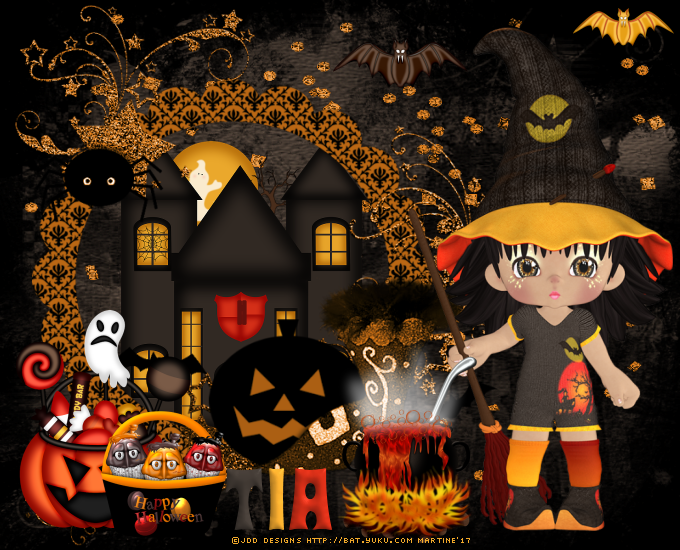
 Scrapkit: Spook Time by Clarez Creationz, free kit that you can download here. Mask: Halloween Masks 6-10 by Kristin at Toxic Desirez. Download here. It's the third one down, mask 8. Fonts: D3 Witchism for the text and Pixelette for the credits. You can download my E-Book which will let you work without being connected. STEP 1: Mask, Elements and Tube Open an image 680x550. Fill with black. Add a layer. Selections > Select All and copy paste paper 18 into the selection. Selections > Ne rien sélectionner. Ouvrir le masque mask 8 de Toxic Desirez. Calques > Nouveau calque de masque > A partir d'une image. OK. Calques > Fusionner > Fusionner le groupe. Dupliquer ce calque. Ajouter un calque. Sélections > Sélectionner tout et copier coller ST38 dans la sélection. Sélections > Select None. ST08 - 85%. On the left. ST01 - 50%. In the middle of the frame then slide this layer under. ST20 - 15%. Top middle. ST17 - 15%. Top right. ST18 - 35%. Bottom left. ST27- 35%. Bottom left. See my tag. Add the tube, on the right. ST41 - 30%. Bottom in the middle. STEP 2: Text and Credits Texte : Write your name or text with the D3 Witchism font. Then colour each letter - in grey with #312923; in yellow with EAA82C and orange with #D42F18. I used the colours of the Colour Swatch in the kit. Apply an Inner Bevel. Effects > 3D Effets > Inner Bevel
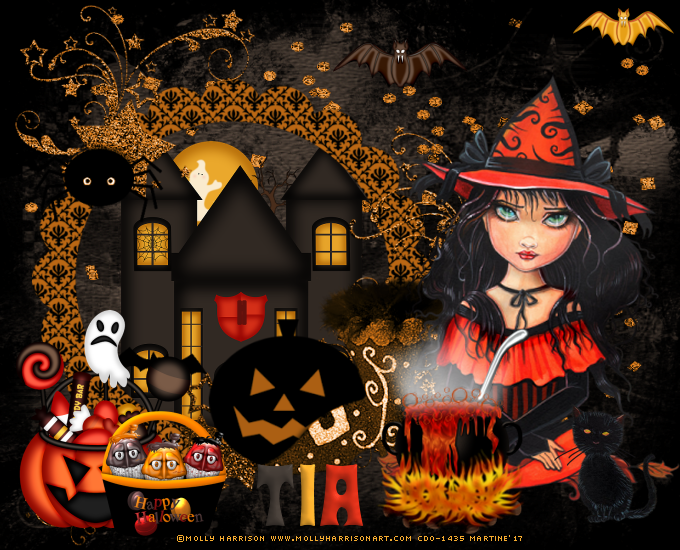
Credits: with the Pixelette font or any small pixel font. Save your work. Another result with a tube by Molly Harrison, mollyharrisonart.com, bought at CDO:
Martine 5 October 2017 If you have any questions, don't hesitate to contact me |