|
 |
~*~ Halloween Boo ~*~
(Version française
ICI) |
|
|
 |
|
|
You can do pretty much what you like with your
result: create signatures with name added, extras or stats, websets.
This pointing hand is here to help you. You can drag and drop it and use it as a
marker to help with following the tutorial.
Martine

|

Tubes of your choice, free or not, but the credit for
the tube must be added to your tag. The tube I am using is © Suzanne Richards -
www.mojo.com.au. If you use the same tube, you need a license that
you can get here:
CILM. and don't forget: you can only have one © on your tag.
Scrapkit: Halloween created by Bluey of
Blue Dream Designs. Link:
Halloween.
Mask: One of Chelle's of
Weescotlass - In the zipped file.
One image you are allowed to use. Mine comes
from here :
Stock.xchng. You have to join but it is free.
Alien Skin
Xenofex 2
My template in the zipped file.
Police: Pixelette for your credits.
Supplies:

You can download my E-Book which will let you work without being connected:

Open the supplies in PSP. Click on the template. Best not to work on the
original. Click on Shift and D to make a copy. Close the original.
Close the
Credits layer at the top.
- Resize your
image, with the Layers merged option kept unchecked. The one above is 75% of
its original size.
- Add your credits.
Animation-
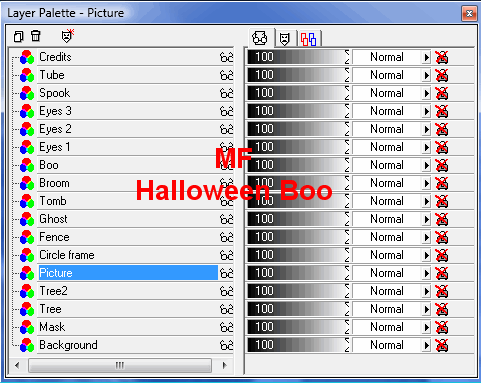
Your Layer Palette should look like this:
-
Click on the Picture layer. Close all the layers above it. Merge visible the 5
remaining layers.
- Go to Effects > Alien Skin
Xenofex 2 - Lightning.
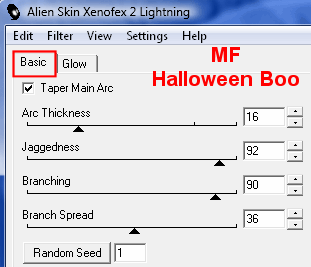
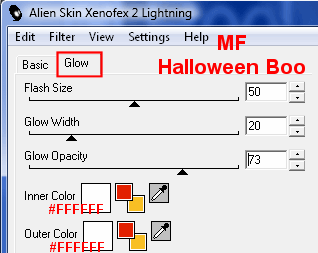
- Set it up like this:
Settings: Click on Lightning Example
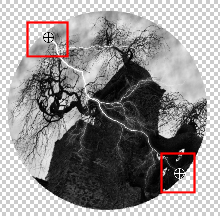
- On the right, in the Preview window, position the lightning so it
is within the circle. Right on the border, not outside the circle. You can
easily adjust it so the lightning is within.
-
Click on OK. Re-open all the layers above and merge visible.
-
Copy paste this merged image in Animation Shop.
- Go back to PSP and
click on Undo
 . I had to
click 14 times to go back to before I applied the effect. We are on the merged
image of the circle with all the layers above closed. . I had to
click 14 times to go back to before I applied the effect. We are on the merged
image of the circle with all the layers above closed. - Re-apply the
lightning effect but click once on Random. OK. Open the layers above and
merge visible. Click on the image and copy.
In AS, right-click on the frame
and paste after Current Frame. - You must do this until you have 13
images in all in AS.
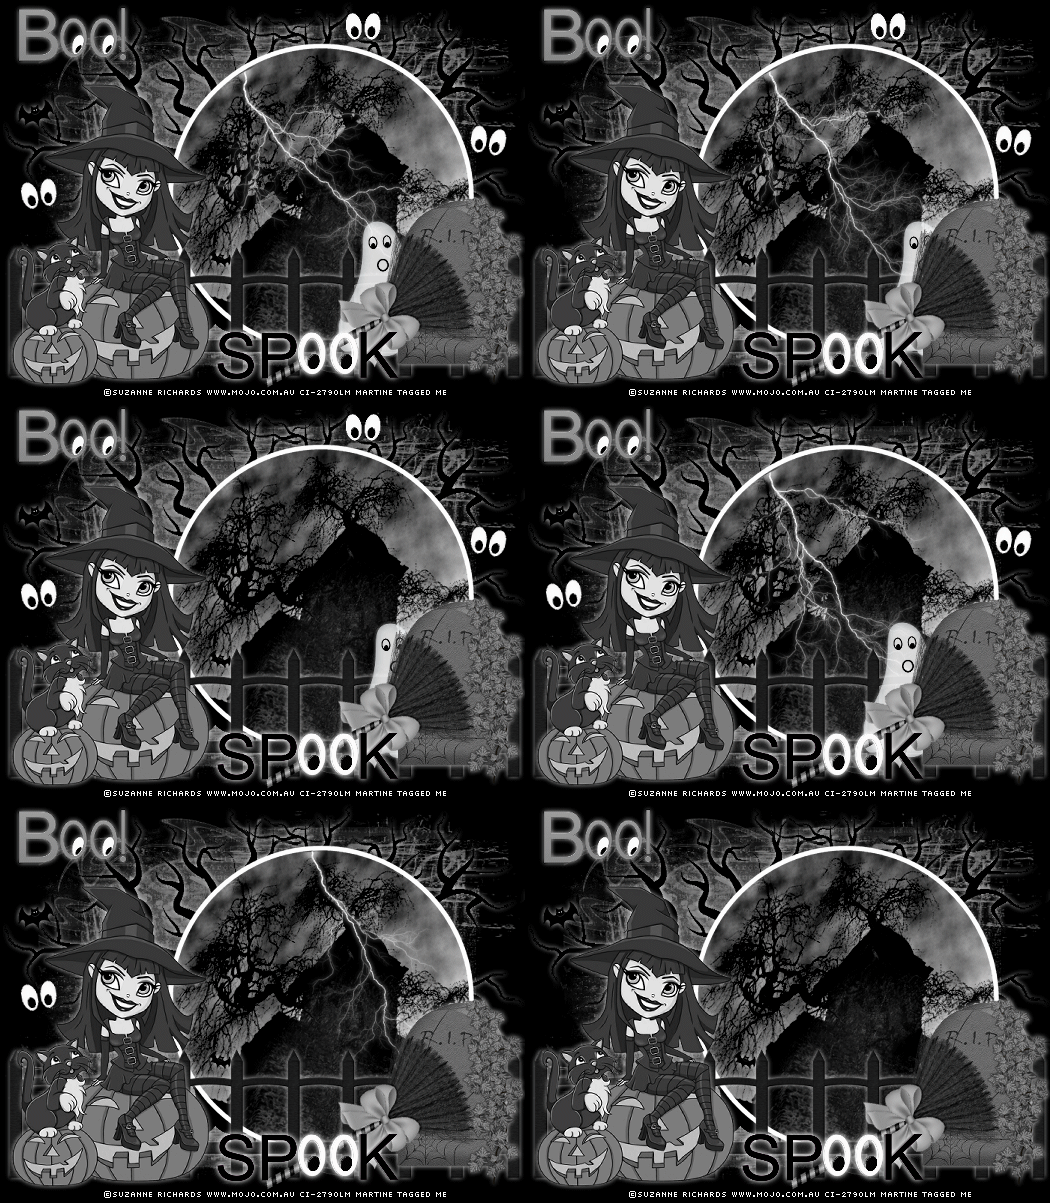
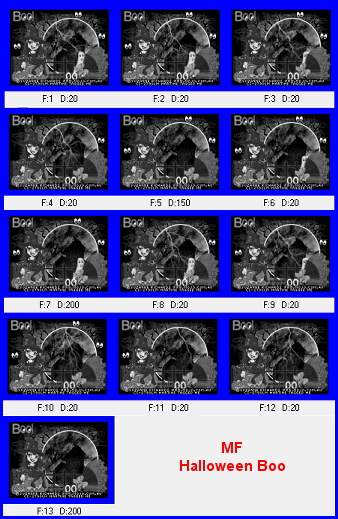
My Animation: This is my result and this animation is in the zipped folder. I
thought it may help you.
-
Open the above file in your PSP if you want to animate like
I did: the lightening, the eyes and the ghost.
Read
The Whole Section Before You Start.
-
Lightning: None on frames 5, 6, 7 et 13. So to create these frames, you go
back to PSP and do not apply the effect.
On Frame 10, I have also moved the
lightning towards the right at the top. -
Eyes - After applying the Lightning Effect, when you re-open all the layers
above before merging, just keep some of the Eyes layers closed.
On Frame 3,
I left the Eyes 2 layer closed.
On Frame 4, I did not open the Eyes 2 & Eyes 3 layers.
On Frame 11, I left
Eyes 1 & Eyes 3 layers closed.
On Frames 12 &
13, all the Eyes layers are kept closed before merging. - Ghost: Frames 1 et 2 -
Leave the ghost where it is.
Frame 3 - Move it a tiny bit
towards the right.
Frames 4 et 5 - Keep those two
layers closed before merging. We don't see the ghost at all.
Frame 6 - The ghost comes out a
tiny bitfrom behind the tomb.
Frame 7
- Coming a bit more out still.
Frame 8 - And more still.
Frame 9 - The ghost is going back
into hiding so move him back towards the right.
Frames 10, 11, 12 et 13 - We don't
see the ghost. Keep these layers closed before merging.
- Click on Frame 1. Edit > Select All.
Right clickt > Frame Properties and for Display Time, you enter 20. Edit >
Select None.
-
Then right click on Frame 7 and for this frame's Display Time, you enter 200.
And do the same for Frame
13.
File > Save as - Name and optimize.
Martine
15 October 2008
If you have any questions, don't hesitate to contact me

|

