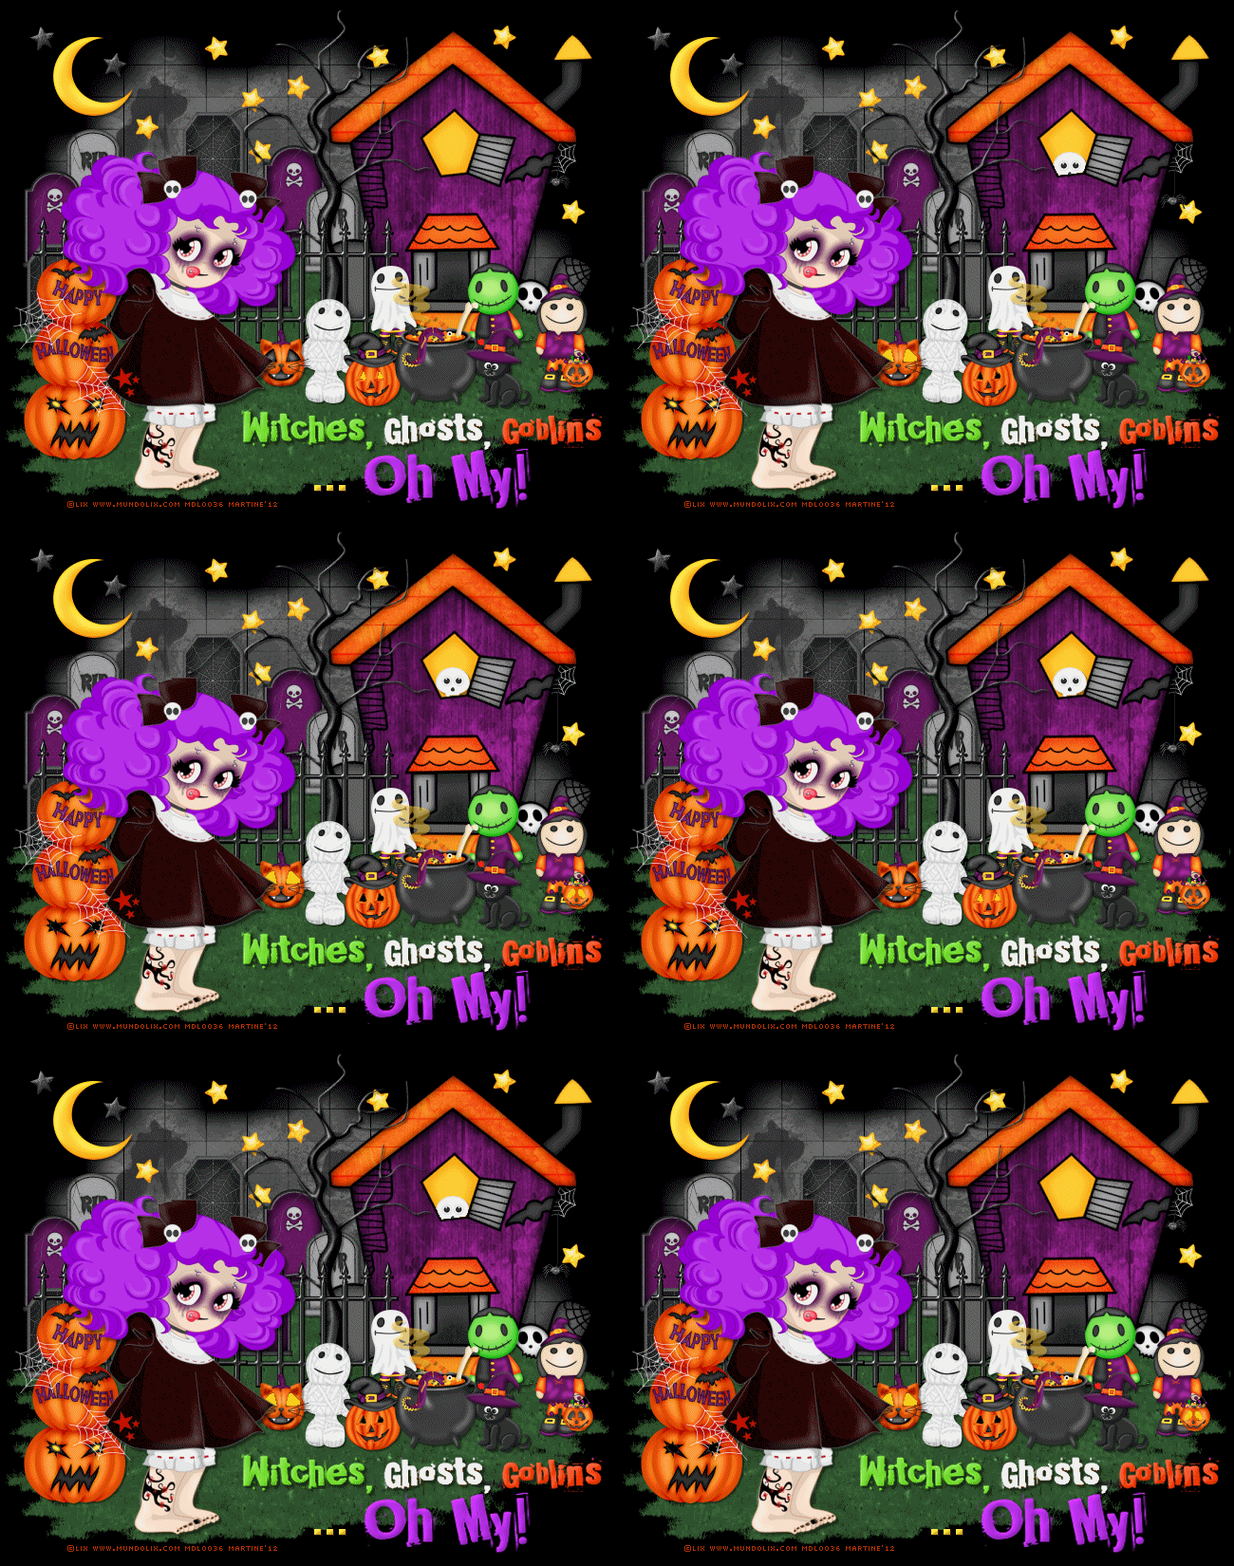
You can do pretty much what you like with your result: create signatures with name added, extras or stats, websets. Give all the credits that are required and for the tut to: Martine (http://chezmartine.com) for PSP 4 ALL (http://psp4all.com).

Mask: WSL_Mask 84 by Weescotslass at Weescotslass Creations. Scrapkit: Bootastic by Designs by LK- Download here. Lawn: The Lawn tube that comes in PSP. Fonts: Broken15 and Pixelette for the name/text and credits. You can download my E-Book which will let you work without being connected. STEP 1: Mask Open a new transparent image 650x550 in PSP. Fill with black. Open LKD_BootasticTS_paper9 and copy paste as a new layer. Open WSL_Mask3 and apply. Masks > New > From image - OK. Then Masks > Delete. In PSP 8 and above, it's under Layers > New Mask Layer > From Image. OK then Delete. Selections > Select All > Selections > Float > Selections > Defloat. Add a layer and fill with white. Selections > Select None. Slide this white layer under the mask layer. Lower the opacity of the mask layer. Mine is at 79. STEP 2: Elements and tube Once each element is resized, sharpen if necessary: Adjust > Sharpen > Unsharp Mask
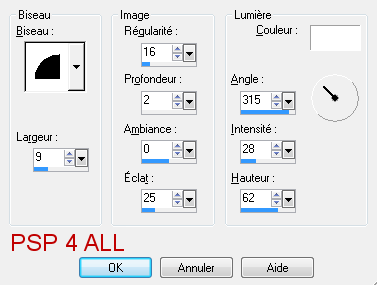
Then add a drop shadow: I used
for the house and the tube. And
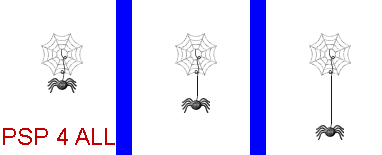
for all the other elements and the text. LKD_BootasticTS_starymoon - resize at 25% and put on the left. LKD_BootasticTS_hauntedhouse - 75% and on the right. Image > Mirror. LKD_BootasticTS_stars - at 50%. Select one or two stars and plaace them here and there . LKD_BootasticTS_spider- 10%, on the right and under the house layer. See my result. Duplicate this layer until you have three copies: spider1, spider2, spider3. Activate the spider2 layer, select the spider and copy paste it a bit lower. Delete the original spider. Draw a line to attach the new spider to the web. Activate the spider3 layer and repeat what you ahve just done for spider2. This time move the spider even lower. To get the idea, look at my picture . In PSP, these layers are on top of each other:
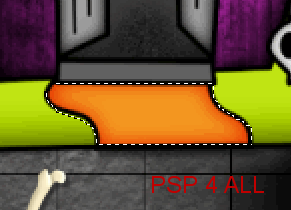
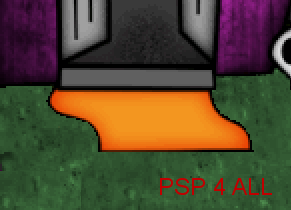
Click on the Picture tube tool and add some lawn at the front of the house and on the side. Fill with grass all the way to the door. Then colorize using 85 for the Hue and 73 for the Saturation. Then close this layer, and with the lasso tool, trace around the path in front of the door. Check that you are on the lawn layer and click on Delete. Open the lawn/grass layer:
LKD_BootasticTS_headstone1, LKD_BootasticTS_headstone2 and LKD_BootasticTS_headstone3 - at 25%, place them on the left of the house and duplicate to make it look like a cemetery. LKD_BootasticTS_hauntedtree - at 60% and on the left of the house, in front of the graves. LKD_BootasticTS_fence1 - at 50% and in front of the tree, on the left of the house. Duplicate. LKD_BootasticTS_mummy - at 18%. LKD_BootasticTS_spooky - at 18%. LKD_BootasticTS_frank - at 20%. LKD_BootasticTS_witch - at 22%. LKD_BootasticTS_spooky - at 18%. LKD_BootasticTS_cauldron - at 30%. LKD_BootasticTS_cat - at 22%. LKD_BootasticTS_skull - at 15%. Place in the window: skull2. Duplicate thiq layer and move towards the bottom so only the top of the skull, eyes and a bit of the nose will show at the window. Delete the bottom part of the skull by tracing around the window with the lasso tool. Move this layer under the other one sull2 and name it skull1.
Credits: with a font like Pixelette or any other pixel font. STEP 4: Animation STEP5: In Animation Shop You now have 6 images in your animation. Edit > Select All. Animation > Frame properties > Display Time and enter 40. Click on View Animation to check that you are happy with the speed. If you are happy, click on File and save. Martine 9 October 2012 If you have any questions, don't hesitate to contact me |
