Depending on the colours and tube chosen, you may have to change the Blend mode and opacity of the layers. You can download my E-Book which will let you work without being connected. STEP 1 - Layers Open the template. Duplicate. Close the original. For each layer, do this: Selections > Select All. Selections > Float > Selections > Defloat. Add a layer > Fill with the new colour. Apply the plugin. Selections > Select None. Then either Delete or close the original layer. Then move on to the next layer. white background. Resize: Image > Canvas Size.
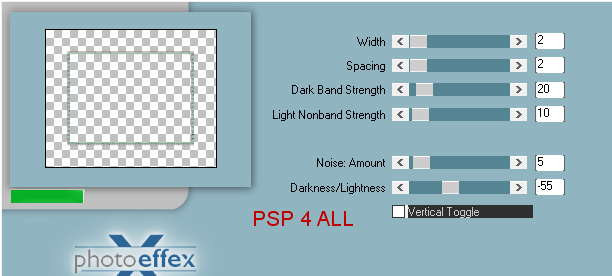
white background: Image >Fill with whiteb. * lg frame fill - Fill with #FAF5EA. * hearts > Fill with #DE9286. * large frame - Fill with #9BBBA9. Applyr Photo Effex > Scanlines
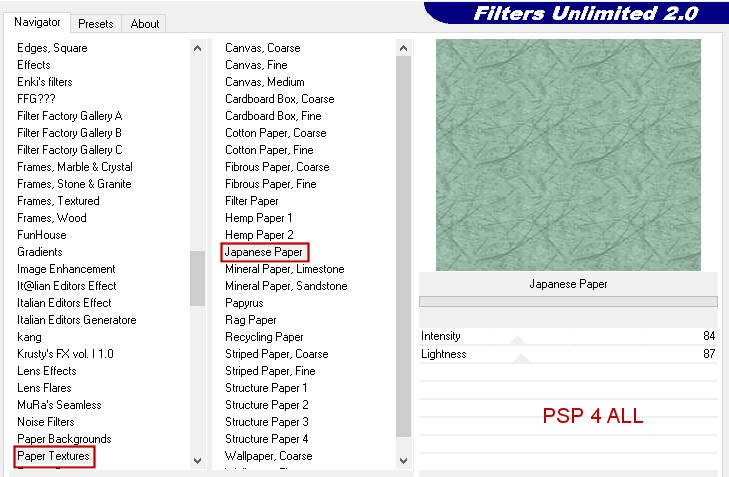
Repeat but this time check Vertical Toggle. Adjust > Sharpness > Sharpen. * small frame fill - Fill with #9BBBA9. Appliquer Filters Unlimited > Paper Textures > Japanese Paper
Adjust > Sharpness > Sharpen More. * Copy of smaller frame - Fill with #DE9286 Adjust > Add/ Remove Noise > Add Noise
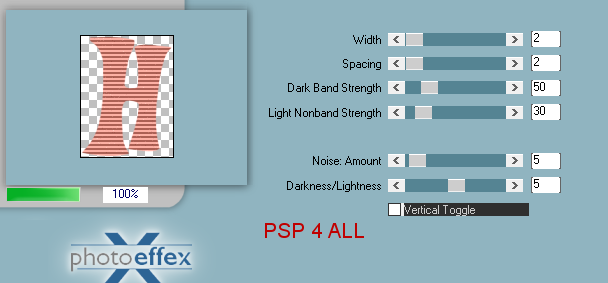
Adjust > Sharpen > Sharpen. STEP 2 - Layers Letters * H bg 2 - Fill with #DE9286. * H - Fill with #DE9286. Apply Photo Effex > Scanlines
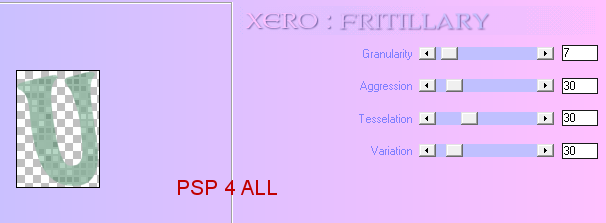
Repeat for the G letter. * U bg 2 - Fill with #9BBBA9. * U - Fill with #9BBBA9. Apply Xero > Fritillary
Adjust > Sharpen > High Pass
sharpen. Same settings
Repeat for the S letter. STEP 3 - Layers (Part 2) * ribbon bg - Fill with #9bbba9.
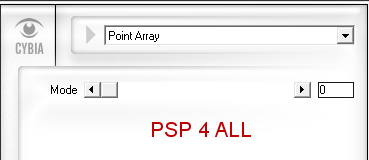
Apply Cybia > Screenworks > Point Array
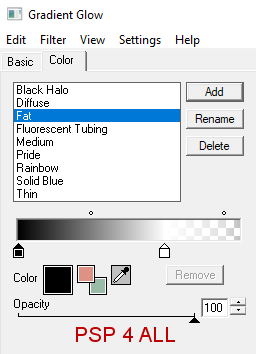
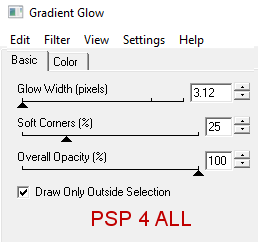
* Flower doodle - Fill with #9BBBA9. Apply the same Inner Bevel. Apply Eye Candy 4000 > Gradient Glow
STEP 4 - Text Black in foreground and background null. Preset Shape Tool > Rectangle. Width 1. Create as vector checked.
Draw a rectangle starting top left towards bottom right. Activate the Text tool. Font Broadway. Interchange the foreground with the background so black is now the colour for the background. Antialias and Create as vector both checked. Place your cursor on the rectangle until you see the letter T with a curve underneath.
Write the text of your choice or mine. In the layers palette, open the calque vectoriel.
Close New Rectangle. Right click on Vector 1 and et convert to Raster layer. I colored the text with #9bbba9 et #DE9286. Apply the same Gradient Glow, Fat, black and white. Move down and place under the flower doodle layer. Add the tube. Drop Shadow = 0, 3, 70, 5. STEP 5 - Credits Credits: with a small pixel font like Pixelette or any other small font. Martine 28 April 2021 If you have any questions, don't hesitate to contact me |