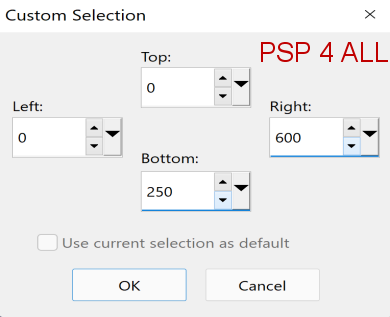
STEP 1 - Background Open the template. Shift+D to duplicate Fermer le calque Credits. Background - Click on the Circle layer. Add your tube. Resize. Calques > Arrange > Send to Bottom. Layers > Arrange > Move Up. Rename Tube Background. Selection Tool > Custom Selection
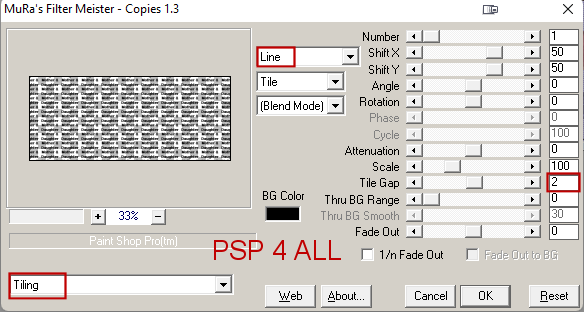
Image > Crop to Selection. Apply Mura's Meister > Copies
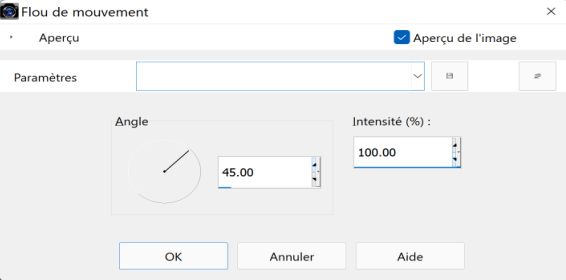
Adjust > Blur > Motion Blur
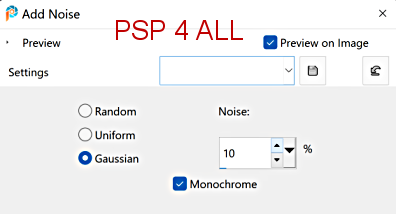
Duplicate. Original layer (Tube Background) - Open ForumSetMask1_FLowers_LF. Layers > New Mask Layer > From Image. Select the mask. OK. Layers > Merge Group. Copy of Tube Background - Repeat with the other mask: MB and SW forum Mask 23. Layers > Merge Down. (the 2 mask layers). Merge Down. (the 2 mask layers and the black background). STEP 2 - Template Lines 2 - Add a layer and fill with #E86FB7. Adjust > Add/ Remove Noise
Then texture effects > Blinds - with a darker shade of pink
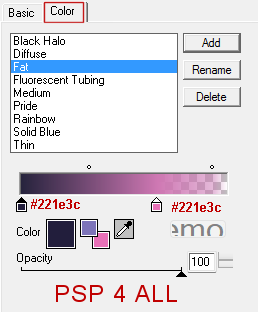
Drop Shadow: 1 1 100 1 and -1 -1 100 1. Lines 1 - Repeat what you have done for Lines 2. Fill with the 2nd colour. Add the noise then the texture effect but use a darker colour #221e3c. Applt the same Drop Shadow. Make a linear gradient with your 2 colours: Angle=0 and Repeat=3 and fill the circle. Add a layer and copy paste RD_TextureOverlay_3 in the selection. Blend Mode on Overlay. Layers > Merge > Merge Down. Open a new image 350 x 350. Write the text Mother & Daughter or one of your choice. I used 04B_03.TTF, colour #FFFFFF, vector with Anti-alias on smooth. Convert to Raster Layer. Click on Objects > Align > Center in Canvas. Apply Mura's Meister > Copies
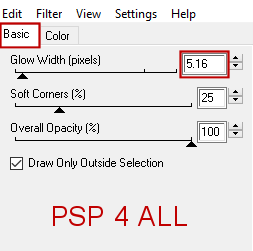
Copy paste this text on your circle. Selections > Invert > Delete. Opacity on 80. Selections > Select None. Layers > Merge > Merge Down. Apply Eye Candy 4000 > Gradient Glow with pink #E86FB7 and the darker shade of purple used for the Blinds earlier #221e3c.
Add the tube. Drop Shadow: 2, 2, 50, 5.
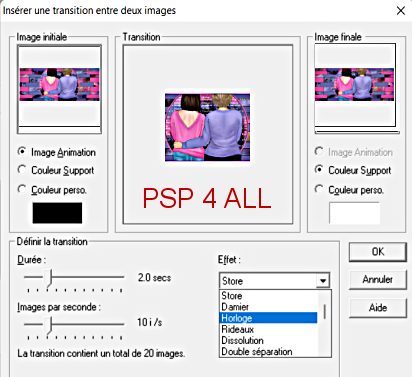
STEP 4 - Animation Close Lines 1. Edit > Copy Special > Copy Merged. Open Animation Shop. Edit > Paste As New Animation. Back to PSP. 0pen Lines 1. Do not close Lines 2. Edition > Copy Special > Copy Merged. In AS: Edit > Paste After Current Frame. Edit > Select All. Click on Effects > Insert Image Transition. Select Clock Wipe
Back to the first frame. Edit > Select All. Edit > Copy. Click on the last frame. Edit > Paste After Current Frame. Animation > Reverse Frames. Save. Martine 28 April 2022 If you have any questions, don't hesitate to contact me |