|
|
(Version française ICI) |
|
|
|
|
|
|
|
You can do pretty much what you like with your result: create signatures with name added, extras or stats, websets.
|
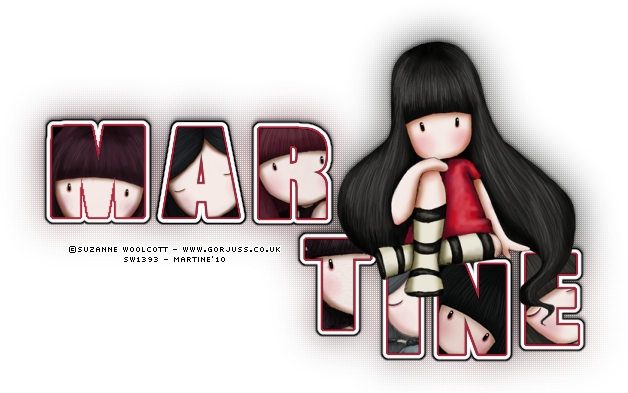
Martine |

Filter: Eye Candy 4000 - Gradient Glow and penta.com - Color Dot
Fonts: Impact for the name or any other bold/ fat font and Pixelette for the credits.
You can download my E-Book which will let you work without being connected.
STEP 1
Background layer : Open an image 650x600 - Fill with white.
STEP 2: Letters
Choose your text. For the tag above I used my name and for the tag at the end, the word Addicted.
Text: I used Impact in size 72, Bold with antialias and vector checked - colour #000000 - use a size that suits your tube!
|
|
|
|
and add your name/text on a layer. Adjust in height and width if needed.
Then click on Layers > convert to raster layer.
Letters : Click on the Selection lasso tool.
Go around the first letter then Edit > Copy > Edit > Paste as a new layer.
Activate the texte layer and selct the second letter. Copy and paste as a new layer. Repeat for each letter in order to end up with each letter on a different layer.
Close the layer with the name/ text in full.
Arrange the letters as in my result above or as in my result at the bottom or as you wish.
First Letter: Activate the layer with the first letter then Selections > Select All > Selections > Float > Selections > Defloat and paste the head part of the tube of your choice.
Selections > Inverter > Click on Delete.
Selections > Select None.
Close the white background layer and merge visible the other 2 layers.
Selections > Select All > Selections > Float > Selections > Defloat and Selections > Modify > Increase by 2 pixels.
Add a new layer and fill with one of the colours of the tube you have just used, a bit darker if necessary so you can have more of a contrast.
Selections > Select None and move this layer under the other.
Merge visible these two layers.
Apply Eye Candy Gradient Glow:
Click on Settings and Reset to Factory Default
Color: Click on Fat
|
Eye Candy 4000 Gradient Glow
|
|

Then click on Selections > Select All > Selections > Float > Selections > Defloat and Selections > Modify > Increase by 2
Add a new layer and fill with black. Selections > Select None and move this layer under the other.
Merge visible these two layers.
Second lettre and following letters: Repeat what you have done for the first letter. Each time make sure you are on the correct layer and use a different tube or a different part of the same tube.
STEP 3: Main Tube
Add where you want on your image among the letters.
STEP 4: Color Dot
Arrange your letters where you want. Keep your background layer closed.
Merge visible your tube layer and all the letters layers.
Duplicate this layer and activate the layer under (the original layer).
Click on Adjust > Blur > Gaussian Blur and enter 18 for the radius.
Then apply Color Dot
|
|

Apply a drop shadow on the top layer:
|
V = -2 |
O = 50 |
|
H = 0 |
B = 6 |
STEP 5: Credits
Choose a small font like Pixelette en taille 6, antialias off.
STEP 6: Saving
Save one last time, all layers open. Then merge visible all the layers except the background layer and copy paste as a new image. It will get rid of the excess around your tag.
Add a white background for the group's result page then file > Export > JPEG Optimizer. Use the wizard and choose Better image quality - move the slider right to the top.
Another result! With tubes © Dejichan - http://deji.ishtera.net/blog/.
|
|

Martine
30 March 2010
If you have any questions, don't hesitate to contact me