You can do pretty much what you like with your result: create signatures with name added, extras or stats, websets. Give all the credits that are required and for the tut to: Martine (link to http://chezmartine.com) for PSP 4 ALL (link to http://psp4all.com).
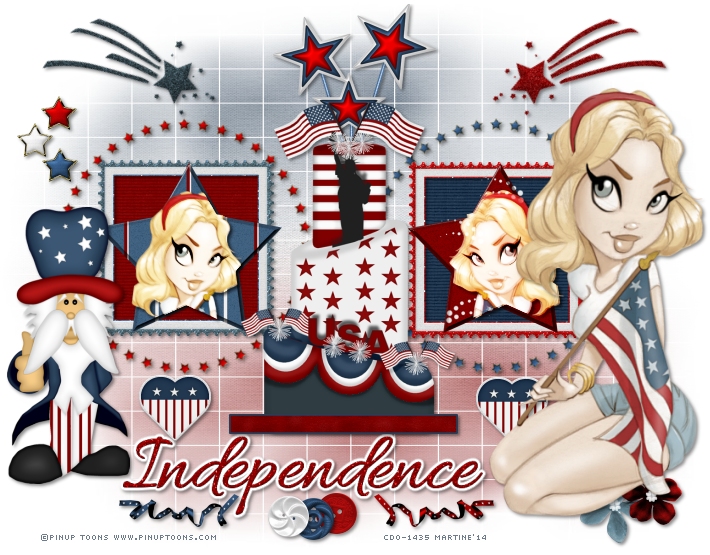
 Scrapkit: Celebration of Independence by HorsePlay's Pasture Designs - To download here. Mask: DBV Mask 72 by Vaybs - Download here. Plugins: Eye Candy 4000 > Gradient Glow. Police: Pixelette for the credits. You can download my E-Book which will let you work without being connected. STEP 1: Mask Open a new tansparent image 750x600 in PSP. Add a layer and fill with white. Add a layer and fill with hpd_COI Paper6. Open DBV_Mask72 and apply. Masks > New > From image - OK. Then Masks > Delete. In PSP 8 and above, it's under Layers > New Mask Layer > From Image. OK then Delete. STEP 2: Elements and Tube Once each element is resized, sharpen if necessary: Adjust > Sharpen > Unsharp Mask
Then add a drop shadow: I used
hpd_COI_37 - 45%. Rotate right 30°. Top and left. hpd_COI_36 - 40%. Top and right. hpd_COI_14 - 70%. Left. hpd_COI_16 - 70%. Left. hpd_COI_12 - 30%. Left. hpd_COI_13 - 30%. Right. hpd_COI_6 - 50%. In the middle. hpd_COI_3 - 55%. In the middle. hpd_COI_29. 50%. In the middle and bottom. hpd_COI_4. 50%. Bottom and on the left. hpd_COI_20 - 55%. hpd_COI_23 - 22%. Right. hpd_COI_24 - 25%. Right. hpd_COI_25 - 15%. Under the wordart. hpd_COI_26 - 12%. Under the wordart. hpd_COI_27 - 10%. Under the wordart. hpd_COI_17 - 10%. Top and on the left. hpd_COI_18 - 10%. Top and on the left. hpd_COI_19 - 10%. Top and on the left. hpd_COI_30 - 20%. Under the wordart. hpd_COI_31 - 20%. Under the wordart. hpd_COI_8 - 20%. Duplicate. Place under the hearts. Add your tube. STEP 3: The two frames Frame on the left: Select the inside of the frame with the magic wand. Select > Modify > Increase by 6 pixels. Add a layer. Copy paste paper hpd_COI_Paper 3 in the selection. Selections > Select None. Move this layer under the frame. Back onto the frame? Add element hpd_COI_33. Resize 50%. Selections > Select All > Selections > Float > Selections > Defloat. Add the head part of your tube as a new layer. I have resized it and made it smaller. Selections > Invert < Click on Delete on your keyboard. Selections > Select None. Duplicate this tube layer. Keep the opacity of the first copy on Normal and set the second on Hard Light. Frame on the right: Repeat what you did for the first frame but change the paper. Use hpd_COI_Paper 4 for the star, use hpd_COI_33. Set the first tube layer on Screen and the second tube layer on Hard Light. STEP 4: Text and Credits Le wordart: hpd_COI_20. Apply Eye Candy 4000 > Gradient Glow
Credits: with a small pixel font like Pixelette. Click on File and save your work. Un autre résultat avec des tubes ©ScrappingMar - www.myscrapbookplanet.com/shop
|