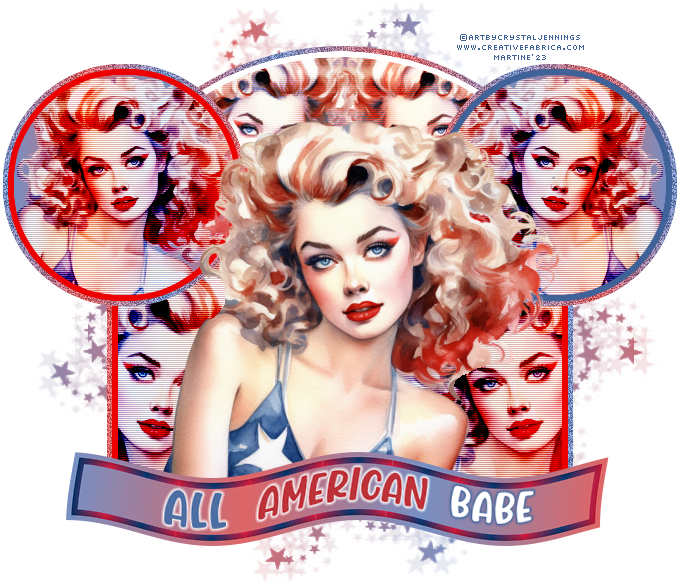
Supplies: Ma template: mypsp-template3_mf23;
My wordart & the Mask I used:
Vix Mask 26.
Download
here.
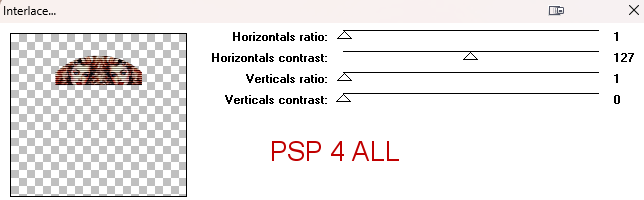
Filtres : Unplugged Tools > Interlace
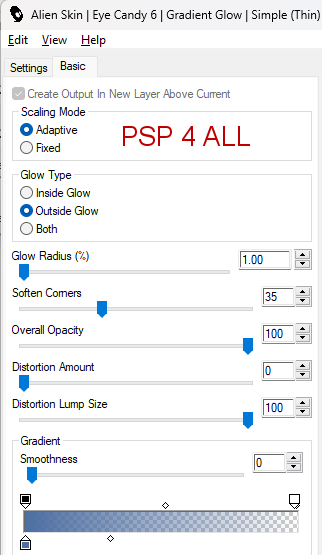
Eye Candy 6 > Text Selection > Gradient Glow
Police : Pixelette for the credits.
******************************
Reminder: ***
Method to color a layer or add a
paper - To fill a layer with colour,
Selections > Select All. Selections > Float > Selections >
Defloat. Or click with the magic wand.
Add a layer > Fill with the new colouror paper, texture.
Apply plugin if needed.
Selections > Select None.
Delete the original layer.
*** Depending on the colors & tube you are going to use, feel free to change
the mode and opacity of the layers.
STEP 1 - Maskue
1.Open the template. Shift+D to duplicate.
2.
Delete the Credits layer.
3.White
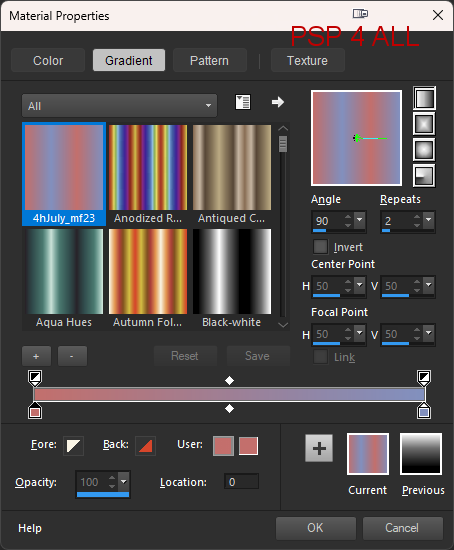
background - Add a layer and dill with a linear gradient made with
2 colours: red
DD6768 et blue 7790C3.
4.
Open Vix Mask 26.
5. Layers > New Mask layer > From an image and select Miz_Mask292.
6. Click
on OK.
7. Layers >
Merge group.
8. Duplicate.
STEP 2 - top arch
9.
Selections > Select All. Selections > Float > Selections >
Defloat.
10. Fill with the same gradient.
11.
Apply dsb flux > Bright Noise - Intensity =
45 Mix.
12. Delete the original layer.
13. Activate
inside top arch border.
14. Click inside, new layer and fill with the same gradient.
15. Add the tube (30%) on the left.
16. Duplicate. Image > Mirror Horizontal.
17. Layers > Merge Down.
18. Selections > Select None.
19. Duplicate.
20. Click on the original layer.
21. Properties > Blend Mode > Burn.
22. Apply Unplugged Tools > Interlace.
23.
Layers > Merge Down.
24. Adjust > Sharpness > Sharpen.
25. Click on the copy of the tubes.
26. Properties >
Blend Mode > Screen.
27.
Layers > Merge Down.
28. Click on
the border.
29 New layer and fill with white.
STEP 3 - big rectangle
30.
Select.
31. New layer. Fill with the same gradient.
32.
Apply dsb flux > Bright Noise - Intensity =
45 Mix.
33.
Delete the original layer.
34.
Activate
inside big rectangle border.
35.
Click inside, new layer and fill with the same gradient.
36. Adde tube (40%) and delete excess.
37.
Duplicate. Image > Mirror Horizontal.
38.
Layers > Merge Down.
39.
Selections > Select None.
40. Duplicate.
41.
Click on the original tube layer.
42.
Properties > Blend Mode >
Screen.
43. Apply Unplugged Tools > Interlace. Same settings.
44. Layers > Merge Down.
45. Blend Mode for the copy on Burn.
46. Layers > Merge Down.
47. Delete the original layer.
48. Border not changed.
STEP 4 - circle left
49.
Select.
50.
New layer. Fill with the same gradient.
51.
Apply dsb flux > Bright Noise - Intensity =
45 Mix.
52. Delete the original layer.
53. Activate
inside circle left.
54. Click inside, new layer and fill with the same
gradient.
55. Add tube (30%) and delete excess.
56. Duplicate tube.
57. Click on the original tube layer.
58.
Blend Mode > Screen.
59.
Apply Unplugged Tools > Interlace. Same settings.
60.
Layers > Merge Down.
61.
Blend Mode for the copy on Burn.
62.
Calques > Fusionner le calque de dessous.
63.
Layers > Merge Down.
64.
Delete the original layer.
65. Duplicate. Image > Mirror Horizontal.
66. Border. Fill with red DD6768.
STEP 5 - circle right
67. Check that the copy made in 62 is centered on the circle on
the right.
68.Fill the border in blue #3F6298.
STEP 6 - bottom rectangle
69. Fill with the same gradient.
70. Fill with the border with a new gradient with darker
shades of the colours used before: Blue #173366 and red #BE3239.
Angle on 90°
et Repeat on 12.
71.
Add my WA or your choice of text.
72.
Color my WA in blue #4E6FA3, red #BE3239 and white.
73.
Apply Eye Candy 6 > Text Selection white and #4E6FA3. See my
tag.
74.
Onglet Basic -
Simple Thin (White)
75. Onglet Settings - Glow Radius on 1
for white and blue #4E6FA3.
76. Merge the 3 layers: background, border and text.
77.
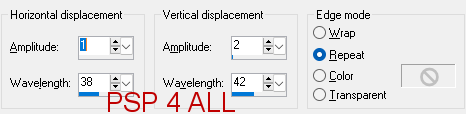
Apply Distortion effects > Waves
STEP 6 - Credits
78. with a small font like Pixelette or any other small font.
79. Save.
Martine
26 June 2023
If you have any questions, don't hesitate to contact me