You can do pretty much what you like with your result: create signatures with
name added, extras or stats, websets. Give all the credits that are required and
for the tut to: Martine (link to
http://chezmartine.com) for PSP 4 ALL (link to
http://psp4all.com).
This pointing hand is here to help you.
You can drag and drop it and use it as a marker to help with following the
tutorial. Martine
Overlay: Mine. Download
here.
If you want them all, download them
here.
Plugins : Eye Candy 4000 - Gradient Glow.
Fonts: Pixelette for the credits.
You can download my E-Book which will let you work without being connected.
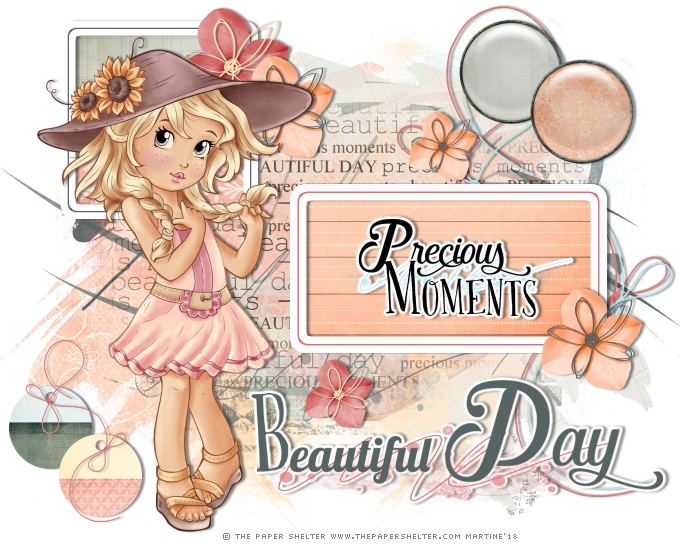
STEP 1: Elements and Tube
Drop Shadow: I used this, in black
V = 0
O = 45
H = 3
B = 3
Open an image 680x550. Fill with white.
Add a layer. Click on joey_june_pngbrush1.
Edit > Copy. Then back to your working image and Edit > Paste into
selection. Then Selections > Select none.
Add a layer. Click on joey_june_pngbrush2.
Edit > Copy. Then back to your working image and Edit > Paste into
selection. Then Selections > Select none. Opacity at 70%.
Copy paste my overlay as a new layer, in the middle.
joey_june_string1 -
35%. On the right.
joey_june_string2 - 33%. On the right.
joey_june_frame1 - 16%.
Click in the middle of the square frame with the magic wand. Selections >
Increase by 3
pixels. Resize the paper joey_june_pp6 to 12%. Then click on the paper
and copy paste as a new layer. Selections > Invert. Click on Delete. Then Selections >
Select none. Move this paper under the frame.
joey_june_washitape2 -
24%. Copy paste at the bottom of the frame.
joey_june_frame2 - 16%. Click in the middle of the rectangular frame with
the magic wand. Selections > Increase by 3
pixels. Resize the paper joey_june_pp5 to 12%. Then click on the paper
and copy paste as a new layer. Selections > Invert. Click on Delete. Then Selections >
Select none. Move this paper under the frame.
joey_june_flower1 - 17%. On the right of the square frame.
joey_june_flower2 - Colorize. Adjust > Hue and saturation. Colorize
with the hue at 15 and Saturation at 234. Resize 15%. Add a flower on flower1
and another at the bottom of the rectangular frame, on the right.
La męme fleur ŕ 10%. Above the rectangular frame.
joey_june_flower1 - 10%. Under the rectangular frame.
joey_june_brad1 - 22%. Top right.
joey_june_brad2 - 22%. Top right.
joey_june_label2 - 13%. Bottom left.
joey_june_label1 - 13%. Bottom left.
joey_june_string1 - 13%. On label1 et label2. See my tag. Duplicate.