Please note that with the result of this tutorial, you can: make a premade graphic, a sig tag, part of a web set, etc.. but you cannot use the final image to give it away or sell as a tube..or to create outlines/ lineart for others to use.. 
Download your supplies here:
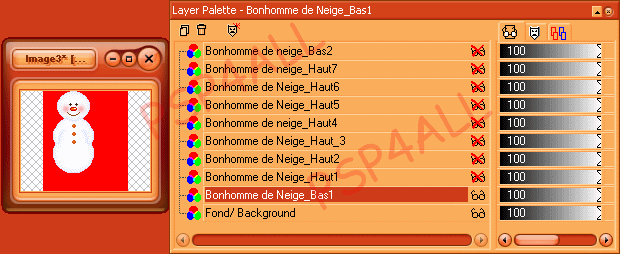
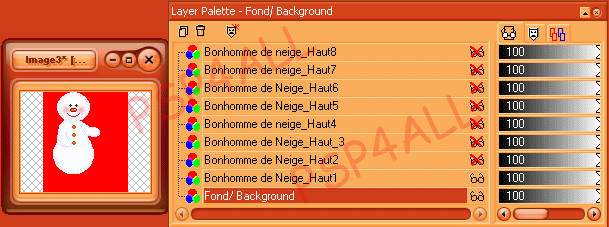
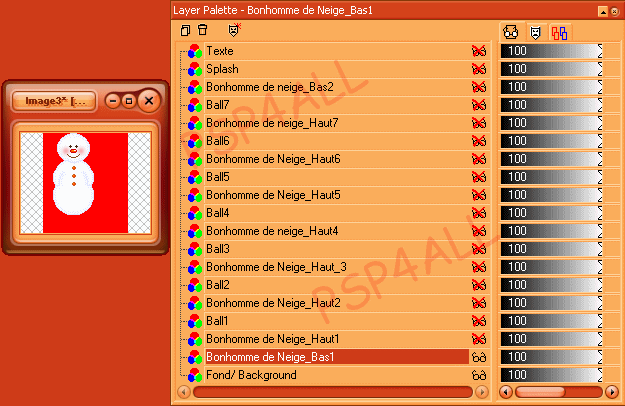
You can use what you want: another snowman, a little doll. Open a new transparent image in Paint shop Pro: 120 x 120. Fill this layer in red, it will help you see what you are doing better. Name it background. Then you add your graphic: snowman or other as a new layer. I am using two identical snowmen except in one image he has his arm down and in the other it is up. But you can use just one image as long as the arm is up. If you use two images, then this first layer should be with the arm down. And I named mine Bonhomme de Neige_bas1. Just something with 1 in. Click on it and duplicate it. Rename it Bonhomme de neige_bas2 or something with 2 in. New copy paste and this time it is to add the second image, the image with the arm up. I named it Bonhomme de Neige_Haut1. Name it Up1 so you know it has its arm up! Click on it and duplicate. Duplicate 6 times, you should end up with 7 copies of this Bonhomme de Neige_Haut1. Above Bonhomme de Neige_Haut7, add the other layer Bonhomme de Neige_Bas2.(the copy of the one with the arm down)
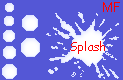
The Splash image is on a red background so it is easier to see. You click on the Splash layer, you go to Selections > Select All and with your magic wand you click on your image so that the white area is selected. I filled it with: #E0E5FF, the same colour I will use for the outlines of my snowballs. Then go to Selections > Modify and Contract by one and fill with white. Now Selections > Float and apply a Cutout effect with thse settings:
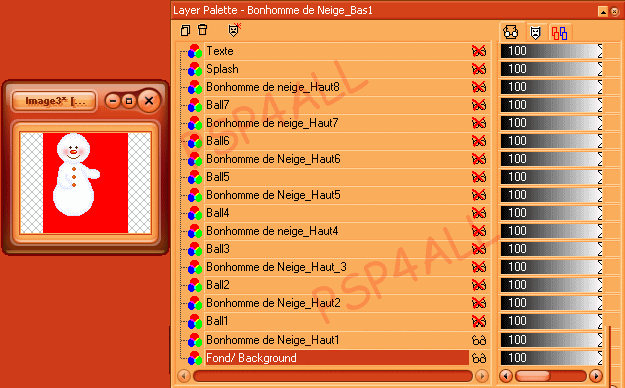
Time to draw the snowballs. Open a transparent image 150x120. Fill with a background colour and add a new layer. You will draw your snowballs on this layer. Follow the instructions in the zipped folder, they are all different sizes, they get a little bit bigger eact time. I drew the outline with #E0E5FF and filled it in with white and applied the same cutout effect i used on the Splash snowball above. You will now add your snowball one at a time to your image with all the snowmen layers. The smallest ball you will put in his hand. It is ball1. The biggest is Ball7 and it will come just beofore the Splash one. They must be placed exactly as below:
Then I added another layer for the text. I used Arial Narrow for the font, size 8. Time to merge all these layers. close all the layers. Don't forget to close your background layer. Each time you will merge visible one layer with a snowman on and one layer with a ball on. To do this, you open one layer of each, and you keep all the others closed. Then you close this new merged layer and you open the next two layers. and you repeat again and again: Snowmann-Haut1 and Ball1 Snowmann-Haut2 and Ball2 Snowmann-Haut3 and Ball3 Snowmann-Haut3 and Ball4 etc.... One snowman: When you get to the last snowman layer Bonhomme de Neige-Haut8, you open also the Splash layer and your text layer. And you merge visible all 3. Two snowmen: When you get to the last snowman layer Bonhomme de neige_Bas2(copy of the snowman with the arm down), you open the Splash layer and the Text layer too and you merge visible all3. Open up all the layers except the bottom one: the background! And save in PSP format. Open Animation Shop. Click on the animation Wizard. And put 20 for the Frame Display time. Add your image. Ok to the end! Click on View animation(next to Help) to see if it is OK. Click on the last frame, go to Frame Properties and enter 150 or a bit more or less as you see fit. Click also on the first frame and change the Display time there too. I put 150, enter what you think is right. View your Animation again and if you are happy save it as a gif. Martine 16 November 2005 If you have any questions, don't hesitate to contact me.
| |