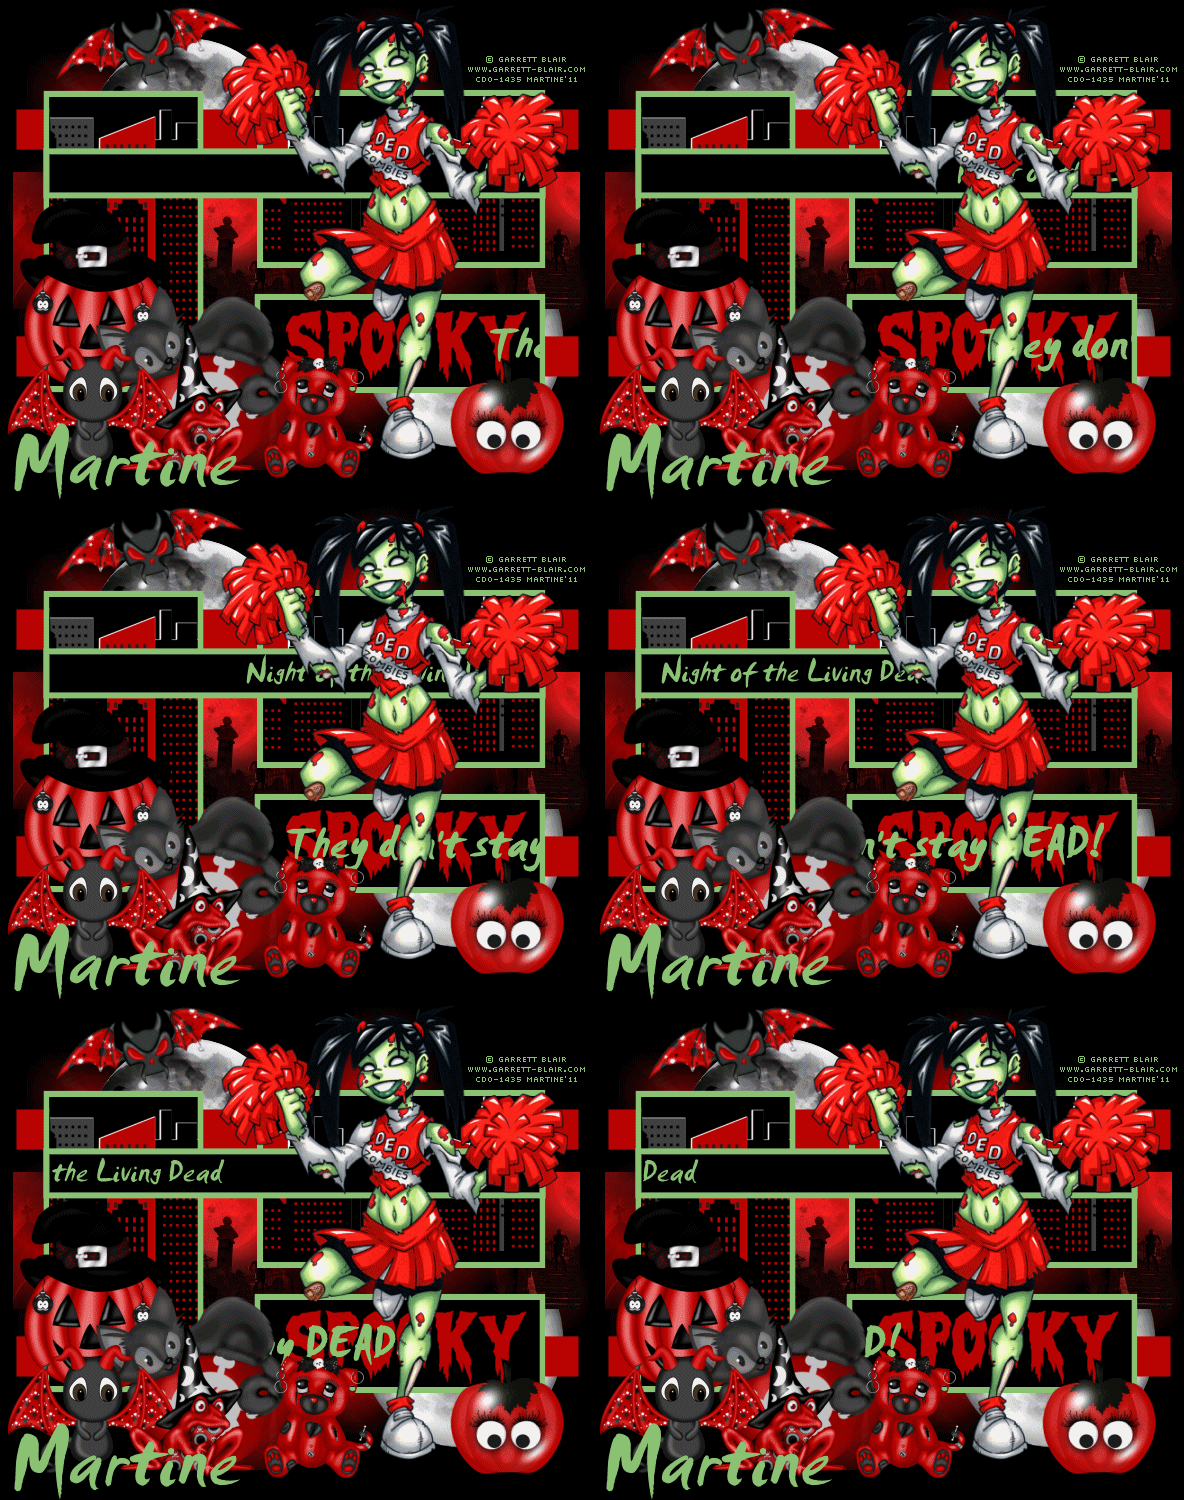
You can do pretty much what you like with your result: create signatures with name added, extras or stats, websets.

Scrapkit: Gothic Halloween by Kittz of http://kittzkreationz.blogspot.com/. You can download it here. Template: by Tracy available for download on the Freebie Friends Scraps and More blog under Tracy's Halloween Templates 1 - 10. Choose Template 1. Font: Pixelette & Smudger LET for your credits and name. You can download my E-Book which will let you work without being connected. STEP 1: Template Open in PSP, duplicate and close the original. STEP 2: Template layers Delete the following: The top layer, then select the bat and delete. We will replace it later. Keep the dots. Background: Add a layer. Then click on Layers > Arrange > Send to bottom. Fill with black. MASK: Selections > Select All > Selections > Float > Selections > Defloat. Fill with one of your tube colours. I used #BD0000. Selections > Select None. CIRCLE1: Selections > Select All > Selections > Float > Selections > Defloat. Add a layer. Click on GH-M2 and copy paste in selection. Selections > Select None. CIRCLE2: Selections > Select All > Selections > Float > Selections > Defloat. Click on GH-Moon and add as a new layer. Selections > Invert. Hit Delete on your keyboard. Selections > Select None. RECTANGLE1 & RECTANGLE2: Select All > Selections > Float > Selections > Defloat. Add a layer. Fill with one of your tube colours. I used #BD0000. Selections > Select None. RECTANGLE3: Selections > Select All > Selections > Float > Selections > Defloat. Click on Paper GH-P6 and resize to 50%. Copy paste as new layer in the middle. Duplicate and put one copy on the right. Duplicate and put another one on the left. Selections > Invert and hit Delete on your keyboard. Move down one layer and again hit Delete. And move down again and hit Delete one more time. This will remove the excess paper arolund RECTANGLE3. Close RECTANGLE3. Selections > Select None. RECTANGLE4: Leave black. Selections > Select All > Selections > Float > Selections > Defloat. Copy paste GH-City Scape as a new layer. Selections > Invert. Hit Delete. Selections > Select None. RECTANGLE5: Leave black. Click on the WORDART Spooky and move it to the center of RECTANGLE5. Move down the layer too and place it above the RECTANGLE5 layer. Colour the wordart. Selections > Select All > Selections > Float > Selections > Defloat. Fill with colour. I used red again #BD0000. Selections > Select None. RECTANGLE6: Leave black. Selections > Select All > Selections > Float > Selections > Defloat. Copy paste GH-City Scape as a new layer. Selections > Invert. Hit Delete. Selections > Select None. FRAMES: Selections > Select All > Selections > Float > Selections > Defloat. Fill with colour. I used another colour from my tube: #8BC273. Selections > Select None. STEP 3: Elements GH-Wizard Frog - 45% GH-Cat - 70% GH-Kitty - 32% GH-Pumperkin - 65% GH-Lil Devil - 45% GH-Winged Skull - 45%. To replace the BAT we deleted earler. Then Image > Rotate left 15%. STEP 4: Text and Credits Add your name. I used Smudger LET in green. And the credits, with a small pixel font like Pixelette. STEP 5: Animation 1. In PSP Click on the City Scape layer above RECTANGLE6. Add a layer. With the Selection tool, draw a rectangle 502 x 50. Fill the selection with a colour of your choice. I used green.
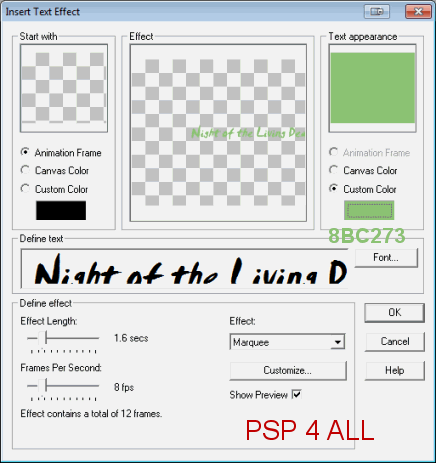
Selection > Modify > Contract by 6. Click on Delete. Now add a layer and fill with black. Selections > Select None. Name this layer ANIM1. Now check the size of this ANIM1 black layer. Just click on it > Edit > Copy > EDIT > Paste as a new image. Now click on Image > Image Information. Mine is 495x43. That's the size of the new frame you will open in Animation Shop later on. You also need to know the size of RECTANGLE5. C'est 282x89. Close all the layers above ANIM1. Merge visible all the layers below. 2. In Animation Shop Copy paste your merged image in AS. Open a new frame the same size as ANIM1. Click on Effects > Insert Text Effect and set like this.
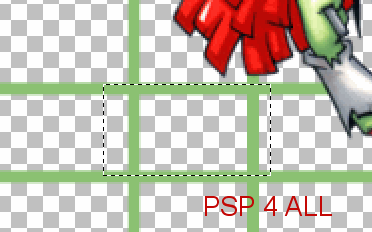
Define your text. I typed Night of the Living Dead, choose a text that suits your tube. Choose your size and colour. Click OK. Delete the first frame of your animation. You now have 12 frames. Click on your merged image. Duplicate until you have 12 frames in all. Click back on the text animation. Edit > Select All. Edit > Copy. Now back to your merged image. Edit > Select All and paste the text animation exactly where it should go. You may have to redo this if you don't get it right the first time. If your animation is going Right to left like mine, then make sure your mouse is towards the left of the merged image so you can see the beginning of the text on the right. Open a new frame for the second animation. Mine is 282x89. Click on Effects > Insert Text effect. Type your text. I used They don't stay DEAD! But use whatever suits your tube. I used a bigger size for the font. Apply the effect and delete the first frame. Copy paste this text animation exactly where it should be inside RECTANGLE5 on top of the Spooky WORDART. 3. Back to PSP Close the merged layer at the bottom. And open all the other layers. Click on the Frames layer. Select the bits of frames that show through and delete.
Now merge visible all these layers. Edit > Copy. 4. Return to AS And paste. Duplicate until you have 12 frames. Edit > Select All > Edit > Copy And click on the first animation. Edit > Select All > Edit > Paste and position exactly where this new animation should go. Change the speed. I used 35. Click on View Animation. If satisfied, save as a gif using the optimizer. Martine 26 October 2011 If you have any questions, don't hesitate to contact me |


