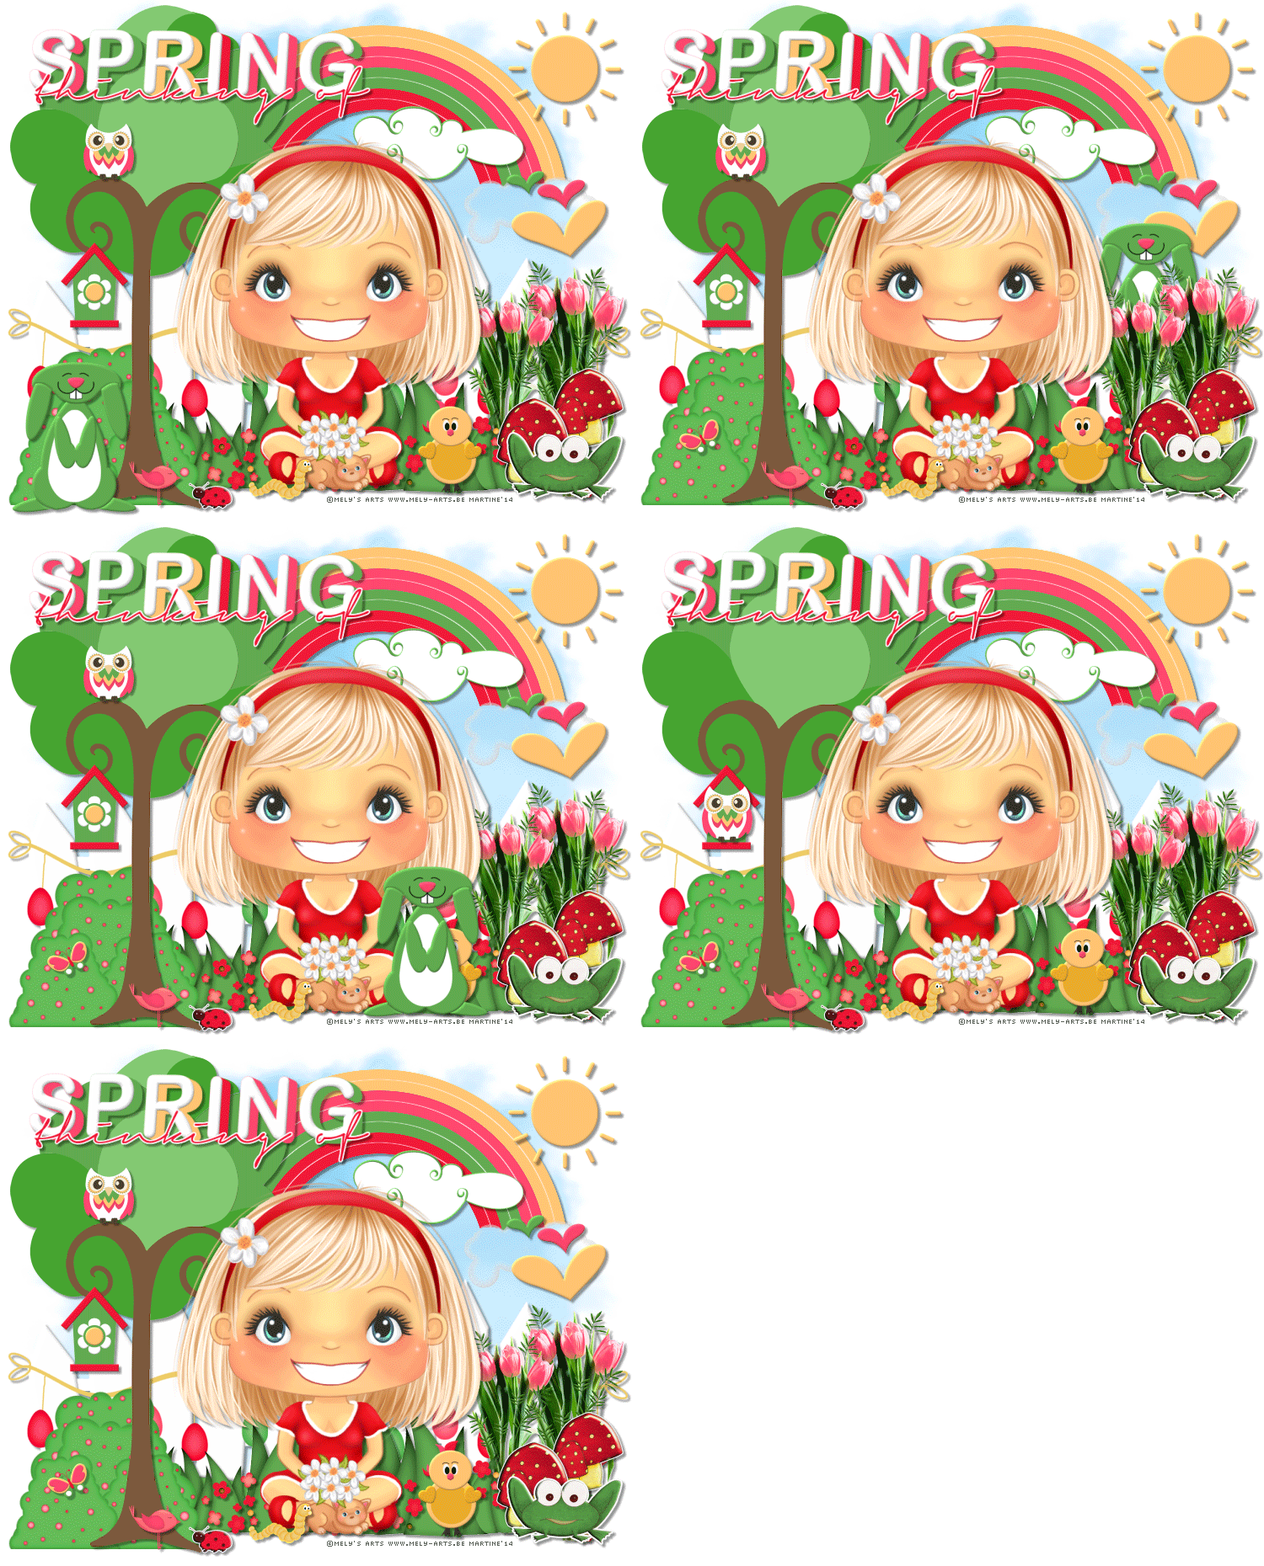
You can do pretty much what you like with your result: create signatures with name added, extras or stats, websets. Give all the credits that are required and for the tut to: Martine (lien ŕ http://chezmartine.com) pour PSP 4 ALL (lien ŕ http://psp4all.com).

Scrapkits: Thinking of Spring by Gimptastic Scraps - Download the 2 kits, Leah and Amy's. Download here. Mask: Mask 189 by Gems at Gems Taggin' Scraps - Download here. Police: Pixelette for the credits. You can download my E-Book which will let you work without being connected. STEP 1: Mask Ouvrir une image transparente 750x620 dans PSP. Ajouter un calque et remplir de blanc. Ajouter un calque et remplir avec #64C4FB. Open Gemsmask-189 and apply. Masks > New > From image - OK. Then Masks > Delete. In PSP 8 and above, it's under Layers > New Mask Layer > From Image. OK then Delete. STEP 2: Elements and Tube Once each element is resized, sharpen if necessary: Adjust > Sharpen > Unsharp Mask
Then add a drop shadow: I used
_rainbow - Top. Cloud - In the middle. Hearts - 45%, on the right. Sun - Top, on the right. _flower bunch - 70%. On the right. _flower bunch - 60%. On the left of the other bunch. _grass - in the middle. _flower scatter - 55%. Tube. _mushrooms - 25%, on the right. Duplicate and place the copy on the left of the original. Chick - 40%. _frog - 35%. Worm - 30%. Bushes - 75%. Onh the left. Butterfly2 - 20%. Tree - On the left. Bunny - 55%. Birdhouse - 30%. _bird - 25%. Image > Mirror. _ladybug - 15%. _owl - 25%. WA - 80%. Top, on the left. STEP3: Credits Credits: Pixelette font or any other small pixel font. --------------- STEP 4: Animation Activate the Bunny and make 3 copies in all. Name them Bunny1, Bunny2 and Bunny3. Place the Bunny2 layer in between the Sun layer and the _flower bunch layer. Place the Bunny3 layer in between the _bird layer and the _ladybug layer. --------------- Activate the _owl layer and make duplicate. Name them _owl1 and _owl2. Place the _owl2 layer in between the _owl1 layer and the WA layer. --------------- check all the layers are open. Close these layers
Merge visible. And save as a psp file under the name Spring1.
Click on File and save as a gif. |

