You can do pretty much what you like with your result: create signatures with name added, extras or stats, websets. Give all the credits that are required and for the tut to: Martine (link to http://chezmartine.com) for PSP 4 ALL (link to http://psp4all.com).

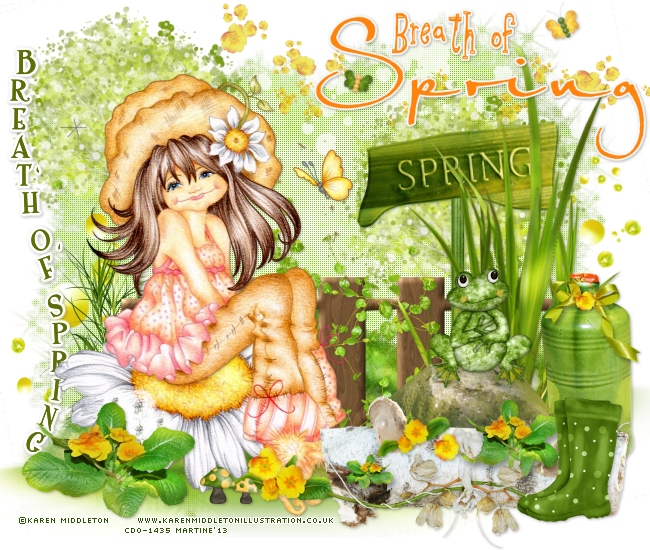
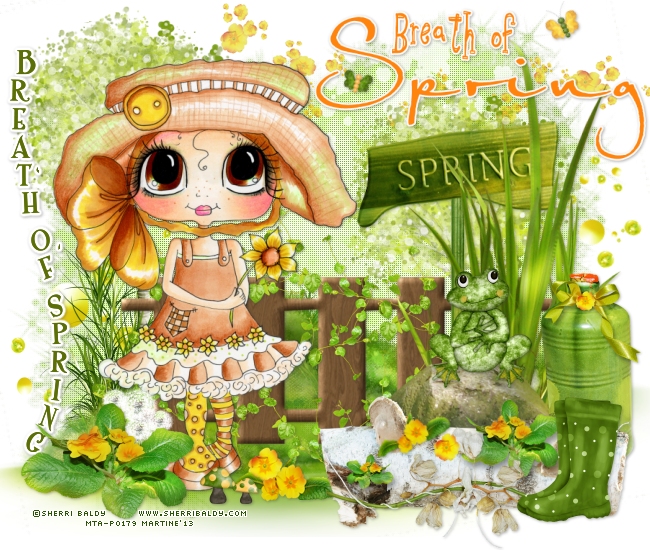
Tube of your choice, free or not, but the credit for the tube must be added to your tag. The tube I am using is © Karen Middleton - www.karenmiddletonillustration.co.uk. If you use the same tube, you must first buy it at CDO and use it with your CDO licence. There is another result at the end of this tut. I used a tube by Sherri Baldy bought at MTA and used with my MTA licence. Scrapkits: 2 scrapkits from the Scrappin' Your Heart Out Blogtrain "Elegant Spring" - Elegant Spring by Irish Princess Designs & Elegant Spring by Sweet Cravings Scraps. Mask: by Gems Taggin's Scraps - Gemsmask16 in this pack Gemsmasks1. Plugins: Eye Candy 4000. Word Art: Breath of Spring by Feli Designs. Download here. Font: Pixelette for the credits. You can download my E-Book which will let you work without being connected. STEP 1: Elements and tube Open a new transparent image 650x550 in PSP. Add a layer and fill with white #FFFFFF. Once each element is resized, sharpen if necessary: Adjust > Sharpen > Unsharp Mask
Then add a drop shadow: I used
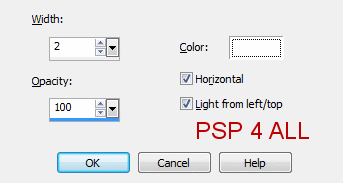
IPD_ES_Tree - 75%. On the left then duplicate and place this copy on the right. See my tags. IPD_ES_Grass - Bottom and towards the left then duplicate and position this copy a bit higher up. IPD_ES_Fence - 75%. In the middle and towards the bottom. See my tags. IPD_ES_Climbing Vines - 45%. Duplicate two or three times and place over the fence. IPD_ES_Sign - 75%. On the right. Add your tube. IPD_ES_Dandelion - 15%. Another at 10% and another one at 12%. IPD_ES_Plant - 30%. On the left of the tube. IPD_ES_GrassNRock- 75%. On the right. IPD_ES_Bottle - 35%. On the right of the rock. IPD_ES_Log - 55%. On the right. IPD_ES_Twig - 40%. Duplicate. IPD_ES_Boots - 25%. On the right. IPD_ES_Flowers - One on the grass and one at 55% on the log. Activate the white background layer and add IPD_ES_Spray - At the top. IPD_ES_Bubbles - Select a few and add them here and there so they are visible. Click and place yourself on top of all the layers and add: SCS_SYHO_ElegantSpring_Frog - 20%. SCS_SYHO_ElegantSpring_Grass - 30%. In front of the tree on the left. SCS_SYHO_ElegantSpring_Butterfly2 - 7%. Rotate 25° left. SCS_SYHO_ElegantSpring_Butterfly4 - 6%. Rotate 15° right. STEP 2 : Mask Se mettre sur le calque fond. Sélections > Sélectionner tout et jouter un calque. Copier coller le papier SCS_SYHO_ElegantSpring_Paper7. Sélections > Désélectionner tout. Ouvrir gemsmask16 and apply. Masks > New > From image - OK. Then Masks > Delete. In PSP 8 and above, it's under Layers > New Mask Layer > From Image. OK then Delete. Duplicate this layer and apply the Blinds effect. Click on Effects > Texture Effects > Blinds.
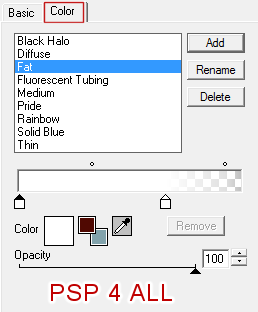
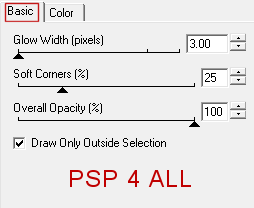
Click on. Reapply this effect but uncheck the option marked Horizontal. Apply and then change the Blend mode. Layers > Properties > Blend mode and choose Luminance (Legacy). STEP 3: Word Art I used two. I coloured the Breath of Spring one in green and then applied Eye Candy 4000 > Gradient Glow. Effects > User Defined Filter > Plugins > Eye Candy 4000 > Gradient Glow:
STEP 4: Credits with a font like Pixelette, antialias off. File > Save.
Martine 17 April 2013 If you have any questions, don't hesitate to contact me |