Supplies: Selections and Wordart. Download herei. Scrapkit IA : Good Luck by Adrienne's Designs. Download here. Filtres: Mehdi > Sorting Tiles - Weaver Jeux de ligne > Entrelacement VanDerLee > Unplugged-X Mura's Meister > Perspective Tiling - Copies Toadies > What are you? Unplugged Tools > Interlace Selections: Place the selections in the Selections folder of your PSP. Font: Pixelette for the credits. ****************************** *** Depending on the colors & tube you are going to use, feel free to change the mode and opacity of the layers. STEP 1 - Background 1.Open an image 900x600. Fill with white. 2. Add a layer and fill with a linear gradient made up with 2 colours from your tube - green #0D6604 and light green #A0DC96, angle on 90° and Repeat on 0. 3. Adjust > Blur > Radial blur
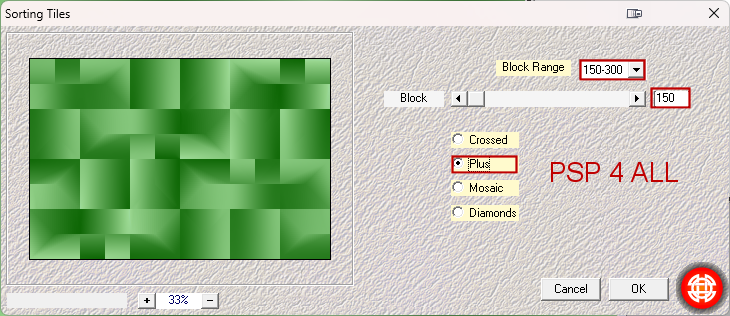
4. Duplicate. 5.On the copy, apply Mehdi > Sorting Tiles.
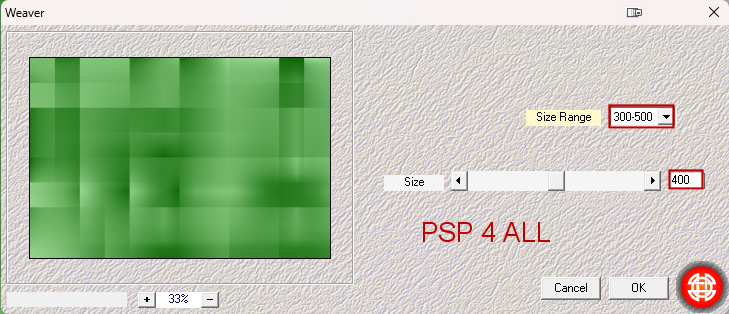
6. Apply Mehdi Weaver.
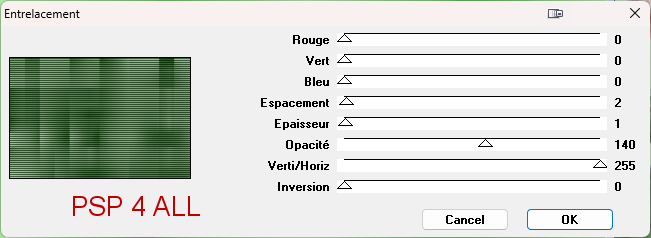
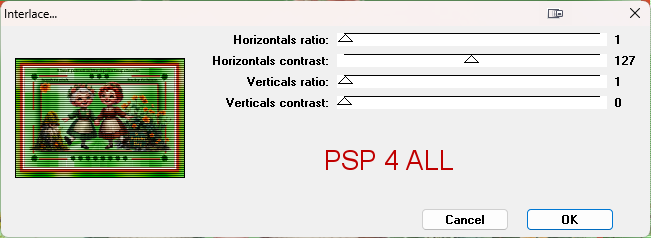
7. Properties > Blend Mode - original on Multiply and copy on Screen. 8. Merge both. 9. Apply Jeux de ligne > Entrelacement
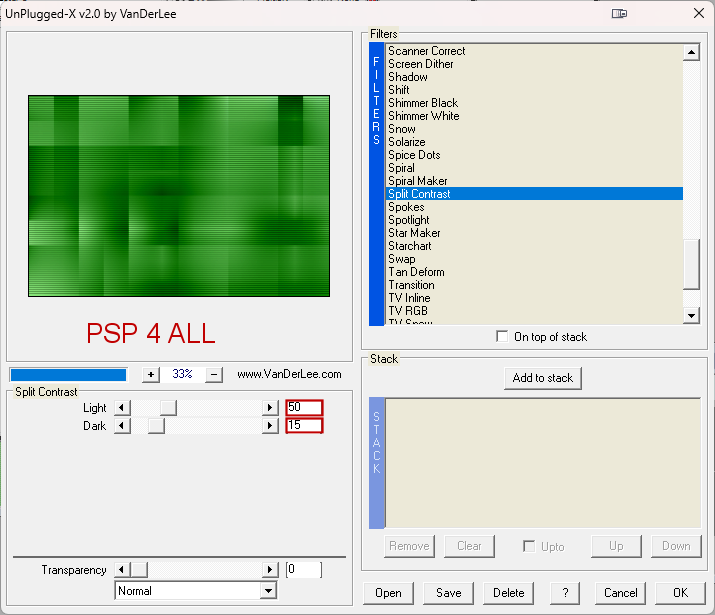
10. Apply Unplugged X > Split Contrast
11. Apply Effects > Image Effects > Seamless Tiling
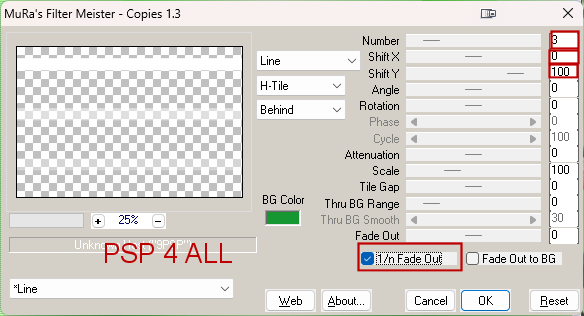
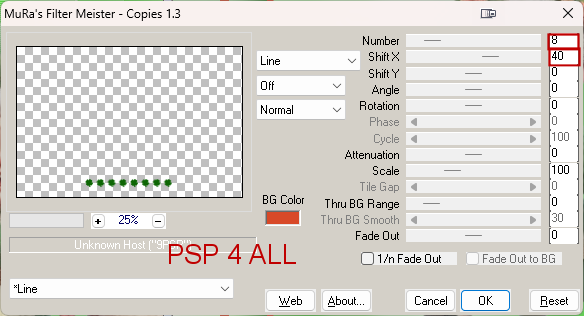
12. Merge > Merge visible. 13. Adjust > Sharpness > Sharpen. 14. Sélections > Load/ Save selection > Load Selection from disk 15. Choose my selection PSP4ALL_MF_BStPat_Sel1_mf25.PsPSelection. 16. Selections > Promote sélection to layer. 17. Fill with white. 18. Select none. 19. Apply Mura's Meister > Copies
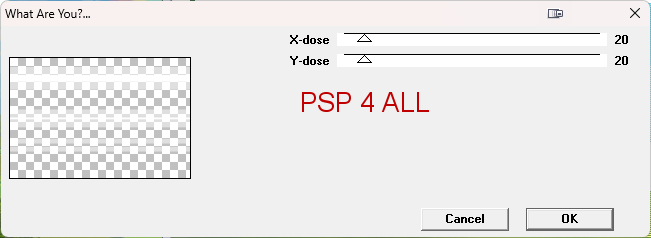
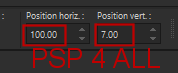
20. Apply Toadies > What are you?
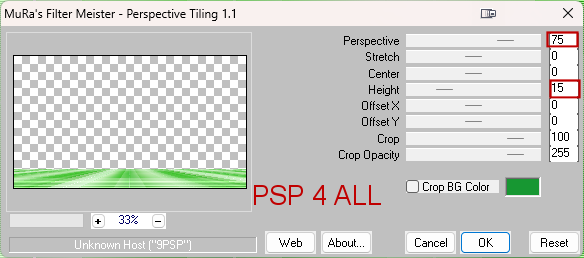
21. Objects > Align vertical Center. 22. Duplicate. 23. Image > Free rotate > 90° left. 24. Layers > Merger visible the 3 layers. 25. Selections > Load/ Save selection > Load Selection from disk 36. Choose my selection PSP4ALL_MF_StPat_Sel2_mf25.PsPSelection. 27. Selections > Promote selection to layer. 28. Duplicate. 29. On the copy, apply Mura's Meister > Perspective Tiling
30. And on the original, Adjust > Gaussian Blur with radius on 8. 31. Merge the copy and the original. 32. Modify > Select selection borders
33. Fill with #d84928. 34. Select None. 35. Duplicate. 36. Selections > Float > Defloat. 37. Fill with #0D6604. 38. Select None. 39. Adjust > Gaussian Blur with radius on 20. 40. Layers > Arrange > Move down. 41. Duplicate. 42. Layers > Merge visible. ETAPE 2 - Les décos, le WA, les éléments et le tube Décos - 43. Selections > Load/ Save selection > Load Selection from disk 44. Choose PSP4ALL_MF_StPat_Sel3_mf25.PsPSelection. 45. Selections > Promote selection to layer. 46. Fill with #d84928. 47. Select the clover, click on Delete and fill with #0D6604. 48. Duplicate. 49. Image > Mirror Horizontal so it goes to the other side 50. Calques > Merge down. 51. Duplicater. 52. Image > Mirror Vertical (Flip). 53. Selections > Select None. 54. Selections > Load/ Save selection > Load Selection from disk 55. Choose PSP4ALL_MF_StPat_Sel4_mf25.PsPSelection. 56. Selections > Promote selection to layer. 57. Fill with #0D6604. 58. Selections > Select None. 59.Apply Mura's Meister > Copies > Line
60. Selections > Load/ Save selection > Load Selection from disk 61. Choose PSP4ALL_MF_StPat_Sel5_mf25.PsPSelection. 62. Fill with green. 63. Selections > Select None. Word Art - 64. Copy paste my WA as a new layer. 65. Hit the K key to activate the Pick tool
66. Press the M key to disable the Pick toolr. Elements - 67. Good Luck Element (11) - 52%. Right. 68. Good Luck Element (87) - 15%. Right. 69. Good Luck Element (62) - 35%. Left. 70. I added a clover taken from Selection 5 to add on the right and left in the corners above the tube. . Tube - 71. In the middle.
91. Credits: with a font like Pixelette or any other small pixel font. Martine 20 February 2025 If you have any questions, don't hesitate to contact me
|