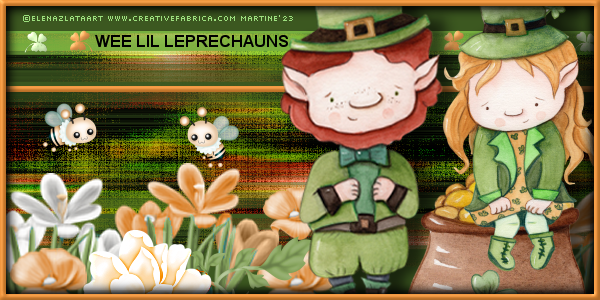
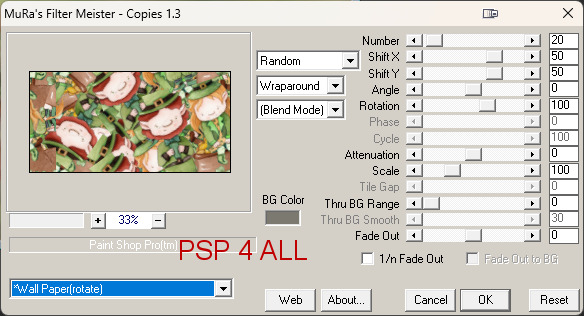
www.creativefabrica.com. Scrapkit: The Green and the Gold - Miggins. Download here. Filtres : Mura's Meister > Copies & Cloud FU2 > Texturize Material: Narah's Mask, my selections. Download here. Font: Pixelette for the credits. Depending on the colors & tube you are going to use, feel free to change the mode and opacity of the layers. STEP 1EP 1 - Background Open an image 600x300 . Fill with white. Add your tubes as a new layer.
Apply Effects > Distortion Effects > Vent
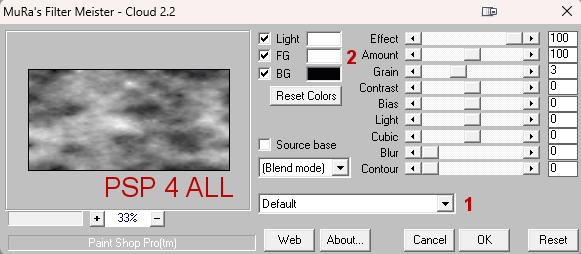
Add a layer and apply Mura's Meister > Cloud
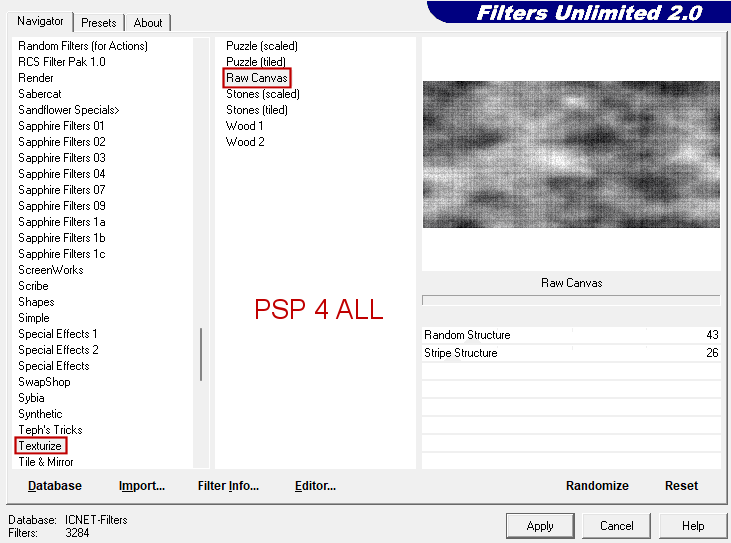
ApplyFU2 > Texturize > Raw Canvas
Effecs > Edge Effects > Enhance More. Opacity on Burn or opacity that suits your colours. Open the mask Narah_Mask_1497. Add a layer and fill with green #3C5820. Layers > New Mask Layer > From Image and select Narah_Mask_1497. Click on OK. Layers > Merge Group. AAdd a layer. Click on Selections > Load/Save Selection > Load Selection From disk. Choose PSP4ALL_MF_StPat_Sel1_mf23.PspSelection
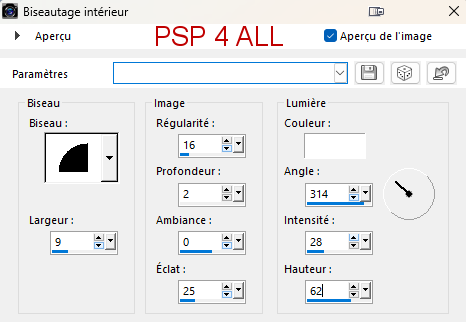
Fill with #FFFFFF (blanc). Properties > Blend Mode on Overlay. Selections > Select None. STEP 2 - Text, Tube and Elements **Text - Text of your choice or mine Wee LiL LEPRECHAUNS in black#28B7AD, font Arial, Fat. **Elements - The small clovers: Add a layer. Click on Selections > Load/Save Selection > Load Selection From disk. ChoosePSP4ALL_MF_StPat_Sel2_mf23.PspSelection Fill with green #9AC27E. Selections > Select None. Apply Effects > Inner Bevel
Duplicate a couple of times nd place where you want. I used different colours. Add a layer. Click on Selections > Load/Save Selection > Load Selection From disk. Choose PSP4ALL_MF_StPat_Sel3_mf23.PspSelection Fill with #DB8531. Selections > Select None. Appliquer le męme biseautage intérieur. **Tubes - Both tubes on the right. Drop Shadow: 2, 15, 60, 20. **Scrapkit Elements - miggs_PP_greenngold (10) : Image > Mirror Horizontal. 20%. Flower in the middle recoloured - Hue = 25 and Saturation = 240 and the leaves too, in green H = 60 and S=71. At the bottom. miggs_PP_greenngold (2) and (20) - I duplicated these flowers, used them a couple of times at the bottom. miggs_PP_greenngold (4) and (6). miggs_PP_greenngold (13) . STEP 3 - Border and Credits Border: Add a layer. Fill with black. Sélections > Modify and contract 10 pixels. Selections > Delete. Selections > Select None. Adjust > Blur > Gaussian Blur, radius of 5. Add a layer. Fill with #DB8531. Sélections > Modify and contract 6 pixels. Selections > Delete. Selections > Select None. Add the same Inner Bevel. Credits: with a small pixel font like Pixelette or any other small font. Martine 23 February 2023 If you have any questions, don't hesitate to contact me |