You can do pretty much what you like with your result: create signatures with name added, extras or stats, websets.

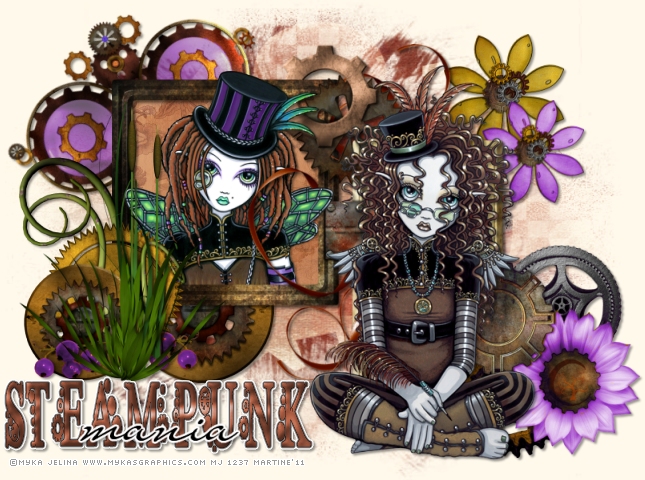
Scrapkit: by Cindy at Scrappy Lil Ole Me http://scrappinwithliloleme.blogspot.com/ : HC Steampunk Expres Mask: Vix Mask 349 ici http://www.freewebs.com/vixpsp/masks.htm Filter: Eye Candy 4000 Fonts: Steampunk (Hannarb) and Mr Lackboughs (a commercial font) for the text. Pixelette for the credits. You can download my E-Book which will let you work without being connected. STEP 1: Background layer Open an image 800x600 - Fill with #FFF9EB. I used this drop shadow on all the elemnts, the tubes and the text:
STEP 2: Masks Masque : Add a layer and Selections > Select all and fill the selection with paper 6 cm_hc-blogtrain-p6. Apply Vix's mask 349. Masks > New > From image - OK. Then Masks > Delete. In PSP 8 and above, it's under Layers > New Mask Layer > From Image. OK then Delete. Duplicate this layer and colour with one of the colours of your tube. I use the purple colour in the hat. Adjust > Hue and Saturation > Colorize - Hue: 201 and Saturation: 147. STEP 3 : Elements cm_hc-blogtrain-framecluster.png: resized to 65%. cm_hc-blogtrain-cog2.png: resized to 40% - position on the left and under the frame. cm_hc-blogtrain-floralcluste.png: resized to 40% - a bit more to the left and above the frame. cm_hc-blogtrain-glasses.png: resized to 40%. Then place on the right of the frame and under it, then apply a free rotation to the left of 30°. I have coloured the glass part of the glasses as in Step 2. cm_hc-flw.png: resized to 25% - Place towards the top, on the right. cm_hc-blogtrain-cluster.png: 40%. I have coloured the flower as in Step 2. STEP 4: Tubes Place the first tube in front of the rectangle frame. Then with the lasso tool - point to point, draw a selection, square-shaped inside the border and add a layer. Use the fill tool and paper 3 - cm_hc-blogtrain-p3.jpg, scale at 25% and fill the selection. Move this layer under the square frame. Selections > Select None. Resize your tube if needed and copy paste inside the square frame. Delete the bottom part of the tube that shows outside the frame. Apply your drop shadow. Duplicate the tube then select the head part of the tube and copy paste as a new layer that you move above the frame. Check that this new layer is where it should be exactly. Click back on the original layer and delete the top part of the tube. Selections > Select None. STEP 5 : Resize all layers to 80% for a result like mine above. STEP 6: Text Steampunk: use the Steampunk font in size 42, one of the colours of your tag, create as vector and anti-alias on to write the word Steampunk in capital letters or a word of your choice. Adjust the height and width of your word then convert to a raster layer. Apply a bevel effect. Effects > 3D Effects > Inner Bevel:
Then take the Dodge brush and draw over the text to lighten areas of your choice
Mania: with Mr Lackboughs or a similar font. In size 60, bold and antialias on, colour #000000. Than apply Eye Candy 4000 > Gradient Glow - Click on Color and then Basic
STEP 7: Credits Choose a small font like Pixelette in size 6, antialias off. STEP 8: Saving Save one last time with all the layers left open. Then close the background layer and merge visible all the other layers. Copy paste this as a new image: it will remove the excess space around your result neatly. Add a layer, fill with #FFF9EB for the Results page and send it to the bottom. Then file > Export > JPEG optimizer. Use the wizard and choose Better image Quality. Martine 27 January 2011 If you have any questions, don't hesitate to contact me |