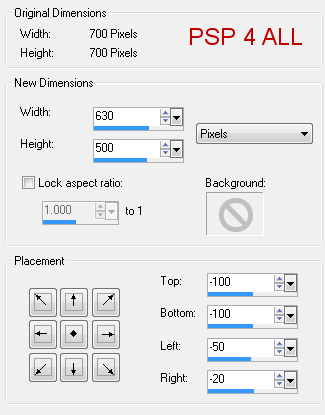
Template: MDS for CM_Template #10.psd by Mincrisar Department Store available at Creative Misfits. Direct Link here. Mask: StPatsMask2 by Tonya available at Creative Misfits. Direct Link here. Texture: by Vix on her blog Vix PSP - Tagging Textures Set 2 here. Plugins: penta.com - color dot; MuRa's Meister - Copies; Eye Candy 4000 - Gradient Glow. Fonts: Sherwood, Mr Keningbeck and Pixelette. Wordart: by Create with TLC - May All Your Wishes Come True here. Animated Clovers: St Patty's Day animations by Lovey at Love Shack. Direct links here and here. You can download my E-Book which will let you work without being connected. STEP 1 - Mask Open the template and duplicate. Close the original. Resize so the template is 630x500. Click on Image > Canvas size
frame2: Selections > Select All > Selections > Float > Selections > Defloat. Add a layer and fill with #294327. Apply a drop shadow. Delete the original layer. rect : Selections > Select All > Selections > Float > Selections > Defloat. A Apply penta.com > color dot
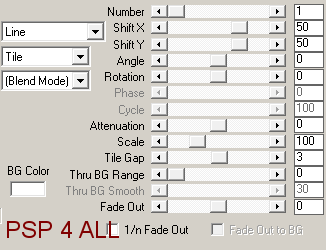
Keep selected. Open a new image 500x300. Click on the text tool, colour green Then click on Objects and choose Align > Center in canvas. Then click on Layer > Convert to raster Layer. Apply Mura Meister > Copies. Preset Menu bottom left - choose Tiling and on the right configure as below
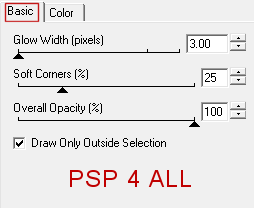
Copy paste this text as a new layer above the rect layer. Place as you wish and then click on Selections > Invert and hit Delete on your keyboard. Selections > Select None. I then colored every other Delete the original rect layer. back: Selections > Select All > Selections > Float > Selections > Defloat. Copy paste the Vix texture as a new layer. Selections > Invert and hit Delete on your keyboard. Selections > Select None. Delete the original rect layer. frame 1: Add a new layer and fill with #294327. Apply a drop shadow. Clover: Resize to 70%. Selections > Select All > Selections > Float > Selections > Defloat. Copy paste Vix texture as a new layer. Selections > Invert and hit Delete on your keyboard. S Apply Eye Candy 4000 > Gradient Glow.
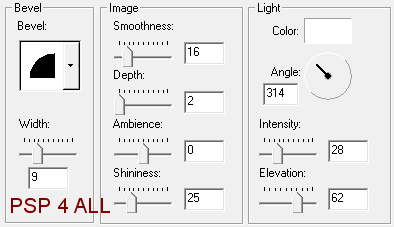
Apply a drop shadow. Selections > Select None. Delete the original rect layer. Duplicate the new clover layer and resize to 30%. Duplicate several times and place above the rect layer. STEP 3 - Tube Add your tube and apply a drop shadow. STEP 4 - Text and Word Art My text: Ireland forever. Type Ireland with the Sherwood font, in bold, with anti-alias on and in green #425F2F. Then apply an inner bevel - Effects > 3D Effects > Inner Bevel
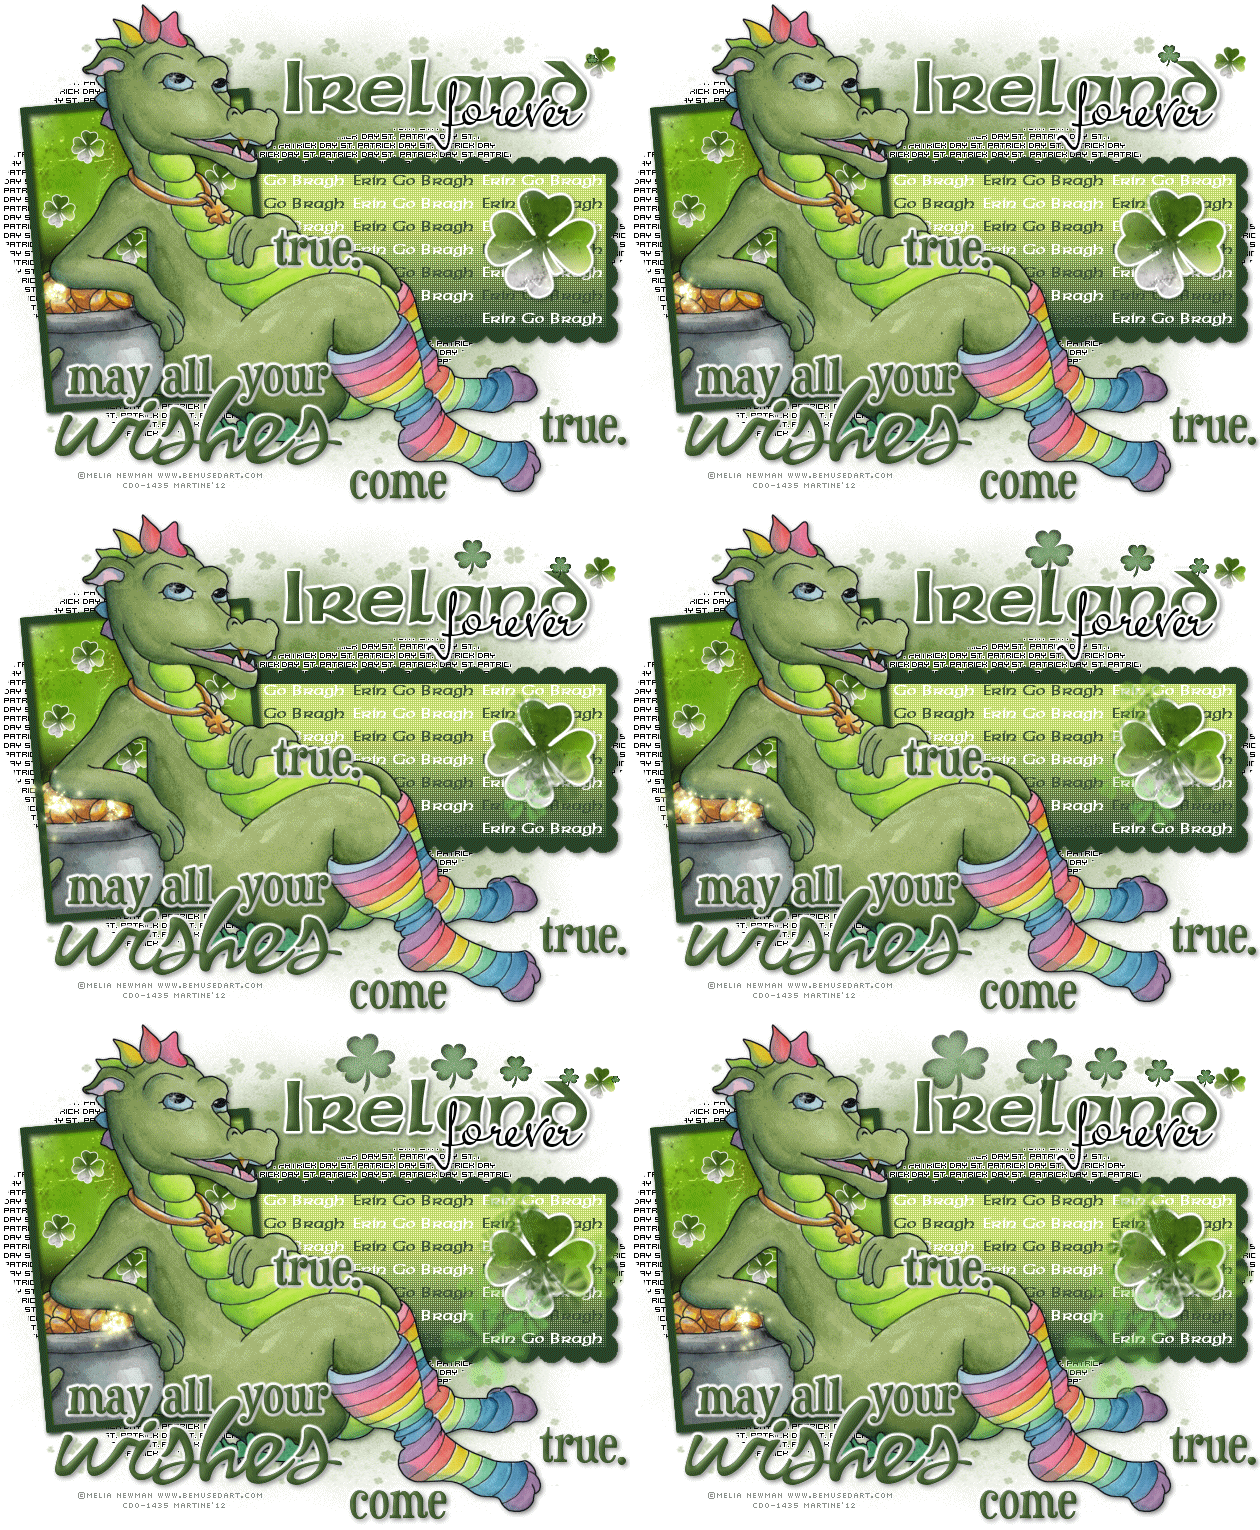
Then Eye Candy 4000 > Gradient Glow as before. And finally apply a drop shadow. Add one of the smaller clovers on the right of the text. See my tag. It's for the animation. Now type forever with Mr Keningbeck font in black, anti-alias on. Same Eye Candy > Gradient Glow. Same drop shadow. Word Art: I colored it green using #425F2F then I separated the words so I could place them where I wanted. On each layer of the separated words I applied the same inner bevel, the same Gradient Glow and the same drop shadow as before. STEP 5 - Credits With a small pixel font like Pixelette. STEP 6 - Save Merge visible and save as a psp file. STEP 7 - Animation Shop Open your merged image in Animation Shop and open the Lovey animations. I used - CloverLine-bylovey'12.psd dans le pack PattyDay1-PSD-Lovey'12 - CloverCluster-bylovey'12.psd dans le pack PattyDay2-lovey'12 - GoldSparkle-bylovey'12.psd dans le pack PattyDay1-PSD-Lovey'12 Duplicate your tag until you have 18 frames in all. Click on the first frame. Edit > Select All. Click on the first frame of the CloverLine-bylovey'12.psd. Slide across the animation and place it on the first frame of your tag, towards the top, on the clover next to the text Ireland. See my tag. Click on the first frame of the animation CloverCluster-bylovey'12.psd. Edit > Select All. Slide across the animation and place it on the first frame of your tag, on the big clover in the rectangle. See my tag. If your tube does not have any gold coins, either leave this animation out or use some elements from a kit. Click on the first frame of the animation GoldSparkle-bylovey'12.psd. Edit > Select All. Slide across the animation and place it on the first frame of your tag, on the gold coins. See my tag. There are only 12 frames in this animation. That left several frames without any animation so I pasted it again but starting on frame 7. Click on Edit > Select All. Animation > Animation Properties > Canvas Color > Opaque and choose white. Now save as a gif. Martine 22 February 2012 If you have any questions, don't hesitate to contact me |
