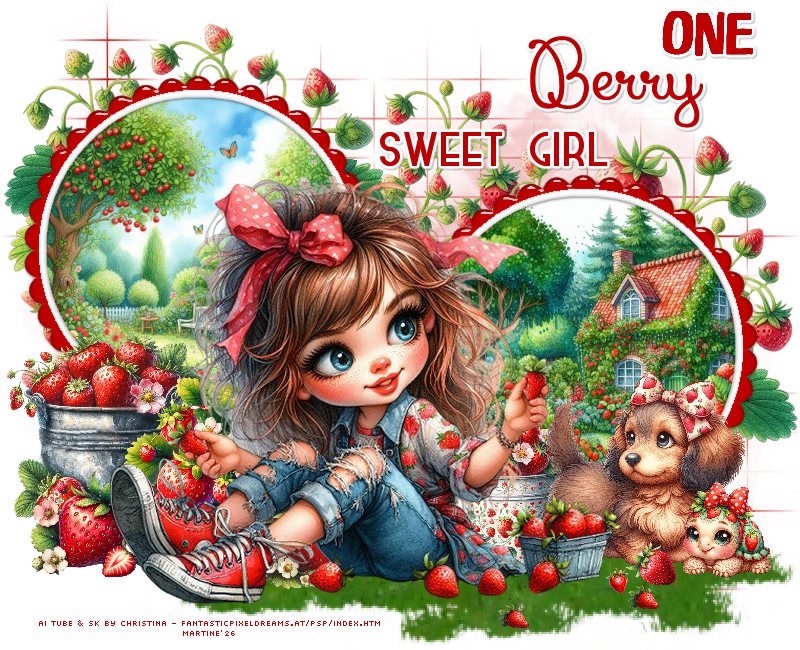
Scrapkit: Strawberry Vibes by Christina - Fantastic Pixel Dreams PSP Design. Download the kit here. Mask by Donna - here on her blog Donna's Cute Designz = Mask 8. Supplies: selections, EC5 Preset, Lawn Tube and WA in this zip.
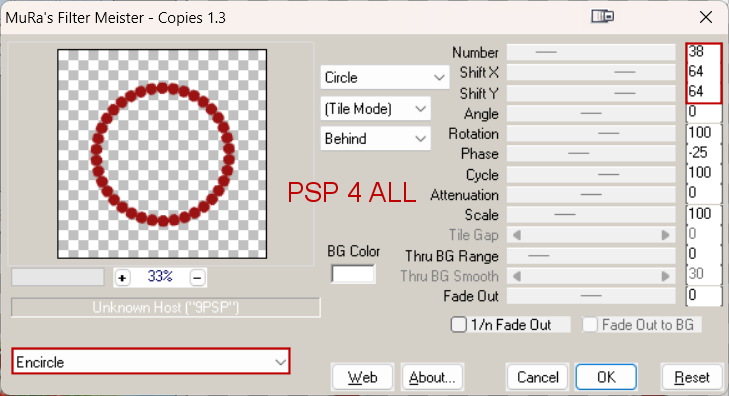
Plugins: Mura's Meister > Copies Eye Candy 5 > Impact > Glass. Fonts: Pixelette for the credits. --------------- Before you start: Double click on the EC5 preset and it will install in Eye Candy5. Put the selections in the selections folder of your PSP. Tube. Open in PSP and File > Export as a Picture Tube. STEP 1 - Template and background 1. Open an image 500 x 500. 2. Add a layer and Selections > Load/ Save Selection > Load Selection From Disk 3. Choose selection PSP4ALL_MF_Strawb_Sel1_mf26 4. Fill with white #FFFFFF. 5. Selections > Select None. 6. Name this layer Big Circle. 7. Add a layer. 8. Selections > Load/ Save Selection > Load Selection From Disk Sélectionner PSP4ALL_MF_Strawb_Sel2_mf26. 9. Cliqck on Load. 10. Fill with #C00000(Rouge). 11. Selections > Select None. 12. Name this layer Small Circle. 13. Apply Mura's Meister > Copies
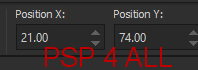
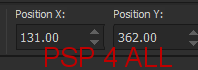
14. Click on Big Circle. 15. Selections > Float > Defloat. 16. Layers > Modify > Expand 2 pixels. 17. Fill with white. 18. Selections > Modify > Contract 10 pixels. 19. Click on Delete on your keyboard. 20. Selections > Select None. 21. Click on the top layer : Small Circle. 22. Layers > Merge Down. 23. Apply my Glass preset: Eye Candy 5 > Impact > Glass - PSP4ALL_MF_Strawb_mf26. 24. Open a new image, white: 800 x 650 px. 25. Cop paste the frame as a new layer: top left. 26. Hit K on your keyboard to activate the Pick tool  and modify Position horiz. and
Position vert.
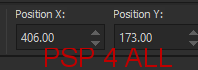
and modify Position horiz. and
Position vert.
27. M to deselect the Pck tool. 28. Duplicate. 29. And move down left. 30. Hit K on your keyboard to activate the Pick tool
and modify Position horiz. and
Position vert.
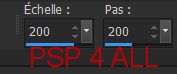
31. M to deselect the Pick tool. 32. Select the inside of the frame with the magic wand. 33. Layers > Modify > Expand 10 pixels. 34. Add a layer. 35. Fill with paper bg_strawberryvibes (8). 36. Selections > Select None. 37. Click on the frame on the left. 38. Select the inside of the frame with the magic wand. 39. Layers > Modify > Expand 10 pixels. 40. Add a layer. 41. Fill with paper bg_strawberryvibes (10). 42. Selections > Select None. STEP 2 - Mask, Elements and Tube ** Mask and éléments under the 2 circular frames ** 43. Click on the white background, at the bottom of the pile. 44. Add a layer. 45. Fill with #C00000. 46. Open Donna's MASK 8 . 47. Calques > New mask layer > From an image and select MASK 8. 48. Click on OK. 49. Layers > Merge group. 50. Openelement natur_strawberryvibes (16) - 60%. 51. Copy paste bits of this element here and there around the 2 frames. 52. Add the Lawn tube a t the bottom, on the right - my settings
53. My position is: click on K.
You may have to adjust the lawn later once your tube is in place. ** Elements and Tube above the frames ** 54. Left - props_strawberryvibes (68) - 20%. 55. natur_strawberryvibes (10) - 12%. 56. natur_strawberryvibes (4) - 20%. 57. Middle - props_strawberryvibes (35) - 20%. 58. Right - animals_strawberryvibes (10) - 20%. 59. animals_strawberryvibes (23) - 10%. 60. natur_strawberryvibes (1) - 15%. 61. Select and copy the bottom strawberry in the natur_strawberryvibes (1) element and paste it on the lawn towards the bottom. 62. Place the tube in the middle. STEP 4 - WA and Credits 63. WA - In the Supplies folder. I used #C00000 to colour the WA - ONE Berry SWEET GIRL. 64. Then apply Gradient Glow = Fat, Blanc and Glow width = 3.16. 65. Drop Shadow: 1, 1, 30, 1. 66. 67. Save.
|