You can do pretty much what you like with your result: create signatures with name added, extras or stats, websets. Give all the credits that are required and for the tut to: Martine (link to http://chezmartine.com) for PSP 4 ALL (link to http://psp4all.com).

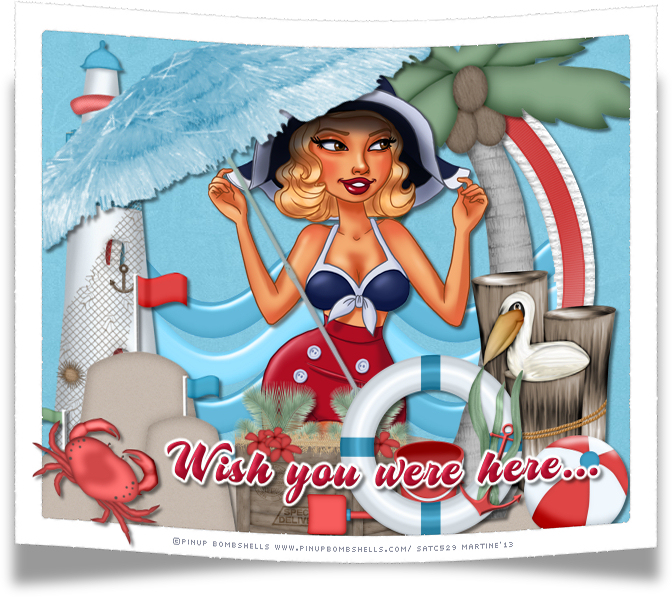
Tube of your choice, free or not, but the credit for the tube must be added to your tag. The tube I am using is © Pinup Boombshells - www.pinupbombshells.com. If you use the same tube, you must first buy it at SATC and use it with your licence. Scrapkit: Surf's Up par Bev ŕ HorsePlay's Pasture Designs. Download here. Script: Bent Photo on the Just Mommies blog. Download here. Read the instructions on the page. Plugins: Xenofex 2 > Burnt Edges. Eye Candy 4000 > Gradient Glow. Fonts: AS Motherlode for the text; Pixelette for the credits. You can download my E-Book which will let you work without being connected. STEP 1: Elements and tube Open a transparent image 660x550 in PSP. Add a layer and fill with white #FFFFFF. Selections > Select All and add a layer. Copypaste paper hpd_SU_Paper 9 in the selection. Selections > Select None. Once each element is resized, sharpen if necessary: Adjust > Sharpen > Unsharp Mask
Then add a Drop shadow: I used
hpd_SU_El6 - in the middle. Click in the middle of the frame with your magic wand, Selections > Modify > Expand by 6 pixels and then copy paste hpd_SU_El34 as a new layer. Selections > Invert and Delete. Move this layer under the frame. Selections > Select None. hpd_SU_El47 - As a new layer, above the frame. hpd_SU_El38 - On the right. hpd_SU_El1 - 80%. On the left. hpd_SU_El43 - 75%. Add your tube. hpd_SU_El10 - Rotate left 30°. hpd_SU_El30 - 45%. hpd_SU_El32 - 25%. hpd_SU_El26 - 30%. hpd_SU_El33 - 35%. Rotate right 90°. hpd_SU_El39 - 60%. hpd_SU_El5 - 35%. hpd_SU_El31 - 35%. STEP 2: Text - Wish you Were Here with the AS Motherlode font, in red. Apply an Inner Bevel
then Eye Candy 4000 > Gradient Glow :
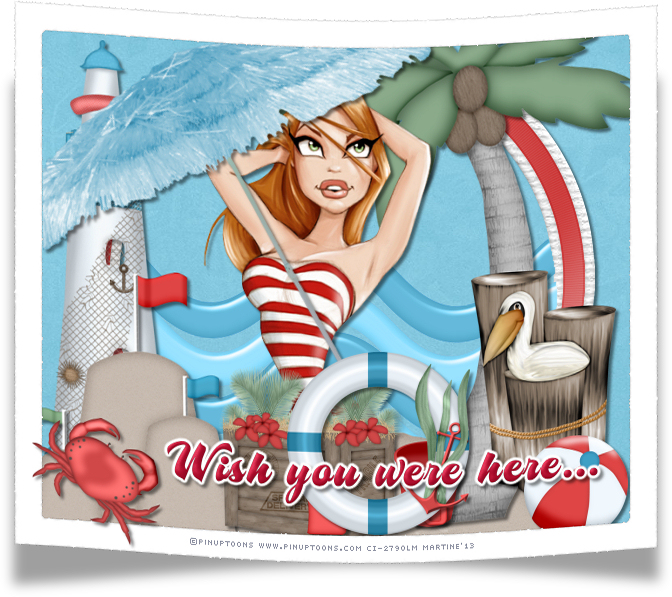
STEP 4: Crab and the credits hpd_SU_El13 - 45% at the bottom and on left. Add your credits with the font Pixelette or any other pixel font. STEP 5: The Script Save then close the white background layer and then click on Layers > Merge visible. Click on the arrow "Select Script" next to the menu and choose your script then click on the arrow "Run Selected Script". If you need more help, then have a look at the tut I wrote last year: Spring 12 here - http://psp4all.com/membres/Martine/spring12_E.html. Add a layer > fill with white and move to the bottom and then click on Layers > merge visible. File > Save. Another result using a tube © PinUP Toons - www.pinuptoons.com
Martine 16 July 2013 If you have any questions, don't hesitate to contact me |