|
 |
This pointing hand is here to help you.
You can drag and drop it and use it as a marker to help with following the
tutorial.
Martine

|

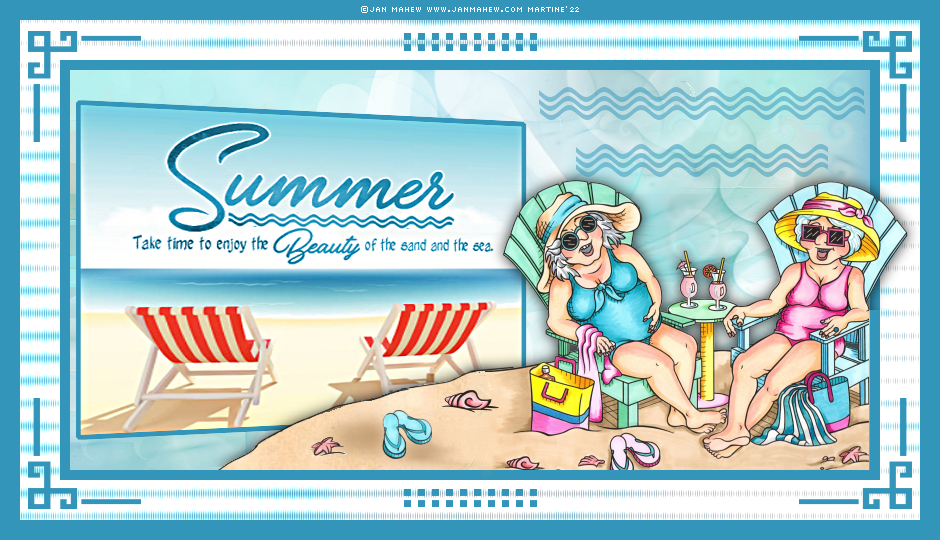
Tube(s) of your choice, free or not but the
credit for all the tubes must be added to your tag. I use a tube
©Jan Mahew -
www.janmahew.com.
Plugins
Mehdi > Sorting Tiles
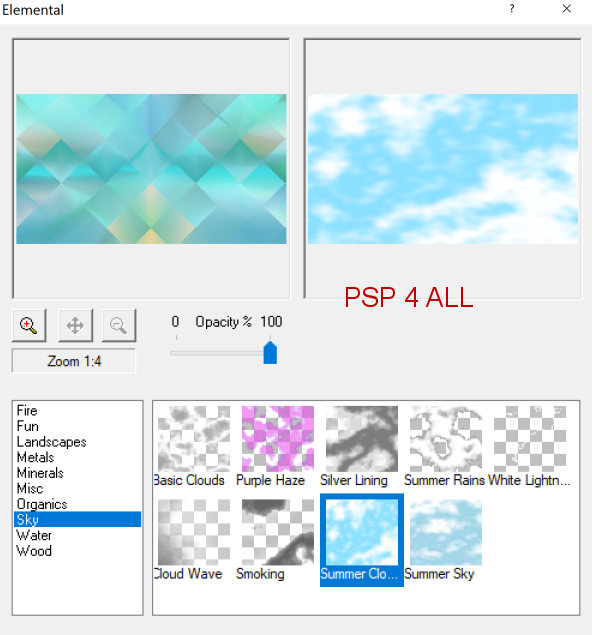
XE Xtras > Elemental > Sky > Summer Cloud
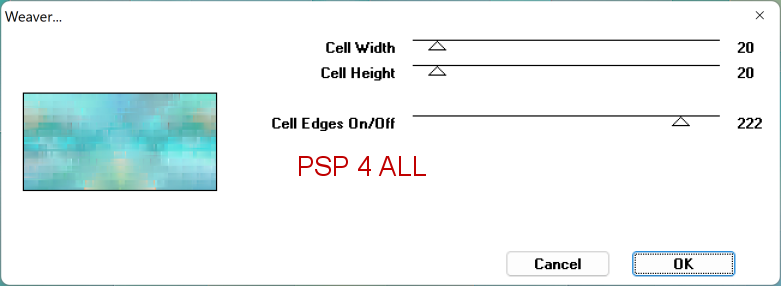
Toadies > Weaver
Xero > Clarity
Material: Images, Décos, 2 masks and WA. Download
here.
Wordart: Eté by
Creative Attitude. Download here. Also
added in the Material folder.
Font: Pixelette for the credits.
STEP 1 - Background
Open an image colour #FFFFFF, 900x500.
Selections > Select All.
Add a layer and Copy Paste
Bkg_Image1.png Into Selection.
Selections > Select None.
Effects > Image Effects >
Seamless Tiling
Adjust > Blur > Radial Blur.
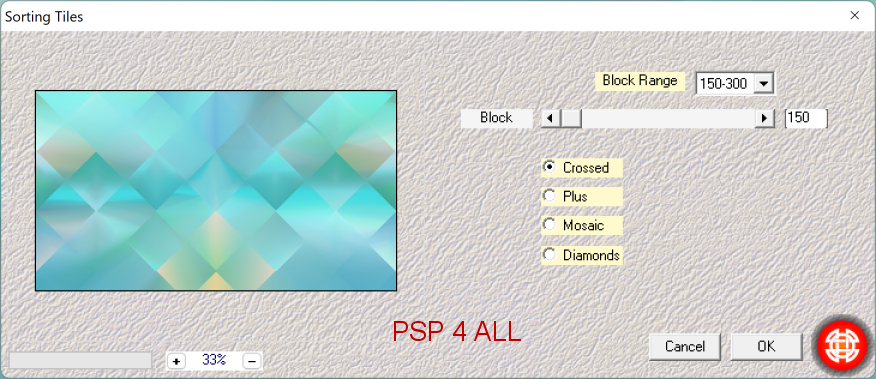
Mehdi > Sorting Tiles
Effects > Edge Effects > Enhance.
Duplicate.
On the Copy: Selections > Modify > Contract 50 pixels. Selections >
Inverter > Delete.
Add a layer. Custom Selection
Fill with #3295B9.
Layers > Arrange > Move Down.
Rename Border.
Selections > Select None.
On the original layer: XE Xtras > Elemental > Sky > Summer Cloud.
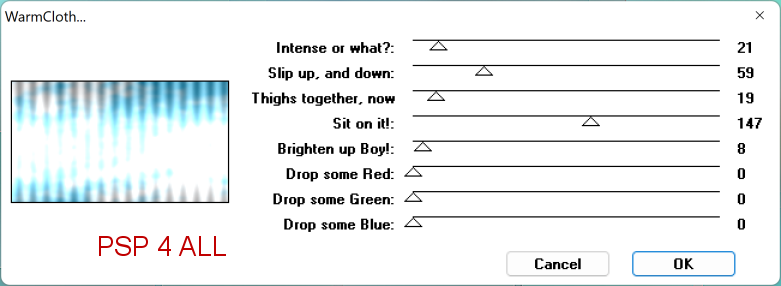
Two Moon > Warm Cloth
Rename Background 1.
STEP 2 - Copy, Image and WA, Tube
*** Copy: Selections > Select All.
Toadies > Weaver
Distortion Effects > Wind
Distortion Effects > Curlicues
Add a layer and fill with white. Open NarahsMasks_1659.
Layers > New Mask Layer > From Image and
select NarahsMasks_1659.
OK.
Layers > Merge group.
Add a layer and fill with white. Ouvrir NarahsMasks_1692.
Layers > New Mask Layer > From Image and
select NarahsMasks_1692.
OK.
Layers > Merge group.
Selections >
Select None.
Layers > Merge > Merge Down.
Layers > Merge > Merge Down.
Rename Background 2.
*** Image and WA: Custom Selection
Selections > Promote Selection to Layer.
Add a layer. Copy Paste
Bkg_Image2.png Into Selection.
Selections > Select None.
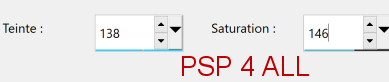
Open the WA. Adjust > Hue
and Saturation > Colorize.
Resize 75%.
Copier coller en nouveau calque.
Layers > Merge > Merge Down.
Layers > Merge > Merge Down
Rename Image & WA.
Apply Xero > Clarity.
Geometric
Effects > Perspective - horizontal
Selections > Select All. Selections > Modify > Expand 5 pixels. Aaa a
layer. Fill with
#3295b9.
Selections > Select None.
Layers > Merge > Merge Down.
*** Add the tube. Drop Shadow: 0, 0, 80, 20.
STEP 3 - Decos, Credits and Border
Decos : Copy Paste deco 1 - MF_Summer_Deco1_mf22.
Copy Paste deco 2 - MF_Summer_Deco2_mf22.
Credits: with a small pixel font like Pixelette
or one of your choice.
Border: Image > Add Borders – Symmetric checked
Size 20 pixels = Colour
#3295b9.
Martine
8 June 2022
If you have any questions, don't hesitate to contact me

|