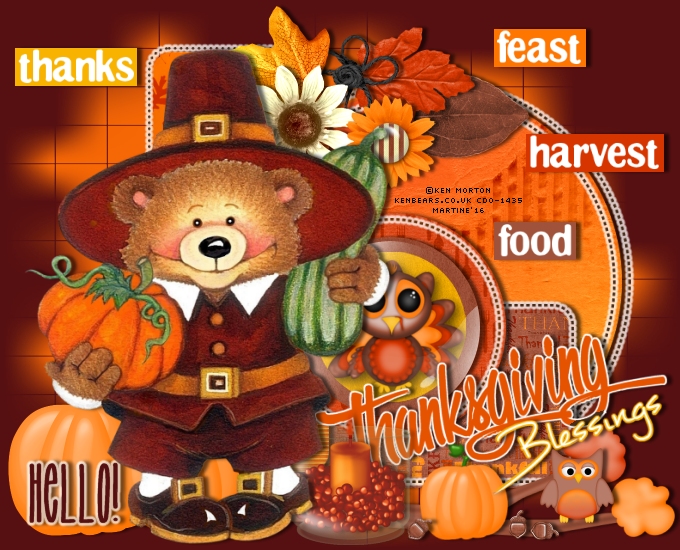
You can do pretty much what you like with your result: create signatures with name added, extras or stats, websets. Give all the credits that are required and for the tut to: Martine (link to http://chezmartine.com) for PSP 4 ALL (link to http://psp4all.com).
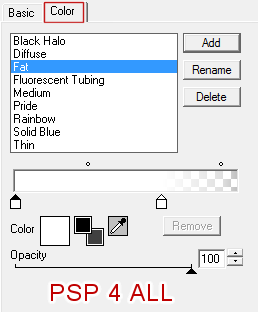
 Scrapkit: Give Thanks, PTU now FTU by Amy on the site Amy & Leah's Gimptastic Tuts. Download here. Template: Thanksgiving Blessings (Chantal's Corner), creative template challenge available on the site The Creative Chicks. Download here. Mask WSL_Mask84, mask by Chelle at Weescotlass Creations. Download here. Plugins: Eye Candy 4000 - Gradient Glow. Fonts: Too Tight the text & Pixelette for the credits. You can download my E-Book which will let you work without being connected. STEP 1: Template, Mask and Tube Drop shadow: I used
Open the template. Duplicate and cclose the original. Resize to 85%. Then click on Image > Canvas Size
Fill Raster 1 with #571011.
Raster 5 - As for Raster 2 but use Paper9. Copy of Vector3 - Apply Eye Candy 4000 > Gradient Glow. Raster 6 - As for Raster 2 but use Paper3 and do not resize it. Copy of Vector1 - Apply Eye Candy 4000 > Gradient Glow. Raster 3 - As for Raster 2 but use Paper1, resize this time. Raster 7 - As for Raster 2 but use and use Paper4, 75%. Copy of Vector2 - Apply Eye Candy 4000 > Gradient Glow. Close Raster4 and Copy of Raster4. And also the Credits layer, higher up. Brad - In the middle of Raster7. Branch - 70%. Bottom, right. Pumpkin - 50%. Bottom, left. Duplicate and resize to 75%. On the left. Duplicate and resize to 75%. On the right. Leaf1 - 70%. Top. Leaf3 - 70%. Top. Rotate right 90°. Flower3 - 40%. Top. Leaf2 - 50%. Top. Flower2 - 50%. Top. Flower1 - 40%. Top. Feast - 75%. En haut et ŕ droite. Harvest - 75%. Top right. Food - 75%. Right. Thanks - 75%. Top left. Flower2 - 50%. Top. Raster10 - Selections > Selectionner All. Selections > Float. Selections > Defloat. Add a layer and fill with #FFFFFF. Close the original et Selections > Ne rien sélectionner. Raster8 - As for Raster10 but with #E55200. Close the original. Selections > Select None. Raster11 - As for Raster10 but with #F8B300. Raster9 - As for Raster10 but with #FFFFFF. Close the original. Selections > Select None. Candle - 40%. Bottom, middle. Acorn - 15%. Make 2 other copies and rotate them. Owl - 25%. Bottom, on the branch. Add the tube, on the left. STEP 2: Text and Credits Text: Hello or the text of your choice with the font Too Tight, colour #571011. Crédits : with the Pixelette font or any other small pixel font. Save your work. Martine 11 November 2016 If you have any questions, don't hesitate to contact me |


