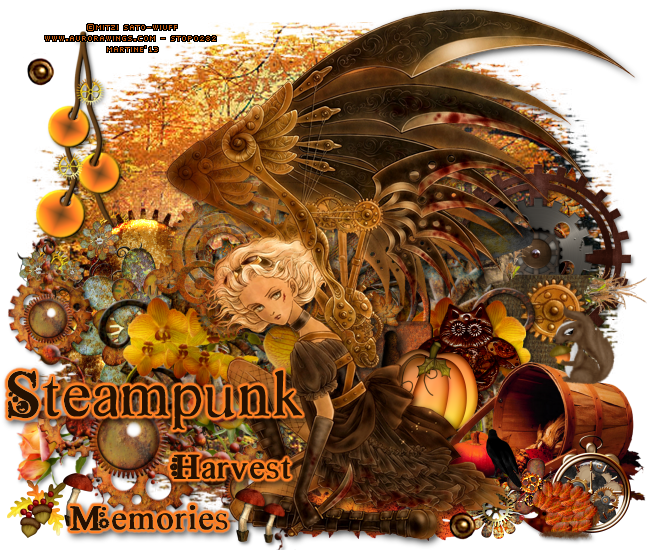
You can do pretty much what you like with your result: create signatures with name added, extras or stats, websets. Give all the credits that are required and for the tut to: Martine (lien ŕ http://chezmartine.com) pour PSP 4 ALL (lien ŕ http://psp4all.com).

Mask: Mask 30 by Bev at Horseplay's Pasture. Le scrapkit: DCD_Harvest of Memories_TS by Digicats (& Dogs) - Download here. Plugin: Eye Candy 4000 - Gradient Glow. Fonts: Steampunk font by hannarb. Pixelette for the credits. You can download my E-Book which will let you work without being connected. STEP 1: Mask Open a new transparent image 650x575 in PSP. Fill with #000000. Select paper DCD_HOMe_Paper(5). Remove the two brown strips on the right and left to keep the image in the middle. With the Selection Tool, select a square of 528 pixels each side. Then Image > Crop to Selection. Edition > Copy and click on your work, Edition > Paste as a new layer. Click on Image > Resize (Make sure Resize all layers is unchecked) and enter 125%. Open Mask 30 and apply. Masks > New > From image - OK. Then Masks > Delete. In PSP 8 and above, it's under Layers > New Mask Layer > From Image. OK then Delete. STEP 2: Elements and Tube Once each element is resized, sharpen if necessary: Adjust > Sharpen > Unsharp Mask
Then add a drop shadow: I used
except on the tube and text. DCD_HOMe_Steam String - 55% and on the left. DCD_HOMe_Steam Swirl - 50% and on the left. DCD_HOMe_Gear Cluster - 40% and on the right. DCD_HOMe_Scarecrow - 55% and on the right. DCD_HOMe_Steam Orchid - 75% and in the middle. DCD_HOMe_Padlock - 30% and on the right. DCD_HOMe_Steamy Owl - 30% and on the right. DCD_HOMe_Pumpkin - 25% and on the right. DCD_HOMe_Scarecrow - 55% and on the right. DCD_HOMe_Gourd Basket - 45% and on the right. DCD_HOMe_Squirrel - 20%. Image > Mirror and on the right. Light rotation to the right. DCD_HOMe_Rust Cluster - 55%. Mirror. In the middle. DCD_HOMe_Autumn Leaf 1 - 30%. Make 3. DCD_HOMe_Flower 01 - 15% and on the right. DCD_HOMe_Flower 04 - 15% and on the right.. Add your tube and this Drop shadow: I used
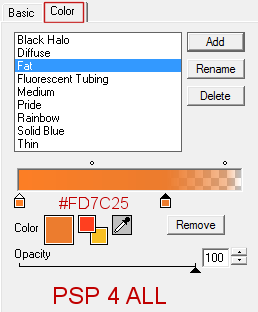
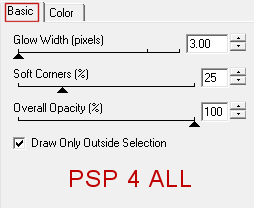
DCD_HOMe_Crow - 15% and on the right. Image > Mirror. DCD_HOMe_Watch - 20%. and on the right. DCD_HOMe_Hedgehog - 20% and on the right. Image > Miror. DCD_HOMe_Acorn - 15% and on the left. DCD_HOMe_Mushroom - 15% and a smaller one, on the left. STEP 4: Text With the Steampunk font. My text Steampunk Harvest Memories or one of your choice, colour #251102. Then apply an orange Gradient Glow.
Drop shadow, same as the one used above for the tube. STEP 5: Credits Credits: with a font like Pixelette or any other pixel font.
STEP 6: Finished tag |