|
 |
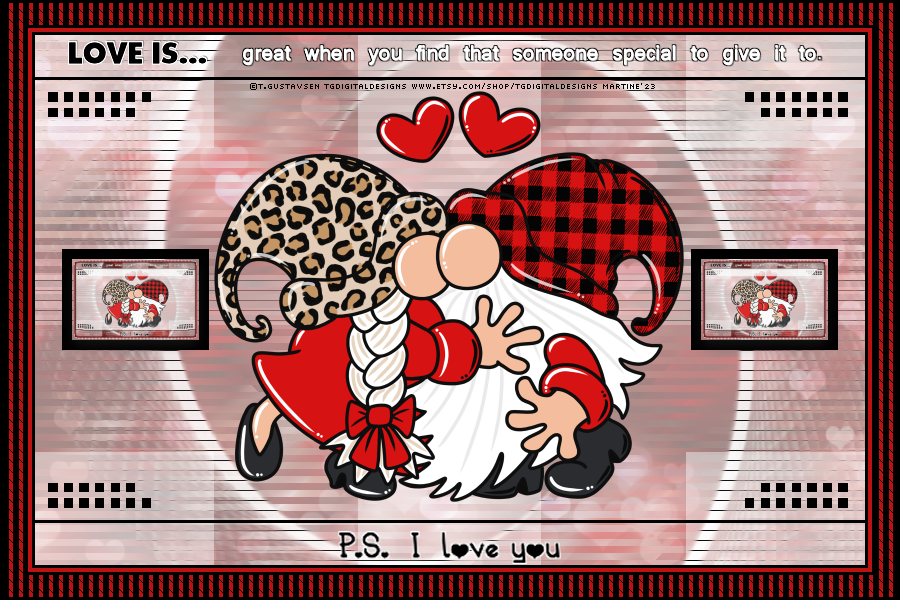
~*~ Valentine - Love Is ~*~
(Version française
ici) |
|
|
 |
|
This pointing hand is here to help you.
You can drag and drop it and use it as a marker to help with following the
tutorial.
Martine

|

Tube(s) of your choice, free or not but the
credit for all the tubes must be added to your tag. I used a tube
©Rose -
WorlsOfSvgByRose.
Filtres: MuRa's Meister > Copies
Mehdi > Weaver
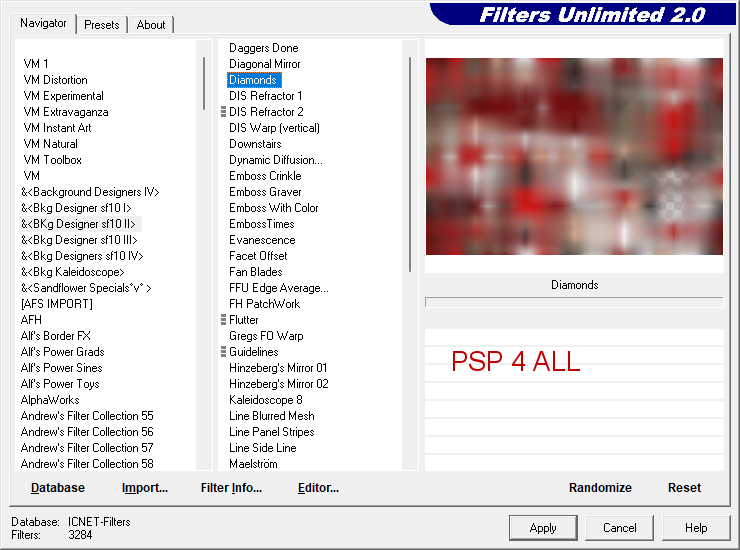
FU2 >&<BkgDesigner sf10ii > Diamonds
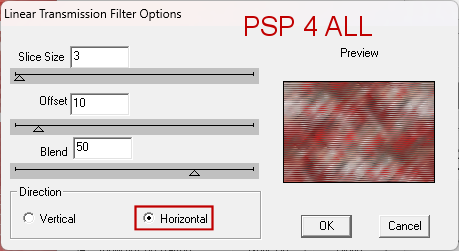
dsb Flux > Linear Transmission
AP(01)Innovations > Silver Lining
Eye Candy 5 > Glass
Material: My image with the Alpha layers, le mask, Eye Candy 5 Impact
Glass preset. Download
here.
To import the Alien skin preset in Alien SKin
Eye Candy 5, double click on the preset and it will install itself in Settings
in Alien Skin Eye Candy 5.
Wordart: Misfits Love Wordart by Creative Misfits Creations. The
blog is
here. I have used
LOVE IS ... byr Tracy and
LoveWA1-vi by Sandy. Download
here
or, if the link does nor work,
here.
Fonts: Pixelette
for the
credits.
Depending on the colors & tube you are going to use, feel free to change
the mode and opacity of the layers.
STEP 1 - Background
Open my image MF_ValLoveIs_mf23.pspimage.
Duplicate and work on the copy.
Click on Background.
Add your tube as a new layer.
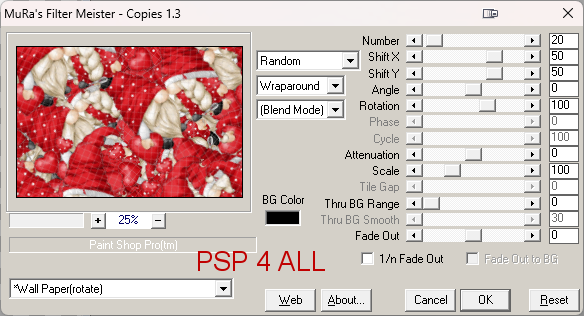
Apply MuRa's Meister > Copies > Wallpaper(rotate)
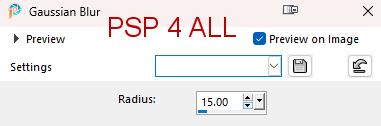
Adjust > Blur > Gaussian Blur
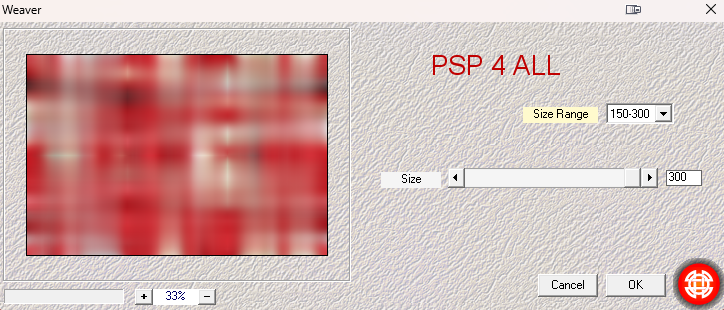
Apply Mehdi > Weaver
Apply FU2 >&<BkgDesigner sf10ii >
Diamonds
Then dsb flux > Linear Transmission
Open the layer Valentinstag-hintergrund. Opacity on Soft Light or
what suits.
STEP 2 - Alpha layers and Tube
Add a layer and fill with white. Opacity 50%.
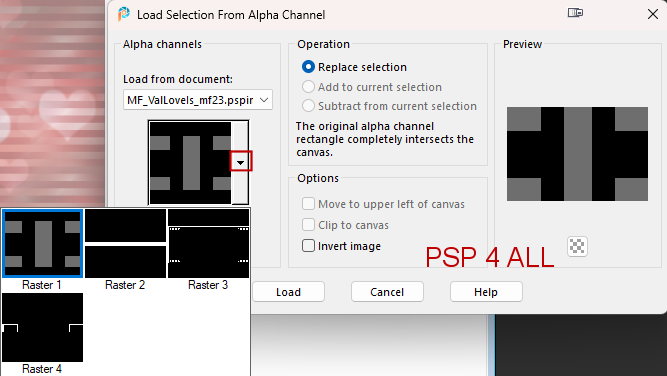
Open the layer Raster 1. Selections > Load/ Save Selection >
Load Selection From Alpha Channel.
Choose Raster 1 and click on Load.
Fill with white and lower the opacity: 50%.
Selections >
Select None.
Open Raster 2.
Load Selection From Alpha Channel and choose Raster 2.
Fill with white and set opacity on 50% or what suits.
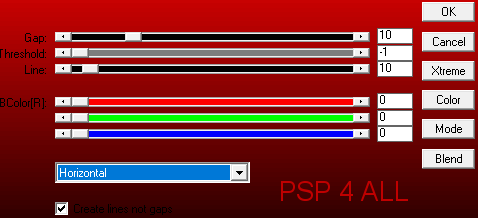
Apply AP01 (Innovations)
Silver Lining
Selections >
Select None.
Add a layer and fill with white.
Open Narah's Masks_1623.
Layers >
New Mask
Layer > From an image and choose Narah's Masks_1623.
Click OK.
Layers >
Merge group.
Open Raster 3.
Load Selection From Alpha Channel and choose Raster
3.
Fill with black.
Ouvrir le calque
Raster 4. Load
Selection From Alpha Channel and choose Raster
4.
Fill with black.
STEP 3 - Tube and The 2 WA
Add the tube in the middle.
Add the 2 WA at the top and bottom.
I colored one part -
"great when
you find that someone to give it to" - of the top WA
in
white and added a 1 pixel black border.
Select this part of the WA. Selections > Float > Defloat.
Fill with white.
Delete the original layer.
Selections > Modify > Expand 1 pixel and fill with black.
Move this layer under the text. Then back to the text.
Layers > Merge > Merge
Down.
Selections > Select None.
STEP 4 - The 2 small frames
Edit > Copy Special> Copy Merged.
Click on Raster 4 eand then click in the middle of the frame on the
left.
Add a layer.
Edit > Paste into Selection.
Now apply Eye Candy 5 > Impact > Glass
Under the User settings
tab, choose PSP4ALL_MF_Val_Glass_mf23. OK
Selections > Select None.
Layers > Merge >
Merge Down.
Répéter pour le cadre ŕ droite.
STEP 5 - Border
and Credits
Back to the top of the pile of all the layers.
Add a layer. Fill with
black. Selections > Modify > Contract 3 pixels. Delete.
Fill with red. Contract 22 pixels. Delete.
Fill with black. Contract 3 pixels.
Delete.
Fill with red. Contract 4 pixels.
Delete.
Remplir de noir. Contract 3 pixels.
Delete.
Selections > Select None.
With the magic wand, select the 22
pixels red band and apply AP(01) AP01 (Innovations)
> Silver Lining
Credits: with a small font like Pixelette or any other small font.
Save.
Martine
3 February 2023
If you have any questions, don't hesitate to contact me
|
|