STEP 1 Open an image #FFFFFF size 800x500. Make a linear gradient with 3 colours from your tube. I jused #C32F33 (red) and #2575BB (blue) and in the middle #FFFFFF (white). Add a layer and fill with the gradient. Mehdi > Sorting Tiles
Effects > Edge Effects > Enhance More Duplicate. On the copy, MuRas Meister > Perspective Tiling
Rename this layer Copy. Original layer: Simple > Center Tile. Filters Unlimited > Fun House > Loom
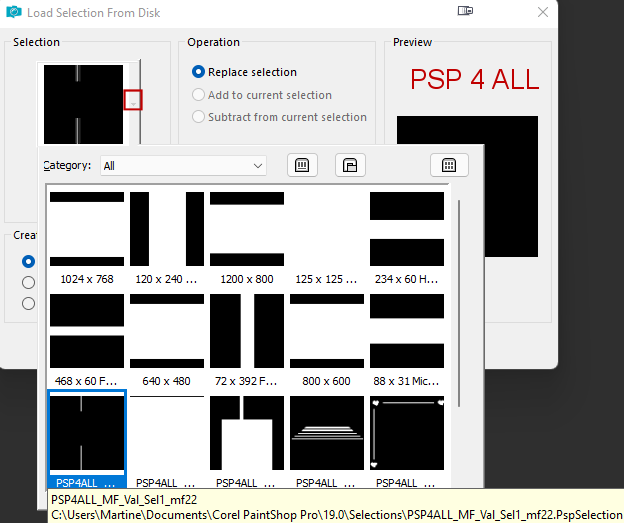
Add a layer. Selections > Load/Save Selection > Load Selection From disk. Choose PSP4ALL_MF_Val_Sel1_mf22. PspSelection
Fill with white. Selections > Select None. Add a layer and fill with white. Open NarahsMasks 1615 in your PSP. Layers > New Mask Layer. From an image and choose NarahsMasks 1615. Adjust >Sharpen > High Pass Sharpen
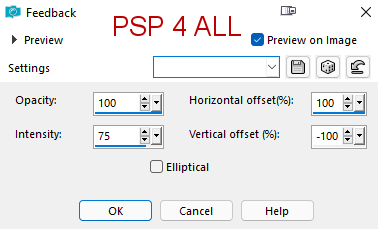
Layers > Merge > Merge Group. Add a layer. Click on Selections > Load/Save Selection > Load Selection from Disk. Choose PSP4ALL_MF_Val_Sel2_mf22. PspSelection. Fill with the red colour #C32F33. Selections > Modify > Contract 1 pixel. Edition > Cut. Fill with white. Selections > Modify > Contract 4 pixels. Edition > Cut. Add a layer and fill with the blue colour #2575BB. Drop the Opacity to 25. Selections > Select None. Layers > Merge down. Add the wordart as a new layer. Resize it to 70%. Layers > Merge down. Apply Feedback. Effects > Reflection Effects > Feedback
Back onto the mask layer. Click on Selections > Load/Save Selection > Load Selection from Disk. Choose PSP4ALL_MF_Val_Sel3_mf22. PspSelection. Edition > Cut. Selections > Select None. Move onto the Copy layer. Click on Selections > Load/Save Selection > Load Selection from Disk. Choose PSP4ALL_MF_Val_Sel4_mf22. PspSelection. Add a layer and fill with blanc. Selections > Select None.. STEP 2 - Tube and Borders Ajouter le tube ‡ droite. Appliquer une ombre portÈe: 3, 3, 35, 2. Image > Add borders, Symmetric, 2 pixels. Colour #2575BB. Image > Add borders, Symmetric, 1 pixel. Colour #FFFFFF. Image > Add borders, Symmetric, 2 pixels. Colour #2575BB. Image > Add borders, Symmetric, 1 pixel. Colour #FFFFFF. Image > Add borders, Symmetric, 2 pixels. Colour #2575BB. Image > Add borders, Symmetric, 30 pixels. Colour #FFFFFF. Image > Add borders, Symmetric, 10 pixels. Colour #2575BB. Image > Add borders, Symmetric, 30 pixels. Colour #FFFFFF. Image > Add borders, Symmetric, 3 pixels. Colour #C32F33. Add a layer. Click on Selections > Load/Save Selection > Load Selection from Disk. Choose PSP4ALL_MF_Val_Sel5_mf22. PspSelection. Fill with the red colour #C32F33. Selections > Select None. Duplicate > Image > Mirror Vertical. Layers >Merge > Merge down. Duplicate > Image > Mirror Horizontal. Layers >Merge > Merge down Paste the little heart on the top white border. MuRa's Meister > Copies
Objects > Align > Horizontal Center Credits: with a small font like Pixelette or one of your choice. Martine 2 February 2022 If you have any questions, don't hesitate to contact me |