You can do pretty much what you like with your result: create signatures with name added, extras or stats, websets. Give all the credits that are required and for the tut to: Martine (link to http://chezmartine.com) for PSP 4 ALL (link to http://psp4all.com).

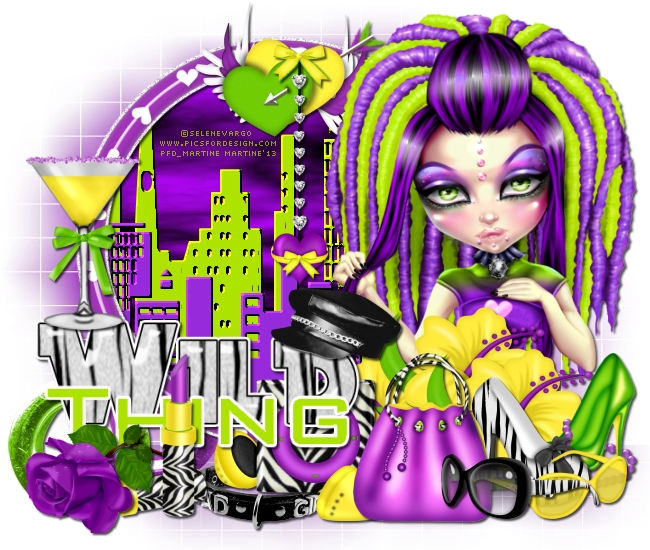
Tube of your choice, free or not, but the credit for the tube must be added to your tag. The tube I am using is © SeleneVargo - www.picsfordesign. If you use the same tube, you must first buy it and use it with your licence. Scrapkits: Wild Thing by Tasha at Tasha's Playground and Wicked Princess. Download here and here. Mask: Mask 72 by Vaybs. Download here. Plugin: Alien Skin - Xenofex2. Fonts: Little City 2000 for the cityscape and Pixelette for the credits. You can download my E-Book which will let you work without being connected. "> STEP
STEP 1: Mask
Then add a drop shadow: I used
***Elements from Tasha's Playground's kit*** Frame2 - 80%, a bit towards the left. Rivet et Rivet2 - under frame2, and at the bottom, on the left. With the magic wand, click inside frame2. Selections > Modify > Increase by 10 pixels. Add a layer and fill with black. Apply the Xenofex plugin. Choose Little Fluffy Clouds then under Settings, select Dark Storm. Then colorize. Adjust > Hue and Saturation > Colorize. I used the same colour used for the mask layer #661D85. Set the Hue at 200 and the Saturation at 164. Slide this layer under frame2. Keep selected. Open a new image 450x450 and click on the Text tool. Select the Little City 2000 font with a colour from your tube. I used #B7E803. Select a big size for the font and type your letter one at a time to create a cityscape with different buildings. Add a layer, change the colour of your text. This time I used the same colour as for the mask layer #661D85. Type more letters and position this new cityscape a bit lower than the other one. See my result. Now apply an inner bevel on both layers. Effects > 3D Effects > Inner Bevel:
Merge visible and copy paste as a new layer the cityscape layer on your work. Selections > Invert > Delete. Selections > Select None. Make sure that this layer is below the sky and below frame2. Wordart2: 40%. Place on the left and at the bottom, above frame2. ***Tube*** Position your tube on the right. ***Elements from Wicked Princess's kit*** - all above the tube and frame2 layers. WP_WT_MUSICPLAYER - 40%. Bottom, towards the middle. WP_WT_FLOWER - 40%. Make 2 or 3 copies and towards the bottom of your tube. WP_WT_SHOEPEARLS - 35%. Place on the right. WP_WT_SHOEZEBRA - 30%. On the right. WP_WT_HANDBAG - 35%. WP_WT_SUNGLASSES2 - 32%. Image > Mirror. WP_WT_SUNGLASSES - 25%. WP_WT_LIPSTICK - 40%. On the left. WP_WT_ROSE - 25%. On the left of the lipstick. WP_WT_DOUBLEHEARTARROW - 35%. At the top and in middle. WP_WT_HEARTDANGLE - 40%. Above the hearts. STEP 3: Credits with a font like Pixelette, antialias off. File > Save. Martine 27 February 2013 If you have any questions, don't hesitate to contact me |