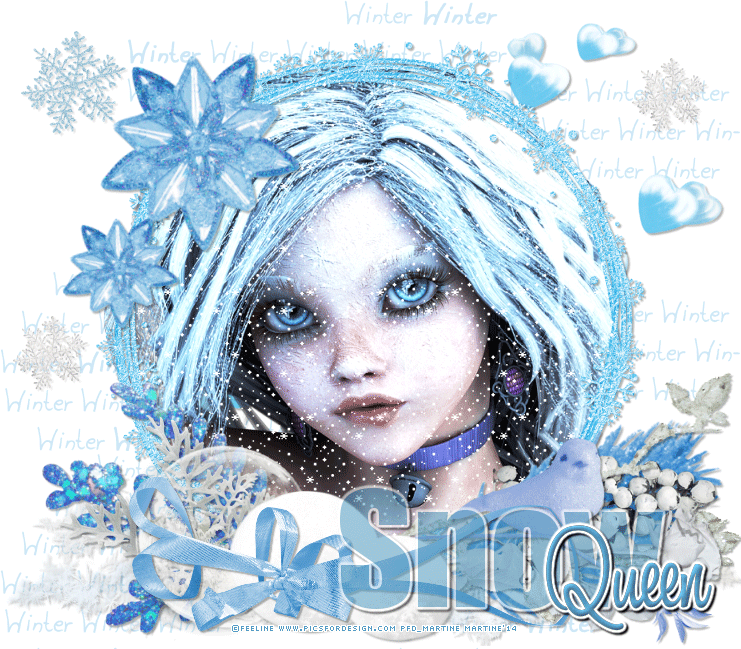
You can do pretty much what you like with your result: create signatures with name added, extras or stats, websets. Give all the credits that are required and for the tut to: Martine (lien ŕ http://chezmartine.com) pour PSP 4 ALL (lien ŕ http://psp4all.com).

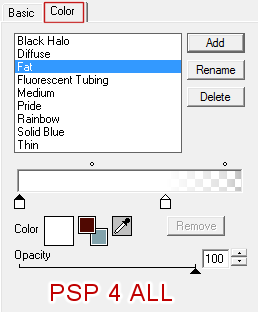
Scrapkit: GS-Winter_Blues by Amy of Gimptastic Scraps - Download here. Winter Word Art: Freebies by Pippi - Download here. Plugins: Eye Candy 4000 > Gradient Glow. Police: Pixelette for the credits, Impact and A&S Black Swan. Snow: Download here. You can download my E-Book which will let you work without being connected. STEP 1 : Elements and Tube Open a new transparent image 750x650 in PSP. Add a layer and fill with white. Copy paste the Winter wordart as a new layer, move it to the top. Colorize with a colour from your tube, I used Hue at 142 and Saturation at 187. Lower the opacity of this layer to 56. Duplicate and move the copy towards the bottom. HeartScatter - Top and to the right. Colorize as before. Add a drop shadow.
Frame3 - Colorize as before. Same drop shadow. With the Lasso tool, draw a selection along the inside border of Frame3, copy paste your tube as a new layer. Selections > Invert. Delete. Move this tube layer under Frame3. Snow - On the left and at the bottom of Frame3. Duplicate this layer. Image > Mirrir. Add the same drop shadowon the 2 layers. Snowflake 2 - 35%. On the left. Snowflake 1 - 25%. On the right. Drop shadow:
Leaf1 - Image > Mirror. Place on the left.
Leaf3 - On the right. Same drop shadow. Branch2 - Image > Mirror. A droite. Same drop shadow. Leaf4 - On the left. Same drop shadow. Bubble - On the left.
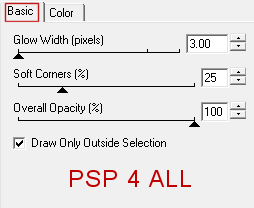
Berries - On the right. Rotate right 90°. Same drop shadow but change the opacity. Set back to 30. Branch - On the right. Same drop shadow. Rose - On the right. Same drop shadow. Bird - On the right. Same drop shadow. Snowball - On the left. Same drop shadow. Snowball - at 75%. Same drop shadow. Bow3 - Colorize. Hue at 146 and Saturation at 142. Rotate right 10°. Same drop shadow. Deco1 - 85%. Same drop shadow. STEP 2 : Text and Credits Texte - Snow with the Impact font in blue. Opacity at 56. Apply an Eye Candy 4000 > Gradient Glow.
And a drop shadow.
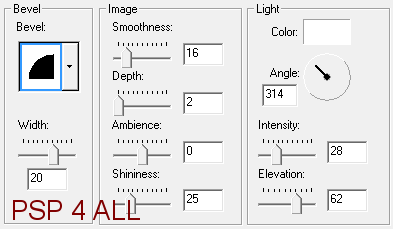
Queen with the A&S Black Swan font in blue. Apply an Inner Bevel
Then the same Gradient Glow and drop shadow. Credits: using the Pixelette font or any other small pixel font. --------------- STEP 3 : Animation Activate Frame3 and with the Lasso tool, draw a selection along the inside border. Close Frame3 and all the other layers above it. Close the white background. Merge visible all the open layers and rename Under the Snow. Close this layer. Open all the other layers except the white background and the merged layer Under the Snow and merge visible. Rename Above the Snow. Open the Snow file in PSP. Click on Image > Resize and set the Height and the Width, both at 125%. Activate Frame1. Copy paste as a new layer on your result, above the layer Under the Snow. Rename the new layer Snow1. Back to the Snow file. Click on Frame2. Copy paste as a new layer right above Snow1. Rename the new layer Snow2. Repeat until your have copy pasted all the Snow layers on your result. Click on Selections > Invert and activate all the layers Snow, one at a time, and each time click on Delete. Close all the layers Snow, 2 to 10 but do not close Snow 1. At the end, click on Selections > Select None. Check that these layers are open: Under the Snow, Snow1 and the layer Above the Snow. Merge visible and copy paste this merged image in Animation Shop. Back to PSP. Click on Undo and close Snow1. Open Snow2. Merge visible. Copy paste this merged layer in AS after current frame. Back to PSP. Click on Undo and close Snow2. Open Snow3. Merge visible. Copy paste this merged layer in AS after current frame. And repeat. Use all the layers Neige so as to have 10 frames in Animation Shop. --------------- The file is heavy so we will reduce its site. Edit > Select all. Animation > Cull Animation. In the window, select Remove 1 frame every 3 frames. 7 frames will remain after this operation. Repeat and again revove 1 frame every 3 frames and now 5 frames will remain. Change the speed. I used 18. --------------- Click on Animation > Animation Properties > Canvas Color and choose Opaque White. Click on File > Optimization Wizard and save your result as a gif. Martine 15 January 2014 If you have any questions, don't hesitate to contact me |