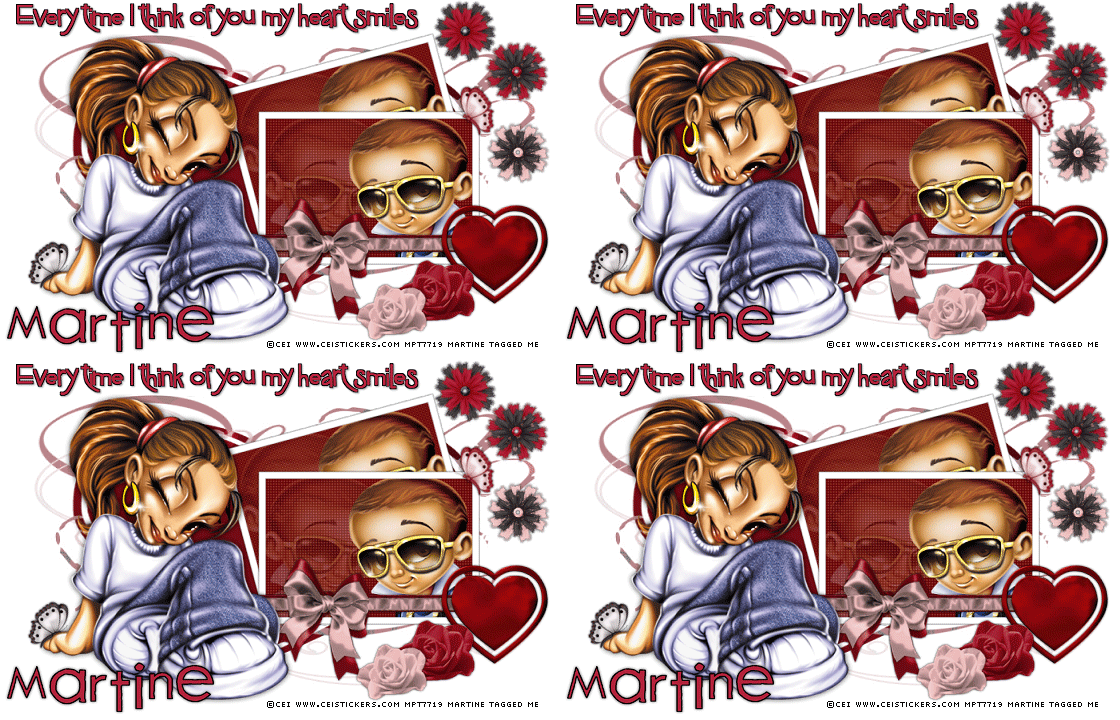
|
(Version française ICI) |
|
|
|
|
|
|
|
You can do pretty much what you like with your result: create signatures with name added, extras or stats, websets.
|
Martine |

Scrapkit Valentine - from Vivi's Designs. Link: Valentine 09.
Word Art By Roxanne
Mask: Harry and Tate's Mum - Kirsty07_MaskNewDec_14 (Heart-shaped mask)
Police : Pixelette for your credits and 2Peas Favorite Things for the name.
Supplies:
You can download my E-Book which will let you work without being connected.
Ouvrez votre matériel dans PSP.
STEP 1
Mask - Open a new white image 750x450.
New layer and paste one of the papers as a new layer. I used vivis_designs_paper7.
Apply your mask: Kirsty07_MaskNewDec_14. Click on Masks > New > From Image - OK. Then Mask > Delete. In PSP 8 and more recent versions of PSP, go to Layers > New Mask Layer > From Image. OK. Then Delete.
STEP 2
Photos - New layer: activate the Preset Shapes tool and set it to Rectangle - Foreground colour: black and Background set to white. Draw a rectangle 275x190. Use the coordinates that you see at the bottom of the working area.
|
|
Selections > Select All > Selections > Modify > Contract by 8 pixels and Delete.
On your Layer Palette, click on the original layer.
Then Colors or Adjust > Hue and Saturation > Hue/ Saturation/ Lightness and set at -100. The frame should now be black. Click on Effects or Adjest > Blur > Gaussian Blur of 1.00
Close the Background layer and mere visible these two layers. Rename Photo.
Click in the middle with the magic wand and Selections > Select All > Selections > Modify > Expand by 3 and add a layer.
Fill the selection witha colour of your choice. I used Red.
Keep selected. Grab your tube - resize it first and then paste as a new layer. Click on Selections > Invert > Delete.
Put your layers in order with the Photo layer at the top, the tube layer under and the background layer: red in my case under the tube layer.
Click on the tube layer and lower the opacity to 25.
Merge visible the background layer (red layer for me) and the tube layer.
And on this merged layer, apply the plugin Penta Dot.
|
|
Open the layer Photo and click inside with the magic wand and Selections > Select All > Selections > Modify > Expand by 3 and add a layer. Paste your tube as you did before the Selections > Invert and delete.
Merge visible your three layers: Photo, tube and the layer with the Penta Dot effect and rename Photo 1.
Duplicate Photo 1 and name the new layer Photo 2.
Click on Photo 2 and Image > Rotation to the left of 15. Grab the move tool and position this photo as I did. Then move the layer under Photo 1.
STEP 3
Tube - Add your tube and apply a Drop Shadow:
V & H = 0 ; O = 80 & B = 10
Elements - you choose but you must use this heart Vivi's_designs_KSGoldHeart6 resized to 45%.
Apply a Drop Shadow to all the elements you use:
V & H = 0 ; O = 80 & B = 4
STEP 4
Word Art, Credits & Nom - Merge visible all layers, including the bottom white background. White for the results page.
Resize to 80%.
Add the Word Art. I recolored mine red then clicked on Selections > Select All > Select > Float > Selections > Defloat > Selections > Modify > Expand by 1 pixel > Add a layer and fill it with back. Move this black layer under the Word Art layer and apply the same Drop shadow used on the elements.
Add the credits with the Pixelette font, size 6 and anti-alias unchecked.
Add your name: use 2Peas Favorite Things. Size 36, anti-alias checked and floating. Stroke color = #000000 and Fill of a red colour. Add the same Drop Shadow as on the Word Art.
STEP 5
Heart Animation - Merge visible your layers and on your layer palette, duplicate until you have 4 layers in all.
Rename Image 1, Image 2, Image 3 and Image 4.
Close the layers and activate Image 2. With the Free Hand selection tool outil set to Point to point, trace all around the inner heart like this:
|
|
Click on Effects > Geometric Effects > Punch. (orDistortion Effects > Punch) and put the strength at 15%.
Keep selected and close Image 2. Open Image 3 and apply the Punch effect at 30%.
Keep selected and close Image 3. Open Image 4 and apply the Punch effect at 40%.
Open the 4 layers and save as a .psp file.
ETAPE 6 : Animation Shop
Click on the Animation Wizard and add your image with the 4 layers. Put the display time at 20.
Preview
Martine
3 rd February 2009
If you have any questions, don't hesitate to contact me


