STEP 1 Open an image #8E2A02 size 800x500. Make a gradient with 2 colours from your tube. I used #8E2A02 et #F9B267, click on Linear, with the angle on 0 and Repeat on 4.
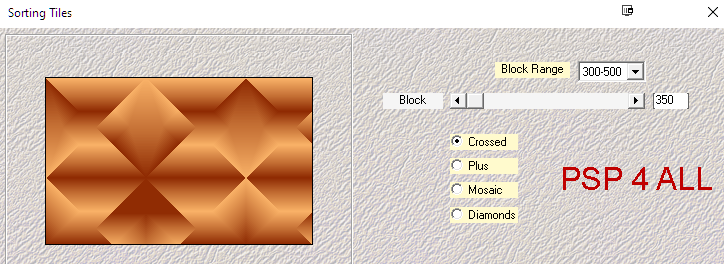
Add a layer and fill with your gradient. Apply Mehdi Sorting Tiles
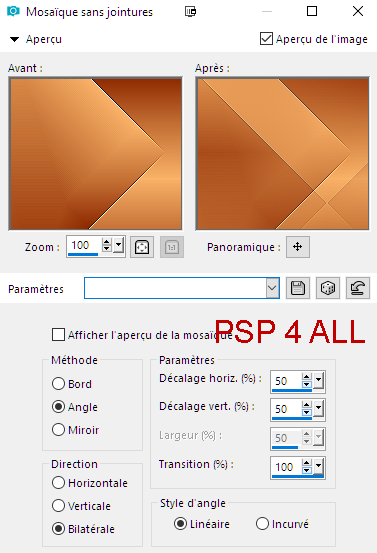
Effects > Edge Effects > Enhance. Effects > Image Effects > Seamless Tile
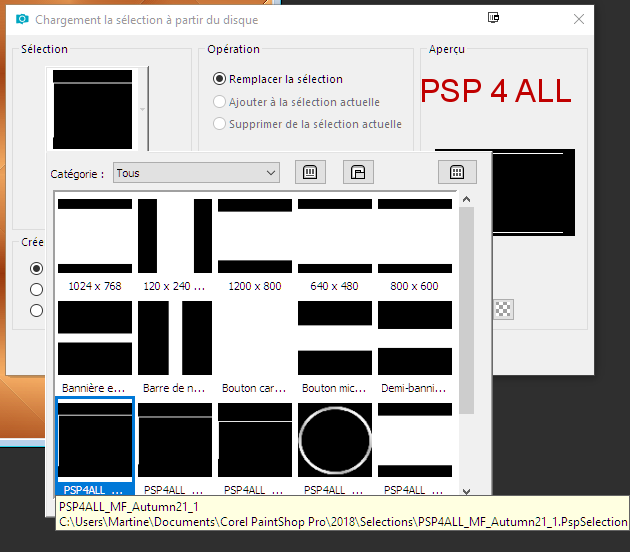
Duplicate. On the copy, Adjust > Blur > Gaussian Blur - radius 40. Layers > New Mask Layer > From Image and choose NarahsMasks_1338. Click on OK. Layers > Merge Group. New layer. Fill with #ECDFCD. Layers > New Mask Layer > From Image and choose NarahsMasks_1641. Click on OK. Layers > Merge Group. Set this layer on Soft Light. Effects > Edge Effects > Enhance More. Duplicate. Merge > Merge Down. Merge > Merge Down (the 2 masks layers). In your Layers Palette, you have 3 layers: at the bottom, the colour layer #8E2A02; the middle layer is the one you filled with the gradient and then, the top 3rd one is the "2 Masks merged" layer. STEP 2 - Selections and Tubes Add a layer. Selections > Load/Save Selection > Load Selection From disk. Choose PSP4ALL_MF_Autumn21_1.PspSelection
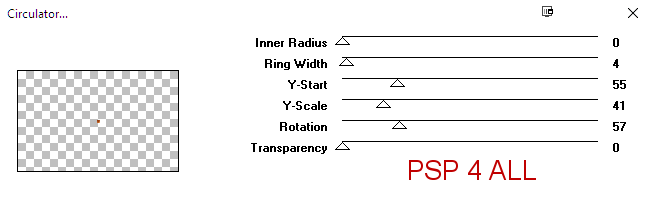
Fill the marching ants with #EBE4D9. Selections > Select None. Add a layer. Selections > Load/Save Selection > Load Selection From disk. Choose PSP4ALL_MF_Autumn21_2.PspSelection. Fill the marching ants with #EBE4D9. Selections > Select None. Add a layer. Selections > Load/Save Selection > Load Selection From disk. Choose PSP4ALL_MF_Autumn21_3.PspSelection. Remplir avec #EBE4D9. Click inside the rectangle with the Magic Wand. Add a layer. Open the Scenery image you want to use. Apply mask 20/20. If you use my image, supplied, it is ready to use - I have applied the mask to it. Edit > Copy. Then on your work, Edit > Paste Into Selection. Selections > Select None. Add the tubes. Drop Shadow = 0, 5, 75, 25. STEP 3 - Deco Back to the layers at the bottom of the pile. Click on the layer on top of the background #8E2A02, the one with the gradient. Apply VM Distortion > Circulator
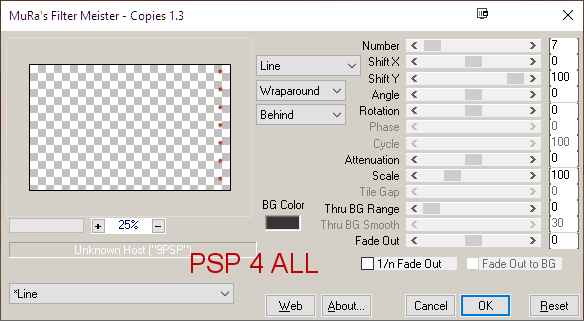
Layers > Arrange > Bring to Top Move to the right. Apply Mura's Meister > Copies
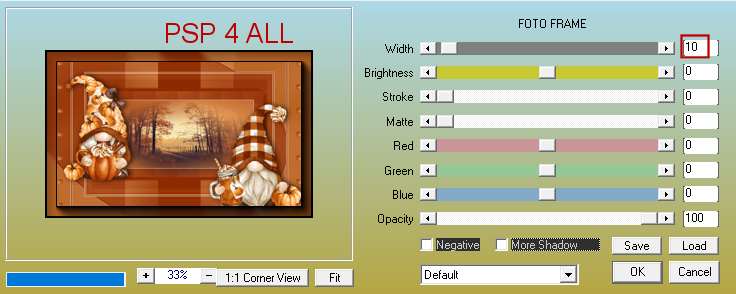
STEP 4 - Border, Text and Credits Border: Edit > Copy Special > Copy Merged. Edit > Paste as New Layer. Apply AAA Frames > Foto Frame.
Then [AFS Import] > sqborder2
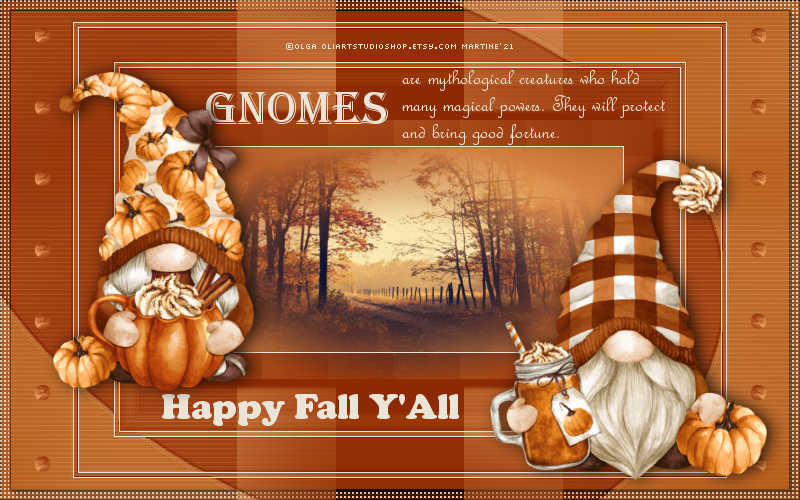
Close all the layers which are under. Text: mine or one of your choice. Gnomes with Algerian font, colour #ebe4d9. Definition with French Script, same colour. Happy Fall Y'All with Cooper black, same colour. Credits: with a small pixel font like Pixelette or one of your choice. Martine 9 August 2021 If you have any questions, don't hesitate to contact me |