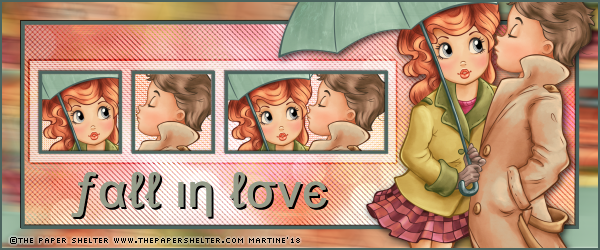
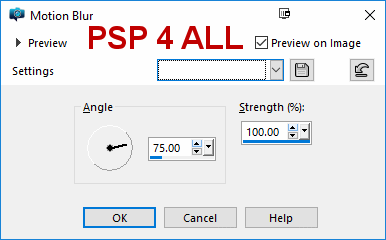
 Tubes of your choice, free or not, but credit for them must be added to your tag. I used a tube ©The Paper Shelter - www.thepapershelter.com. Plugins: Mura Meister - Copies. Carolaine and Sensibility - CS-DLines. penta.com > color dot. Textures: Tagging Textures Set 2 by Vix, to download here My selections here. Unzip and place PSP4ALL_Autumn2_mf18.PspSelection in the PSP folder of your PSP. Police: MSN Weird for the text and Pixelette for the credits. STEP 1 Open an image, 600x250. Fill with white. Add the tube. Duplicate the layer. Close the copy. Back to the original copy. Apply Mura Meister > Copies > Wallpaper. Click on Reset, if necessary, to get the whole image filled. STEP 2 Adjust > Blur > Motion Blur
STEP 3 Add a layer. Selections > Select All and fill with #4C645E. Selections > Modify > Contract by 2 pixels. Delete. Rename this layer Border 1. Selections > Modify > Contract by 20 pixels. Add a layer and fill with #4C645E. Selections > Contract by 3 pixels. Delete. Selections > Select None. Rename this layer Border 2. STEP 4 Click with the magic wand inside the 2nd frame. Selections > Modify > Expand by 1 pixel. Copy Paste Vix-Texture7. Selections > Invert. Delete. Selections > Select None. Layers > Properties > Blend mode > Soft Light. Repeat with Vix-Texture15. STEP 5 Effects > Filters > Carolaine and Sensibility > CS-DLines. Default settings. Duplicate this layer. Image > Mirror > Mirror horizontal. Layers > opacity 50 on this layer. STEP 6 Click on Selections. Load/ Save Selection. Load Selection PSP4ALL_Autumn2_mf18.PspSelection From Disk.
STEP 7 With the Selection tool, draw a rectangle around the 3 little frames.
STEP 8 Open the copy of the Layers > Arrange > Bring to top. Add a Drop Shadow 2, 2, 75, 10. Click on the Border 1 layer. STEP 9 Text: Fall in love with the font MSN Weird, in green #969D8A. Add a Drop Shadow 2, 2, 100, 1. Add all required credits. STEP 10 Save your work. |


