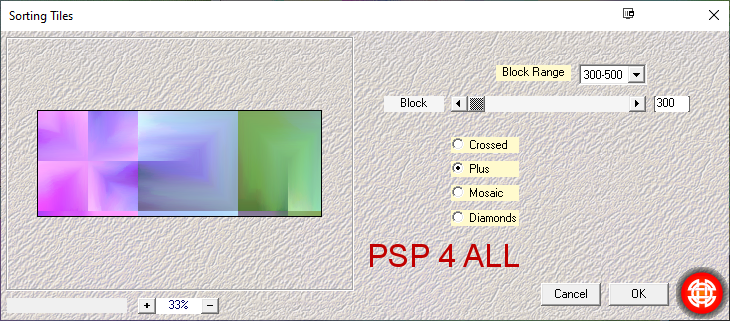
STEP 1 Open an image 851x315. Fill with white. Selections > Select All. Add a layer. Copy paste background41 in the selection. Selections > Select None. Apply Mehdi > Sorting Tiles
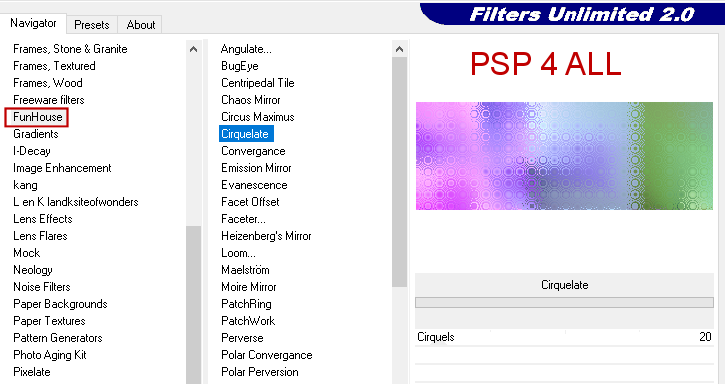
Apply Filters Unlimited > FunHouse > Cirquelate
Then apply Filters Unlimited > Two Moon > Ballons
Set this layer at 75% opacity. Apply VM Extravaganza > Transmission
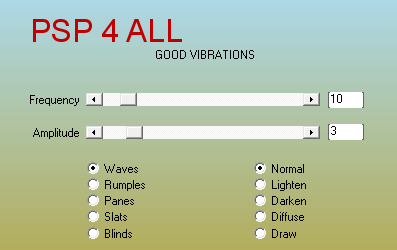
STEP 2 - Borders Middle Border: Selections > Select All. Selections > Contract by 45 pixels. Add a layer. Fill with white. Place the Blend Mode on Lighten and opacity at 41%. Keep selected. Add a layer. Fill with #D11E6D. Selections > Modify > Contract by 6 pixels. Click on Delete. Selections > Select None. Put your background colour on white. Apply AAA Filters > Good Vibrations
Top Border: Selections > Select All. Add a layer. Fill with #D11E6D. Selections > Contract by 6 pixels. Click on Delete. Selections > Select None. Apply AAA Filters > Good Vibrations. Same settings as before. We will remove the white bits of this border. With your magic wand, click on one of the little white triangles inside the border. Selections > Modify > Select Similar - Discontiguous.
Click on Delete. Selections > Select None. Do exacly the same with the border in the middle. We want to remove all the white bits on both sides. Make sure you are on the correct layer before you start. Keep selected. Activate the white layer, the one under the Happy Easter text layer. Click on Delete. Selections > Select None. STEP 3 - Text Open a new image 760 x 225. Add Happy Easter or the text of your choice, using Arial for your font, colour #D11E6D, vector with Anti-alias on Sharp. Convert to Raster Layer. Click on Objets > Center in canvas. Apply Mura's Meister > Copies
Copy paste this text on your working image, in the middle. See my tag. With the Selection tool, trace around any bits of text which are on or outside the frame.Then click on Delete. Delete the bit of text on the right too. Selections > Select None. Set the opacity of this layer on 63. STEP 4 - Tube and elements Add the tube on the left. And the other elements on the right: 070EF element - 15% 068EF element - 15% 069EF element - 15%. Adjust > Hue and Saturation > Colorize with the Hue at 235 and Saturation at 255. 047EF element - 8%. 042EF element - 10%. Colorize and duplicate. Resize the copie to 95%. STEP 5 - Name and Credits Name or Text of your choice: Bunny Alphabet font, #D11E6D. Apply Eye Candy 4000 > Gradient Glow
Credits: with a small font like Pixelette or any other
small font. |