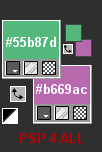
STEP 1 My colours
Open an image #FFFFFF 851x315. Apply Mehdi WavyLab 1.1
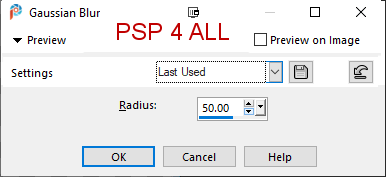
Adjust > Blur> Gaussian Blur
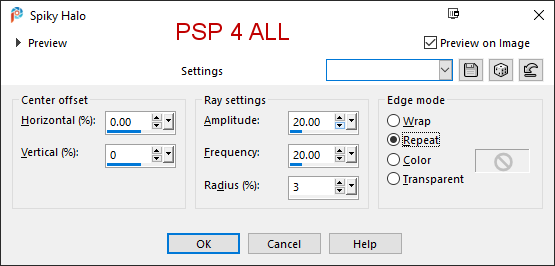
Simple > Top Left Mirror. Distortion Effects > Spiky Halo
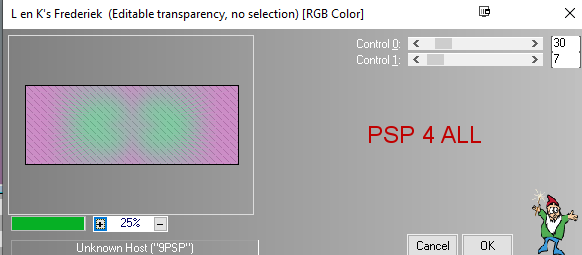
55b87dAppy L&K landksiteofwonders > Frederik
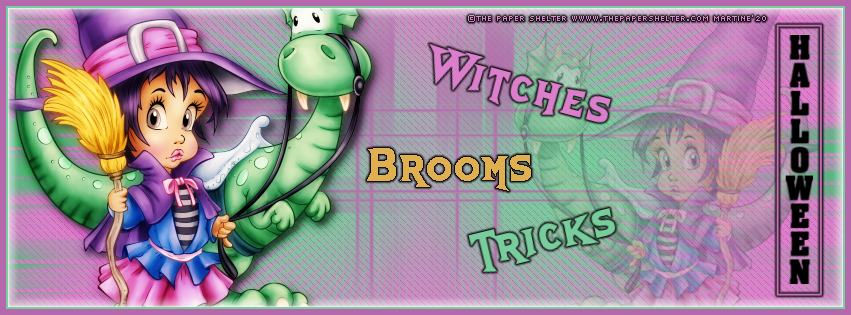
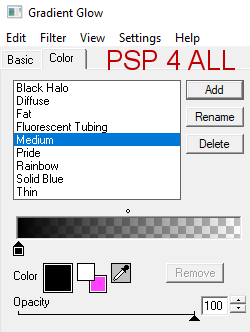
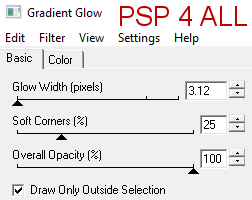
STEP 2 - The 2 masks and the tube Masks - Add a layer and right click to fill with the background colour #b669ac. Layers > New Mask Layer > From Image and choose Narah_Mask_1391. Click on OK. Layers > Merge Group. Dupliquer ce calque. Add a layer and left click to fill with the foreground colour #55b87d. Layers > New Mask Layer > From Image and choose Narah_Mask_1392. Click on OK. Layers > Merge Group. Tube. Add your tube on the left. STEP 3 - Text I chose to write these 3 words: Witches, Brooms and Tricks with the font Skull And Void, in different colours. On each word, I applied this Gradient Glow: Medium in noir. Glow Width at 3.12.
With the font Aachen, in noir, write Halloween. Then draw a rectangle around the text with the Selection tool. Add a layer and right click to fill with the background colour #b669ac. Selections > Modify and contract 2 pixels. Selections > Select None. Apply the same Gradient Glow > Medium in noir. STEP 4 - Border Add a layer and right click to fill with the background colou #b669ac. Selections > Select All. Selections > Contract 6 pixels. Delete. Left click to fill with the foreground colour #55b87d. Selections > Contract 2 pixels. Delete. Selections > Select None. Apply Eye Candy > Gradient Glow, Thin, White and set the Glow width on 10. STEP 5 - Credits with a small pixel font like Pixelette or any other small font. Martine 29 September 2020 If you have any questions, don't hesitate to contact me |
