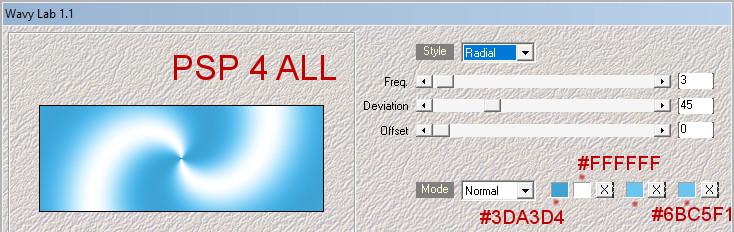
STEP 1 Open a transparent image 851x315. Apply Wavy Lab 1.1
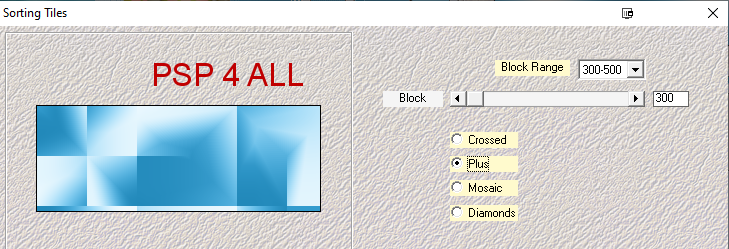
Apply Mehdi > Sorting Tiles - PLUS
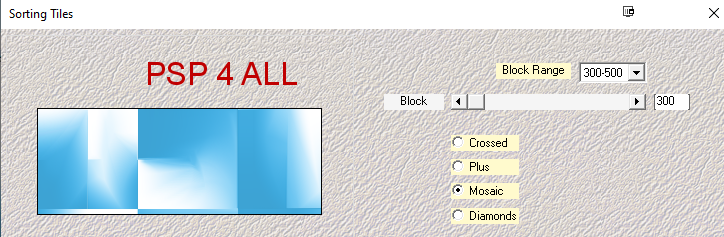
Apply Mehdi > Sorting Tiles - MOSAIC
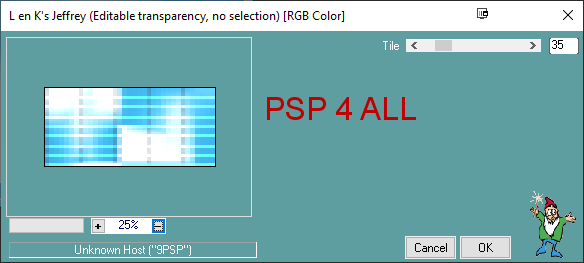
Apply L & K landksiteofwonders : Jeffrey
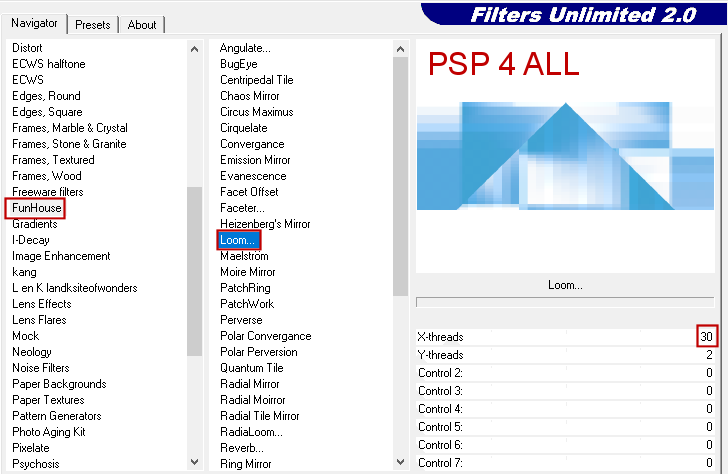
Then Simple > Blintz. Filters Unlimited > FunHouse > Loom
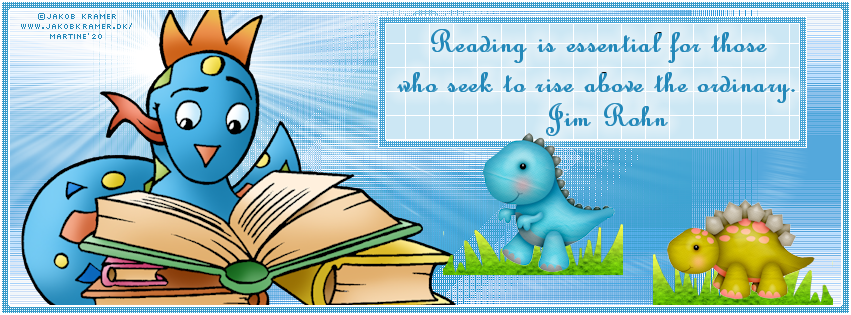
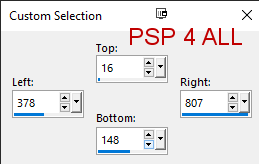
Then Simple > Top Left Mirror. Adjust > Sharpen > Sharpen. STAP 2 - Mask, Tube and Elements Add a layer and fill with FFFFFF. Layers > New Mask Layer > From Image and choose Narah_Mask_0930. Click on OK. Layers > Merge Group. Add the tube on the left. Add these elements: PDS_DR- grass at 30%. Dupliquer. See my tag. PDS_DR- dino1 at 30% PDS_DR- dino2 at 30%. STEP 3 - Text Click on the Selection Tool
The Custom Selection window opens - add these settings
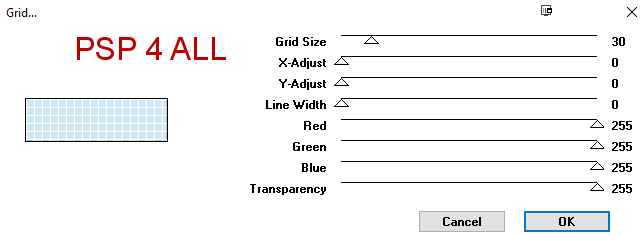
Click on OK. Selections > Promote Selection to Layer Fill with #BCE1F4. Apply VM Toolbox > Grid - Default configuration.
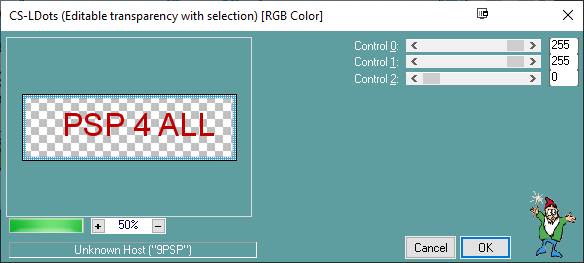
Add a layer and fill with with white. Selections > Select All. Selections > Contract 8 pixels. Click on Delete. Selections > Select None. With the Magic Wand, click once in the border, then Selections > Modify > Contract 1 pixel. Add a layer and fill with #3DA3D4. Apply Carolaine and Sensibility > CS-LDots
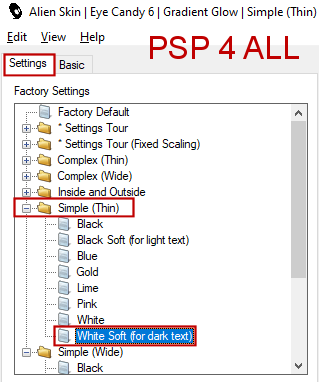
Selections > Select None. Select the French Script font and add my text or one of your choice in blue #3DA3D4. Apply Eye Candy 6 Text Selection > Gradient Glow.
STEP 4 - Border and Credits Add a layer and fill with white. Selections > Select All. Selections > Contract 10 pixels. Click on Delete. Selections > Select None. With the Magic Wand, click once in the border, then Selections > Modify > Contract 1 pixel. Add a layer and fill with #3DA3D4. Apply Carolaine and Sensibility > CS-LDots. Same configuration. Selections > Select None. Credits: with a font like Pixelette or any other small font. Martine 16 April 2020 If you have any questions, don't hesitate to contact me |