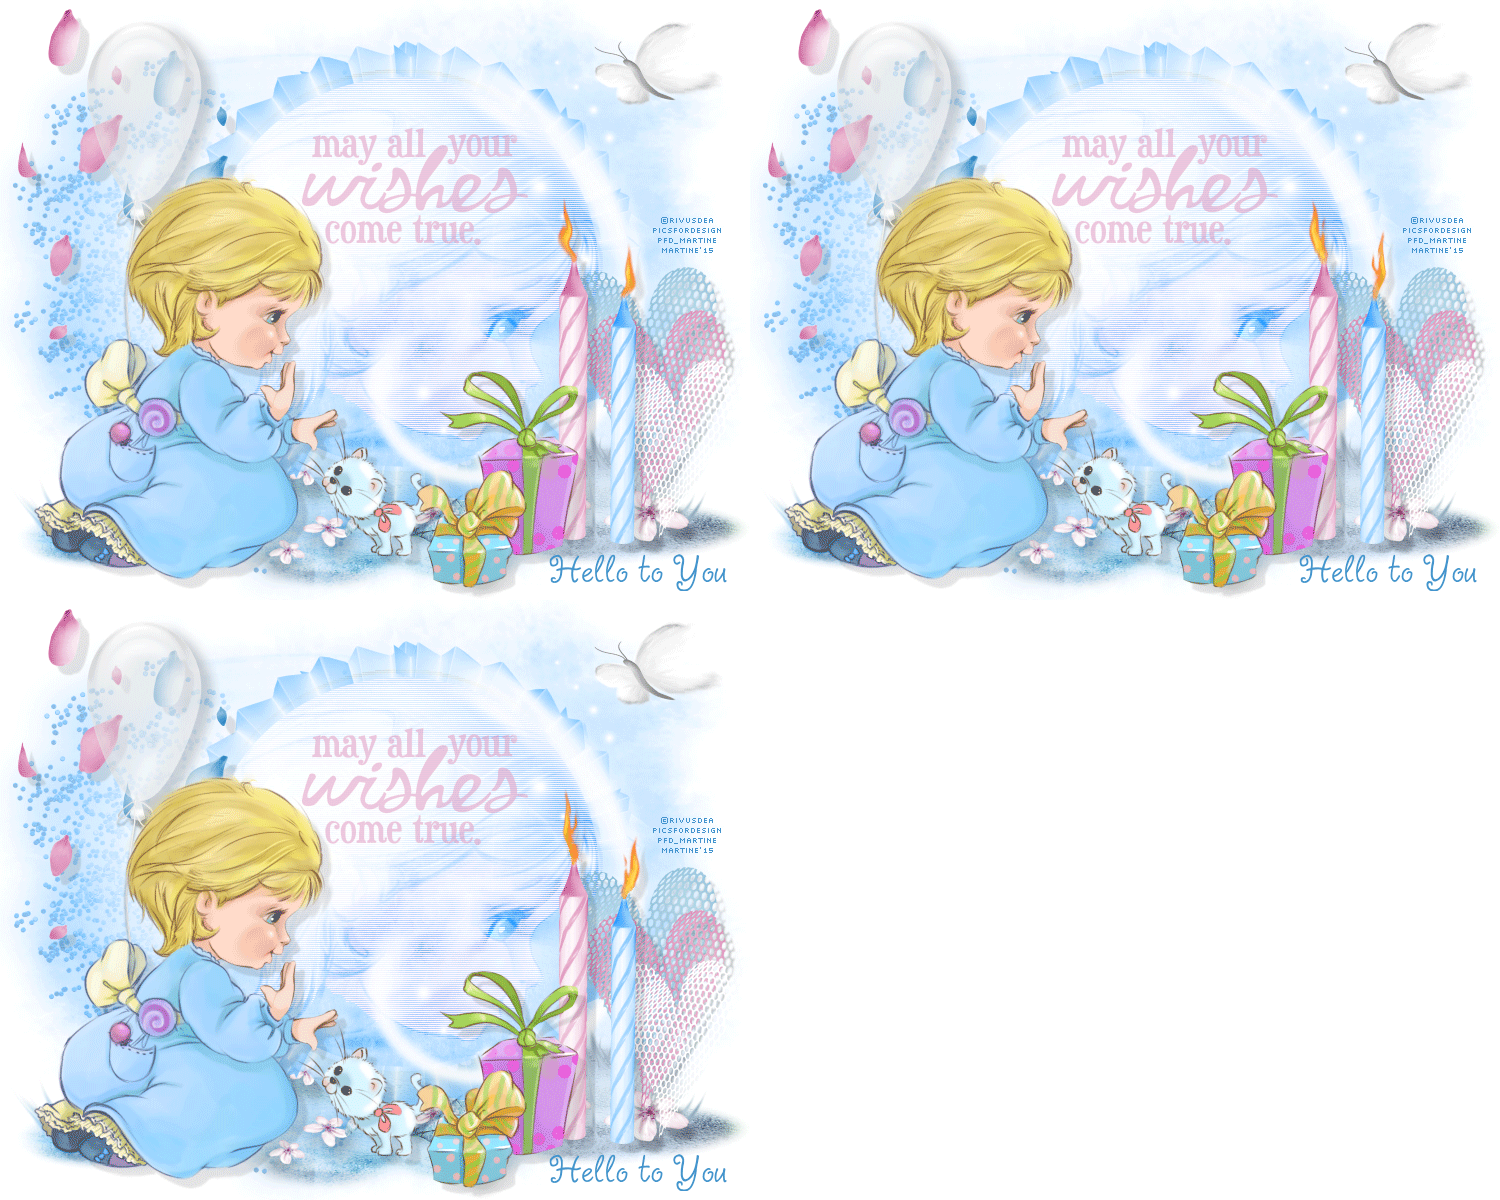
|
 |
~*~ Birthday: May all your wishes come true ~*~
(Version française
ICI) |
|
|
 |
|
You can do pretty much what you like with your
result: create signatures with name added, extras or stats, websets. Give all
the credits that are required and for the tut to:
Martine (link to
http://chezmartine.com) for PSP 4 ALL (link to
http://psp4all.com).
This pointing hand is here to help you. You can drag and drop it and use it as a
marker to help with following the tutorial.
Martine
 |

Tubes of your choice, free or not, but credit for them
must be added to your tag. I used a tube
© Rivusdea -
htttp://picsfordesign.com.
Don't forget your license! It must be legible on your tag.
Scrapkit: Pickleberrypop Birthday Freebie -
PST Designs. Downloadr
here.
Mask: DBV Mask 111 by
Designs by Vaybs. Download
here.
Wordar : Freebie by Paulette -
The
Creations : Create with TLC. Download
here.
Plugins: Unplugged Tools - Interlace.
Fonts: 2Peas Mademoiselle for the text and Pixelette for the credits.
You can download my E-Book which will let you work
without being connected.

STEP
1: Mask
Open an image 750 x 600. Fill with white.
Add a layer. Selections > Select
All and fill the selection with the paper pst_2thbirthday. Colorise with
a colour of your tube, with the Hue at 147 and Saturation at 255.
Selections
> Select None.
Open DBV Mask 111. Masks > New > From
image - OK. Then Masks > Delete. In PSP 8 and above, it's under Layers > New
Mask Layer > From Image. OK then Layers > Delete.
STEP 2: Elements and Tube
Drop Shadow: I used this on most of the elements and also on the tube
pst_2thbirthday (12) - 40%. Place on the left. And colorize with the same
colour: Hue at 147 and Saturation at 255.
pst_2thbirthday (15) - 30%.
At the bottom.
pst_2thbirthday (18) - Image > Miror. 30%.
pst_2thbirthday (2) - 20%. At the bottom. Colorize as you did before.
pst_2thbirthday (5) - 25%. Colorize as before.
Click inside the frame
with your Magic Wand > Selections > Modify > Expand by 5 pixels. Add
a layer and fill with the paper
pst_2thbirthday and then colorize as before with the Hue at 147 and the
Saturation at 255.
Add your tube and then apply Unplugged Tools > Interlace
|
 |
Selections > Select None. In the Layers palette, set the opacity of this
layer to Overlay.
Move those those layers: the paper and then the tube under the frame
pst_2thbirthday (5).
Activate the frame layer and now add the wordart May all your wishes come true
at the top. I colorized it in pink with the Hue at 233 and the Saturation at 133.
pst_2thbirthday (16) - 20%. On the right of the frame.
pst_2thbirthday (9) - 20%. Colorize as before with the Hue at 233 and the
Saturation at 133. Place on the left.
pst_2thbirthday (10) -
20%. On the left too. Colorize with the first colour you used. I set the Hue and
the saturation at 255.
pst_2thbirthday (8) - 20%. On the left.
pst_2thbirthday (14) -
20%. Top right.
pst_2thbirthday (7) - 18% and colorize in pink.
pst_2thbirthday (7) - 16% and colorize in blue.
Add your tube. I added the cat and presents that come with the tube.
STEP 3: Text and Credits
Text: Your name or the text of your choice ising the
2PeasMademoiselle font, in blue #4192CB.
Credits with the Pixelette font or any other small pixel font.
STEP 4: Animation
Click on on the Picture Tube Tool and select Fire.
Set the scale at 25 and the step at 150.
|
 |
Open a new image and paste several fire tubes on this image. The flames are all
different, it will give you choice to choose the most suitable.
Get back your work and add a layer: Flames 1.
Select the flame which suits best and paste as a selection on the candle on
the left.
Select a new flate and again paste as a new selection on the
second candle.
Add a second layer: Flames 2.
And repeat, placing a flame on each candle. Make sure you are on the layer Flames 2
for both candles.
Add a third layer: Flames 3.
And repeat, add a new flame on each candle, making sure the 2 flames are on the
same layer.
-------------------------
Close the following layers: the
white background, the layer Flames 2 and the layer Flames 3.
Merge visible
all the other layers.
Copy paste this image in Animation Shop.
Back to PSP. Click on Undo Ctrl +Z.
Close the layer Flames 1 and open the layer Flames 2.
Merge visible all
the other layers.
Copy paste after Current Frame.
Back to PSP. Click on
Undo Ctrl +Z.
Close the layer Flames 2 and open the layer Flames 3.
Merge visible all
the other layers.
Copy paste after Current Frame.
-------------------------
Then click on the first frame to
select it. Edit > Select All or Ctrl+A.
Click on Animation > Animation properties et choose white
#FFFFFF.
Click on Animation > Image properties.
In the new window, enter the speed you want or 25 as I did.
Click on View animation.
If things are all OK, click on File > Optimization Wizard.
Martine
27 May 2015
If you have any questions, don't hesitate to contact me 

|


