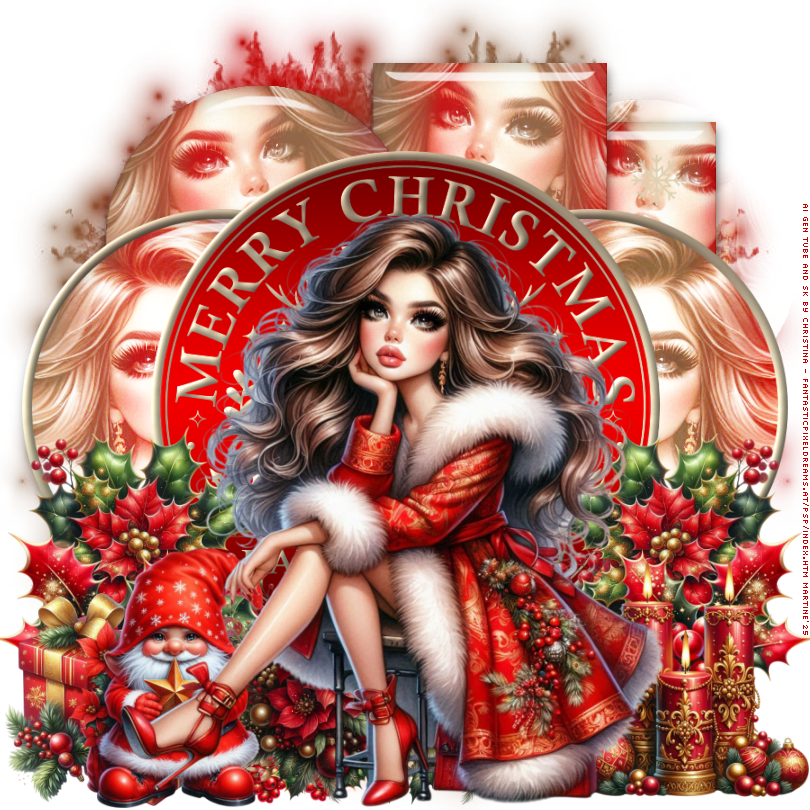
 Template: Pbs-Merry Christmas Happy New Year Template on Punky's site - Punky Productions. Download here. AI Scrapkit Joyful Christmas on Christina's site - Fantastic Pixeldreams---> November Scrapkits. Mask: Mask 1151 by Lori - Lori's PSP Graphics. Material: masque and preset Eye Candy Glass. Download here. Plugins: Eye Candy 5 > Impact > Glass. To import the preset in Alien SKin Eye Candy 5: Double click on the preset and it will install itsef in Settings in Alien Skin Eye Candy 5. Plugins: Eye Candy 5 > Impact. Font: Pixelette for the credits ****************************** Reminder: *** Method to color a layer or add a paper - To fill a layer with colour, Selections > Select All. Selections > Float > Selections > Defloat. Or click with the magic wand. Add a layer > Fill with the new colour or paper, texture. Apply plugin if needed. Selections > Select None. Or click on Selections and paste the paper or texture as a new layer. Selections > Invert. Delete. Select None. Delete the original layer. *** Depending on the colors & tube you are going to use, feel free to change the mode and opacity of the layers. *** Template: I work from the bottom to the top. STEP 1 - Template 1. Open the template. Shift+D to duplicate. 2. Delete the following 3 layers: Punky's Credits at the top - les crédits; Bottom rec and Bottom right circle. 3. CANVAS: Fill with white. 4. Open Mask 151. 5. Add a layer and fill with a gradient red and gold #C00000 and #885836. Angle on 90° and Repeat on 2. 6. Layerss > New mask layer > From an image and choose Mask 151. 7. Click on OK. 8. Layers > Merge group. 9. top right rec: Fill this layer with the same gradient red and gold #C00000 and #885836. Angle on 90° et Repeat on 2. 10. Fill all the layers with the same gradient: top right square, left circle (the large one on the right), top left circle, left circle (the large one on the left). 11. Click back on top right rec. 12. Selections > Float > Defloat. 13. Add a close up of your tube as a new layer. 14. Selections > Invert > Delete. 15. Selections > Select None. 16. Layers > Properties > Put this layer on Screen. 17. Repeat for the other layers: top right square, left circle (the large one on the right), top left circle, left circle (the large one on the left). 18. Duplicate the tube layers: calque left circle on the left and left circle on the right. 19. Click back on top right rec. 20. Selections > Float > Defloat. 21. Add a layer. 22. Apply Eye Candy 5 > Impact > Glass. 23. Layers > Arranger > Move up. 24. Repeat for the other layers: top right square, left circle (the large one on the right), top left circle, left circle (the large one on the left). 25. Apply 3D Effects > Inner Bevel on left circle (large one on the right), left circle (the large one on the left) and Large Circle (in the middle).
ETAPE 2 - Tube and Elements 26. Add the tube in the middle. 27. natur_joyfulchristmas (27) - 32%. Right. 28. Duplicate > Miroor to have the copy on the left. 29. natur_joyfulchristmas (16) - 28%. Right. 30. Duplicate > Mirror to have the copy on the left. 31. props_joyful_christmas (77) - 28%. Right. 32. natur_joyfulchristmas (39) - 28%. Middle. 33. Duplicate > Mirror to have the copy in the middle. 34. natur_joyful_christmas (17) - 12%. Rotate 45° droite.Middle. 35. Duplicate to have the 2 elements side by side in the middle. 36. props_joyful_christmas (70) - 28%. Left. 37. props_joyful_christmas (51) - 30%. Left. ETAPE 3 - Credits 38. with a small font like Pixelette or any other small font. 39. Save. Martine 10 December 2025 If you have any questions, don't hesitate to contact me |

