~*~ Friends ~*~
(Version française ici)
Translate this page:


This pointing hand is here to help you.
You can drag and drop it and use it as a marker to help with following the tutorial.
Martine


Tube(s) of your choice, free or not but the credit for all the tubes must be added to your tag. I used tubes from the scrapkit.

Supplies: my colours, image, selections, preset Eye Candy Impact Glass, script and the text version for those not wanting to use the script. All in this zip.


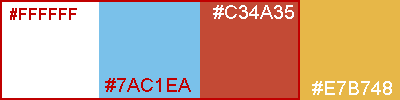
Plugins: Mehdi > Wavy Lab 1.1.
AAA Frames > Transparent Frame
.

Masks: Mask
sg_candy-stripe-frame by Sandra - Essex Girl Artwork in the Supplies folder.

Font: Pixelette for the credits.

******************************

My colours:
#ffffff, #7AC1EA, #C34A35 et #E7B748.


***
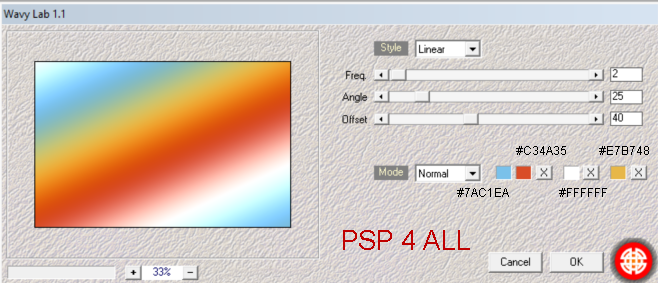
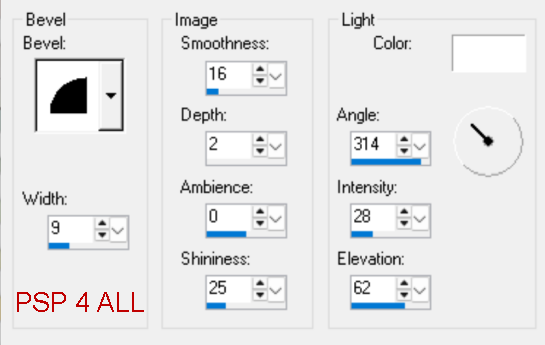
Add the script in the Scripts-Trusted folder (See below - STEP 2). ***
*** Preset Eye Candy Glass :
 Impact > Glass. To import the preset in Alien SKin Eye Candy 5: Double click on the preset and it will install itsef in Settings in Alien Skin Eye Candy 5. ***.


STEP 1 - Background

1. Open an image 850x550.

2. Add a layer and apply Mehdi > Wavy Lab1.1.


3. Duplicate.

4. Apply AAA Frames > Transparent Frame.


5. Layers > Merge > Merge visible.

6. Add a layer and fill with white.

7. Open mask sg_candy-stripe-frame.

8. Layers
> New mask layer > From an image.

9
. Choose mask sg_candy-stripe-frame.

10. Open image scenery_FriendsTut.pspimage and paste as a new layer.


STEP 2 - Decos

11. Add a layer.

12. Selections > Load/Save selection > Load selection fromdisk and select PSP4ALL_MF_Friends_Sel1_mf26

13. OK.

14. Fill with white.

15. Selections > Select None.

16. Apply Eye Candy 5 > Impact > Glass.

17. Select the PSP4ALL_MF_Friends_Glass_mf26 preset.

18. Click on OK.

19. Duplicate.

20. Image > Mirror.

21. Add a layer.

22. Selections > Load/Save selection > Load selection from disk and select PSP4ALL_MF_Friends_Sel2_mf26

23. OK.

24. Fill with white.

25. Selections > Select None
.

26. Apply Effects > 3D Effects 3D > Inner Bevel.


27. Apply Eye Candy 5 > Impact > Glass.

28. Select the PSP4ALL_MF_Friends_Glass_mf26 preset

29. Click on OK.

30. Duplicate.

31. Image > Mirror.

32. Add a layer.

33. Selections > Load/Save selection > Load selection from disk and select PSP4ALL_MF_Friends_Sel3_mf26

34. OK.

35. Fill with white.

36. Selections > Select None.


37. Dupliquer.

38. Image >Vertical Mirror.


STEP 3 - Tubes & WA


39. Add the tubes in the middle.

40. Add the text at the top in the middle. I used the WA coloured and with Gradient Glow.

41. Duplicate.


ETAPE 4 - Borders

42. To make the borders, I used this script: PSP4ALL_Friends_mf26.PSPScript.

43. Take the script PSP4ALL_Friends_mf26.PSPScript in the supplies.

44. And place it in the Scripts-Trusted of your PSP.

45. To find this folder, have a look under File > Preferences > File Locations and then look for Scripts-Trusted.

46. Note the location and navigate to it and place my script PSP4ALL_Friends_mf26.PSPScript in the  Scripts-Trusted.folder.

47. Let's check that the Script toolbar is visible.

48. If it isn't visible, right click in the grey area of your toolbar at the top, and select Toolbars > Script
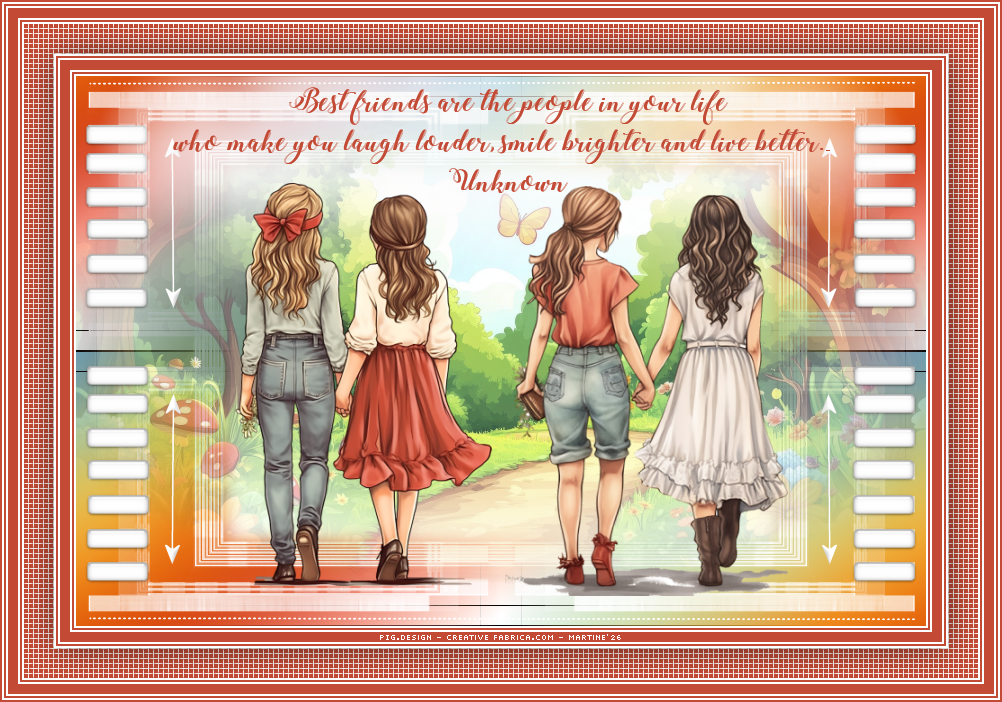

49. Then you will have this. Click on the first arrow pointing downwards and select the script: PSP4ALL_StPat_mf26


50. If you are going to use my colours for the borders: white and orange - #FFFFFF et #C34A35, check that the button Toggle Excution Mode is not pushed in.

51. If you are going to use different colours, then push in Toggle Excution Mode before starting.


52. Then click on the second arrow- the arrow pointing right, to execute the script.

53. If you prefer, or if there is a problem you can do the borders manually using the info in the txt file PSP4ALL_Friends_mf26_Borders_mf26, in the supplies.


STEP 3 - C
redits

54. Credits with a small font like Pixelette or any other small font.

55. Save.


Martine

12 May 2026

If you have any questions, don't hesitate to contact me