Supplies: my colours, selections, script and the text version for those not wanting to use the script. All in this zip.
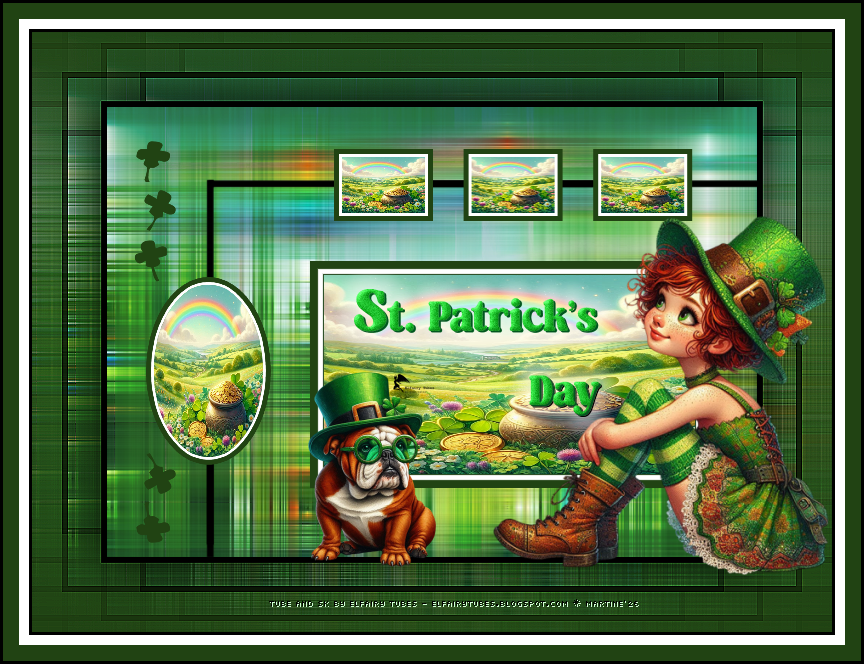
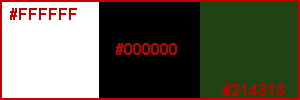
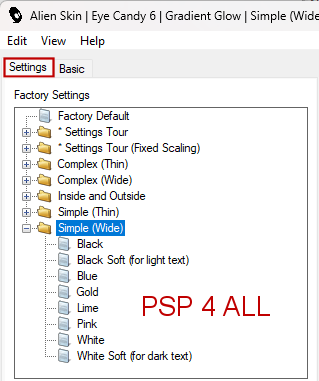
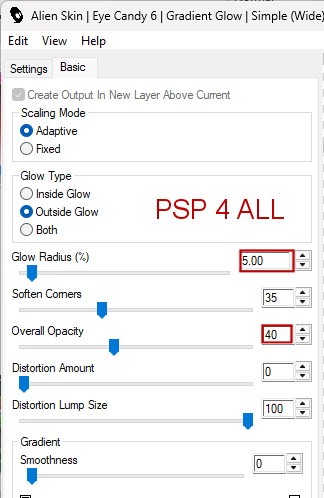
Scrapkit: St Patrick's Day by Elfairy Tubes - elfairytubes.blogspot.com Plugins: Mehdi > Weaver. Mura's Meister > Copies. Alien Skin Eye Candy 6 > Text Selection > Gradient Glow Italian Editors Effect - Fantasma (for the script). Masks: Mask sg_shaded-stripes by Sandra - Essex Girl Artwork in the Supplies folder. Font: Pixelette for the credits. ****************************** *** Depending on the colors & tube you are going to use, feel free to change the mode and opacity of the layers. My colours: #000000, #ffffff and #214313
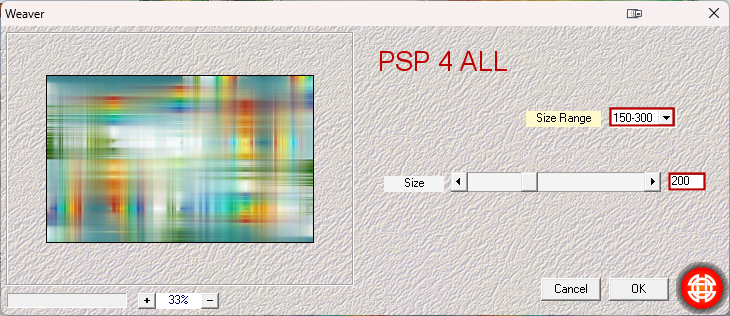
*** Add the script in the Scripts-Trusted folder (See below - STEP 3). STEP 1 - Background and borders 1. Open an image 650x450 2. Selections > Select All. 3. Pastethe paper paper_EF (5) into Selection. 4. Selections > Select None. 5. Effects > Mehdi > Weaver.
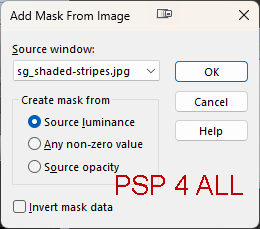
6. Add a layer and fill with green #214313. 7. Open mask sg_shaded-stripes. 8. Layers > Nouveau Mask Layer > A partir d'une image 9. Choose mask sg_shaded-stripes.
10. OK. 11. Layers > Merge > Merge group. 12. Duplicate. 12. Set the original layer on Screen and the copy on Overlay. 14. Merge visible the 3 layers. 15. To make the borders, I used this script: PSP4ALL_StPat_mf26.PSPScript. 16. Check you have the necessary filter: Italian Editors Effect - Fantasma. 17. Take the script PSP4ALL_StPat_mf26.PSPScript in the supplies. 18. And place it in the Scripts-Trusted of your PSP. 19. To find this folder, have a look under File > Preferences > File Locations and then look for Scripts-Trusted. 20. Note the location and navigate to it and place my script PSP4ALL_StPat_mf26.PSPScript in folder. 21. Let's check that the Script toolbar is visible. 22. If it isn't visible, right click in the grey area of your toolbar at the top, and select Toolbars > Script
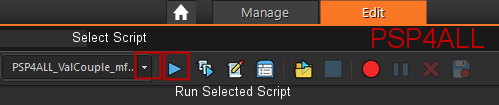
23. Then you will have this. Click on the first arrow pointing downwards and select the script: PSP4ALL_StPat_mf26
24. If you are going to use my colours for the borders: white, black and green, check that the button Toggle Excution Mode is not pushed in. 25. If you are going to use different colours, then push in Toggle Excution Mode before starting.
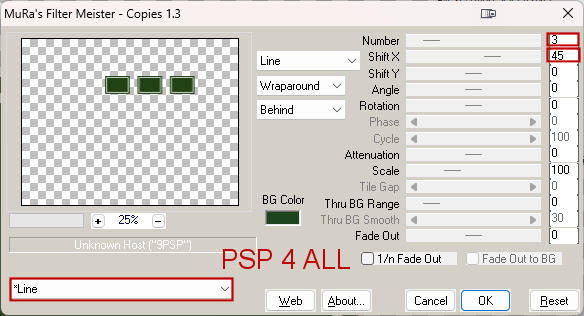
26. Then click on the second arrow- the arrow pointing right, to execute the script. 27. If you prefer, or if there is a problem you can do the borders manually using the info in the txt file PSP4ALL_StPat_mf26_Borders_mf26, in the supplies. STEP 2 - Decos and Tube *** Decos *** 28. Add a layer and Selections > Load/ Save Selection > Load Selection From Disk 29. Choose selection PSP4ALL_MF_StPat_Sel1_mf26 30. Fill with black #000000. 31. Selections > Select None. 32. Add a layer and Selections > Load/ Save Selection > Load Selection From Disk 33. Choose selection PSP4ALL_MF_StPat_Sel2mf26 34. Fill with green #214313. 35. Selections > Modify > Contract 5 pixels 36. Fill with white. 37. Selections > Modify > Contract 3 pixels. 38. Paste paper paper_EF (19) Into Selection. 39. Selections > Select None. 40. Apply Mura's Meister > Copies
54. Add a layer and Selections > Load/ Save Selection > Load Selection From Disk 55. Choose selection PSP4ALL_MF_StPat_Sel5_mf26. 56. Fill with green #214313. *** Tubes *** 57. Add the tube on the right. 58. Element EF_tube (9) the dog - 30%, on the left of the main tube. STEP 3 - Credits 59. Credits with a small font like Pixelette or any other small font. 60. Save. Martine 10 March 2026 If you have any questions, don't hesitate to contact me |