|
(Version française ICI) |
|
|
|
|
|
|
|
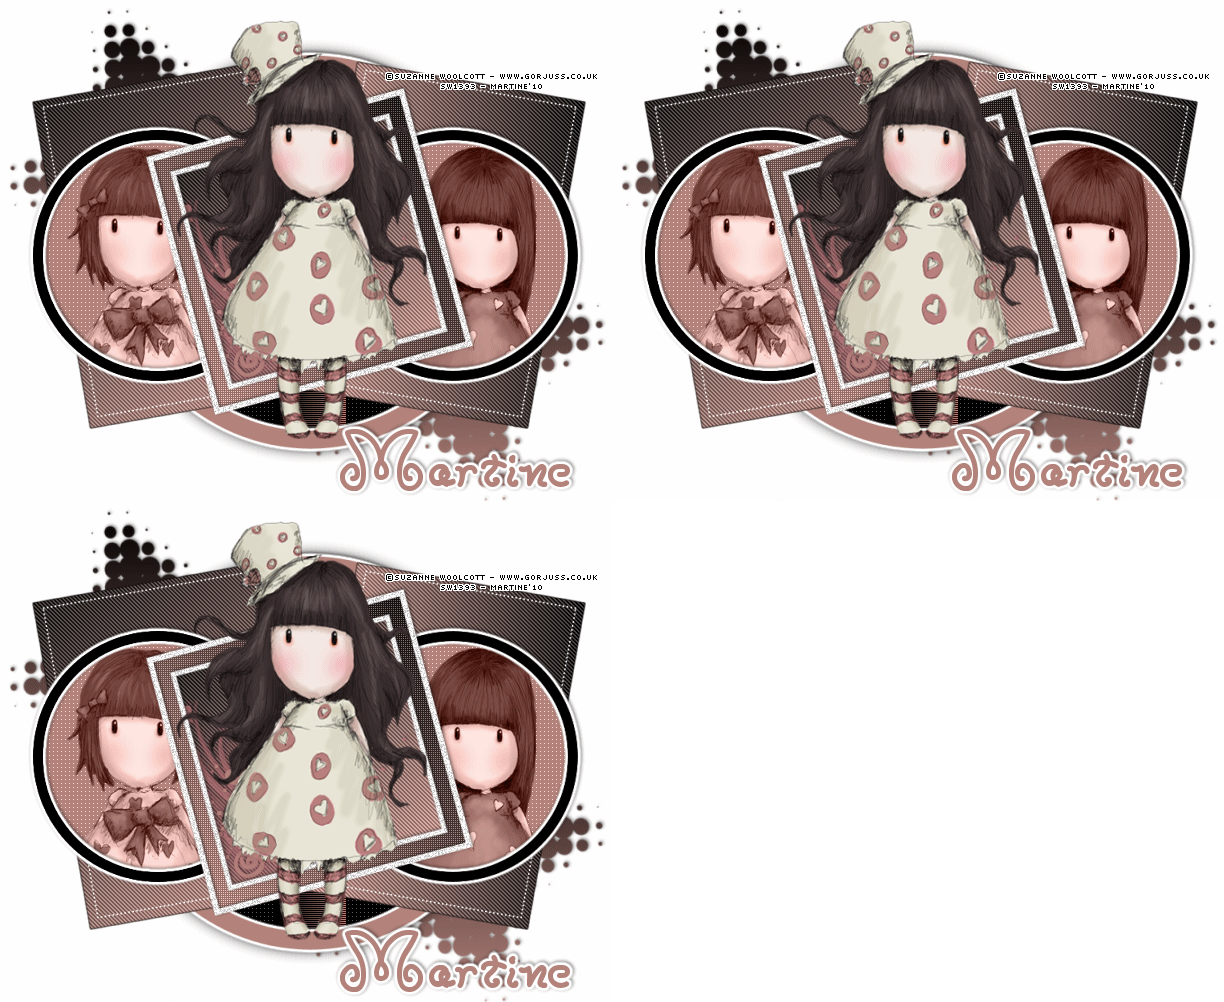
You can do pretty much what you like with your result: create signatures with name added, extras or stats, websets.
|
Martine |

Template - A Missy Rachel collab to download on Rachel's blog http://scrapsofenchantment.blogspot.com/. Direct link: Woot.
Plugins: Eye candy 4000 de Alien Skin - penta.com: Color Dot.
Fonts: Moxy Roxie for the name and Pixelette for the credits.
STEP 1
Open the template - Delete the credits layer at the top ©Info 2010. Resize to 80%.Then Adjust > Sharpen > Sharpen on these two layers Dotted Square Right et Dotted Square Left.
Background layer: keep it white for the results page.
For each layer I add a new layer after selecting the original because sometimes the original layer does not fill properly. I then delete the original layer before moving onto the next step.
STEP 2 : Star Left et Star Right
Star Left: Selections > Select All > Selections > Float > Selections > Defloat > Add a layer and fill with a gradient:
Foreground = one colour taken from your tube - I used #B3837B and Background = #000000.
Add a drop shadow:
|
V = -1 |
O = 50 |
|
H = 1 |
B = 5 |
Star Right: Repeat what you did for Star Left.
STEP 3 : Large Circle
Selections > Select All > Selections > Float > Selections > Defloat > Fill with your tube colour or mine #B3837B and then click on Selections > Modify > Contract by 18 pixels and hit Delete on your keyboard.
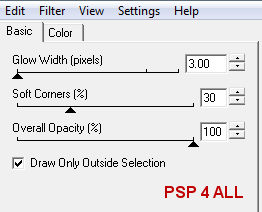
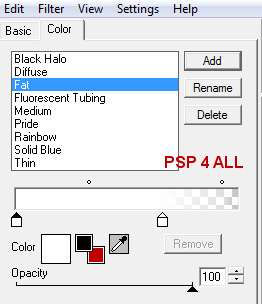
Click on Effects and apply Eye Candy 4000 - Gradient Glow.
|
|
|
Apply the same drop shadow as before.
STEP 4 : Circle 1
Move the Circle 1 layer under the Large Circle layer. Selections > Select All > Selections > Float > Selections > Defloat > Fill with black. And click on Effects > penta.com > color dot:
|
|
STEP 5 : Rectangles 1 & 2
Rectangle 1: Selections > Select All > Selections > Float > Selections > Defloat > Fill with your gradient with the angle set at 320°.
And click on Effects > penta.com > jeans:
|
|
Rectangle 2: Repeat but set the angle at 90° when filling with the gradient - apply the same effect.
STEP 6 : Black Strip
Selections > Select All > Selections > Float > Selections > Defloat > Fill with your gradient with the angle set at 90° and put the black colour in the foreground.
Click on effects > Unplugged Tools > Interlace:
|
|
STEP 7 : Circles 2 & 3
Circle 2 : Selections > Select All > Selections > Float > Selections > Defloat > Add a layer and fill with black. Selections > Modify > Contract by 10 pixels and click on Delete.
Apply Eye Candy 4000 > Gradient Glow as in Step 3.
Add the same drop shadow.
Click inside Circle 2 with the Magic Wand and then Selections > Modify > Expand by 6 pixels > Add a layer and fill with your tube colour or #B3837B.
Click on Effects and apply penta.com > color dot as in Step 4.
Keep selected and add your tube: only the head, resized if needed.
On the Layer palette, set this tube layer to Luminance.
Move these two new layers under the Circle 2 border.
Circle 3 : Repeat what you have just done for Circle 2. You can use the same tube or a different one.
STEP 8 : Frame Background
Selections > Select All > Selections > Float > Selections > Defloat > Add a layer and fill with your gradient with the angle set at 45°.
Then apply color.dot with the distance set at 2.
ETAPE 9 : Frame Background 2
Selections > Select All > Selections > Float > Selections > Defloat > Add a layer and fill with your gradient with the angle set at 318°.
And click on Effects and penta.com > jeans as in Step 5.
STEP 10 : Heartbrush 2
Selections > Modify > Expand by 6 pixels > Add a layer and fill with your tube colour or #B3837B.
Add the same drop shadow.
STEP 11 : Le tube
Add your tube, resized if needed.
Then apply the same drop shadow.
ETAPE 12 : Credits & Name
Credits : Choose a small font like Pixelette in size 6.
Name : Moxy Roxie with a Gradient Glow as before and a drop shadow.
ETAPE 13 : Animation
Activate Frame 1 and duplicate twice so you have three copies in all: Frame 1, Frames 1a and Frames 1b.
Activate Frame 2 and duplicate twice so you have three copies in all: Frame 2, Frames 2a and Frames 2b.
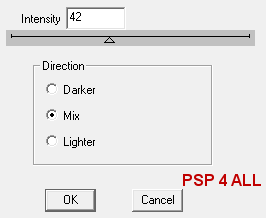
Click on Frame 1 and then Effects > dsb flux > Bright Noise
|
|
Move onto Frame 2 and apply the same Bright Noise.
Click on Frame 1a and then Frame 2a and apply the Bright Noise effect on both but click first once on Mix.
Then click on Frame 1b and after Frame 2b and apply the Bright Noise effect on both but click first one more time on Mix.
Close Frames 1a and 1b and Frames 2a and 2b and merge visible all the other layers. Copy paste this merged image in Animation Shop.
Close Frames 1 and 1b and Frames 2 and 2b and merge visible all the other layers. Copy paste this second merged image after the first one in AS.
Close Frames 1 and 1a and Frames 2 and 2a and merge visible all the other layers. Copy paste this third merged image after the first two in AS.
Save as a gif.
Martine
2 February 2010
If you have any questions, don't hesitate to contact me


